Connect with Google
 Connect with Facebook
Learn How to Fasten Laser Cut Metal Sheets Together Without Using Tools
Posted By Hannah Bensoussan on Apr 26, 2017 | 0 comments
You’re tempted to try our metal laser cutting service but you’re not sure how to create volumes with it? This article is here for you! Today, I’ll explain how to fasten laser cut metal sheets together without any tools, rivets, glue, or welding. This way, by creating 3D objects, laser cutting becomes a true alternative to 3D printing!
This is the second article of our series on metal laser cutting: the first one explained how to bend laser cut metal without tools.
We give you several versions of the two techniques tested by our designers: using foldable straps of metal or hooks of metal to hold parts together. All of our tests were made on our aluminum laser cutting material, which has the advantage to be the lightest, most easily foldable, and cheapest metal for laser cutting. You can however also use those techniques on our stainless steel for laser cutting and raw steel for laser cutting.
A summary of all the techniques we present you here
Just so you don’t get lost!
| Type of fastening | Type of straps / hooks | Benefits / applications |
| Parallel | Simple straps | Create volumes by fastening sheets parallelly |
| Parallel | Double straps, alternate directions | Idem, stronger grasp |
| Parallel | Double straps, alternate directions, crooked | Idem, even stronger grasp |
| Parallel, multi-layers | Straps with added length to include extra thickness | Create layers with different purposes |
| Parallel, multi-materials | One strap on each side to grab the material | Include materials with different properties (ex: you can engrave PMMA) |
| Perpendicular | Three straps to clips the sheet | Create volumes perpendicularly such as shelves or boxes |
| Perpendicular | Straps that slide into the notch and bend | Idem + aspect |
| Perpendicular | Hooks that slide into the notch | Idem + aspect |
Foreword 1: How to prepare for the straps techniques in your 2D design
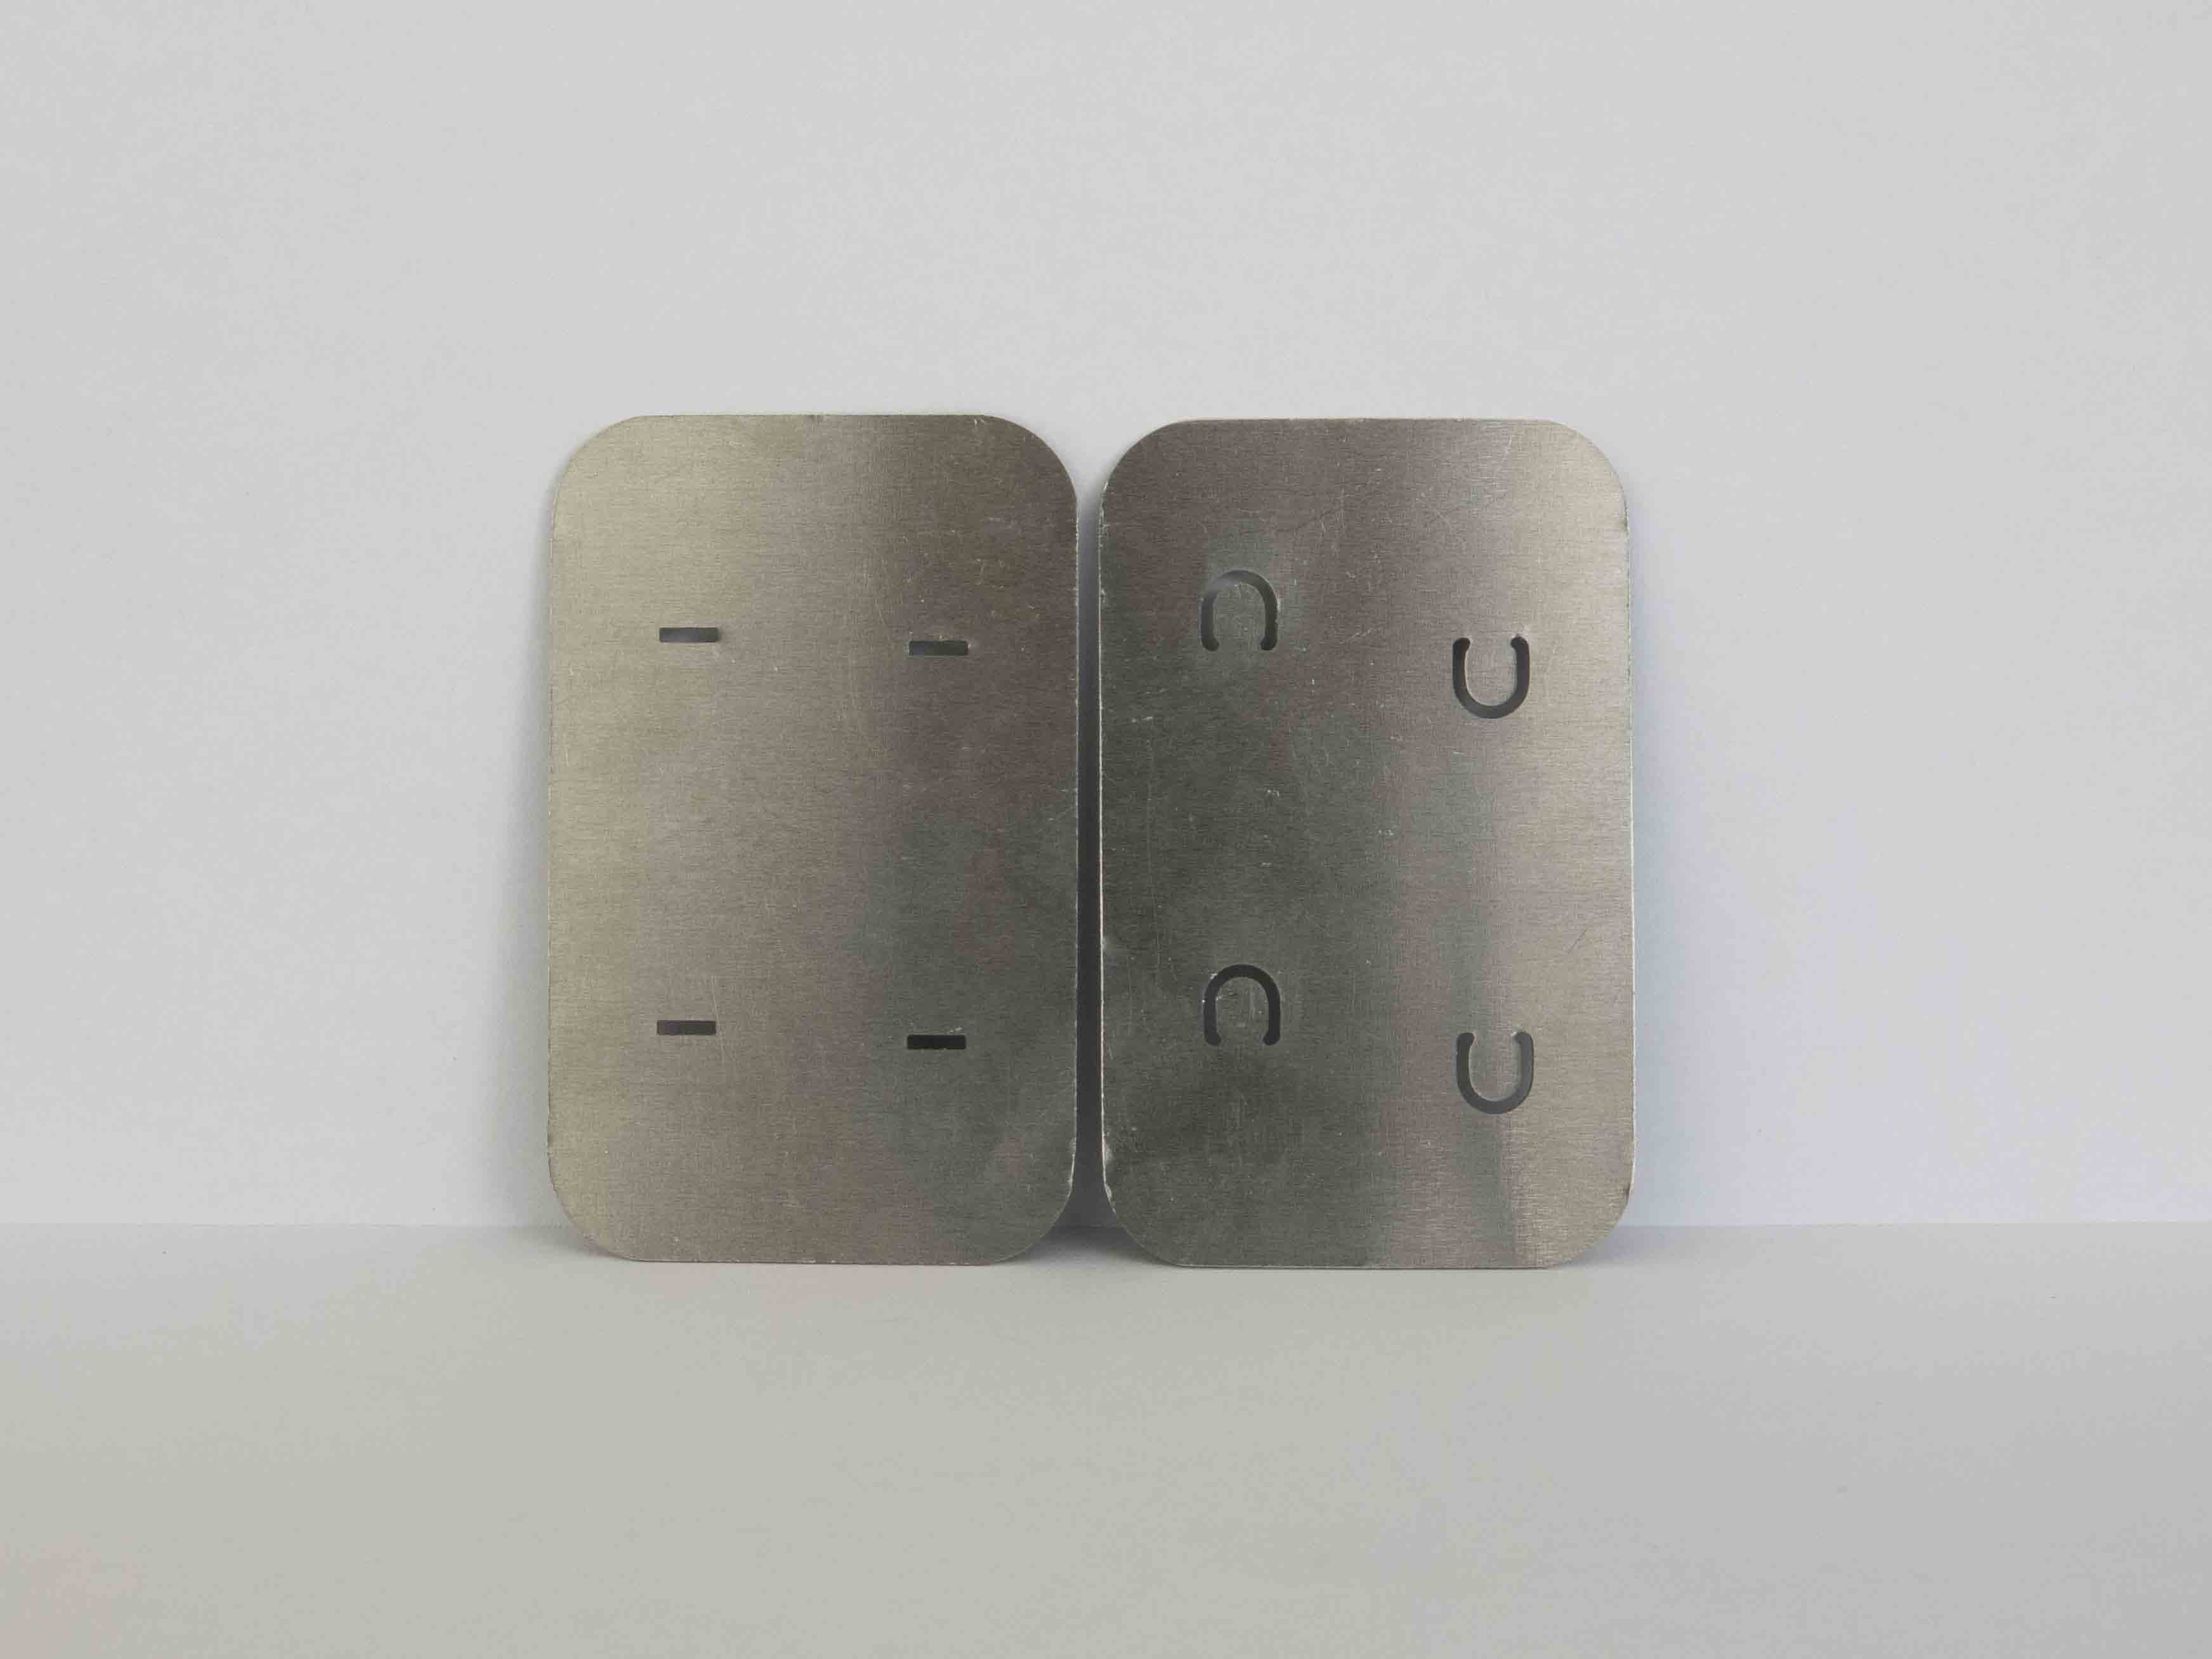
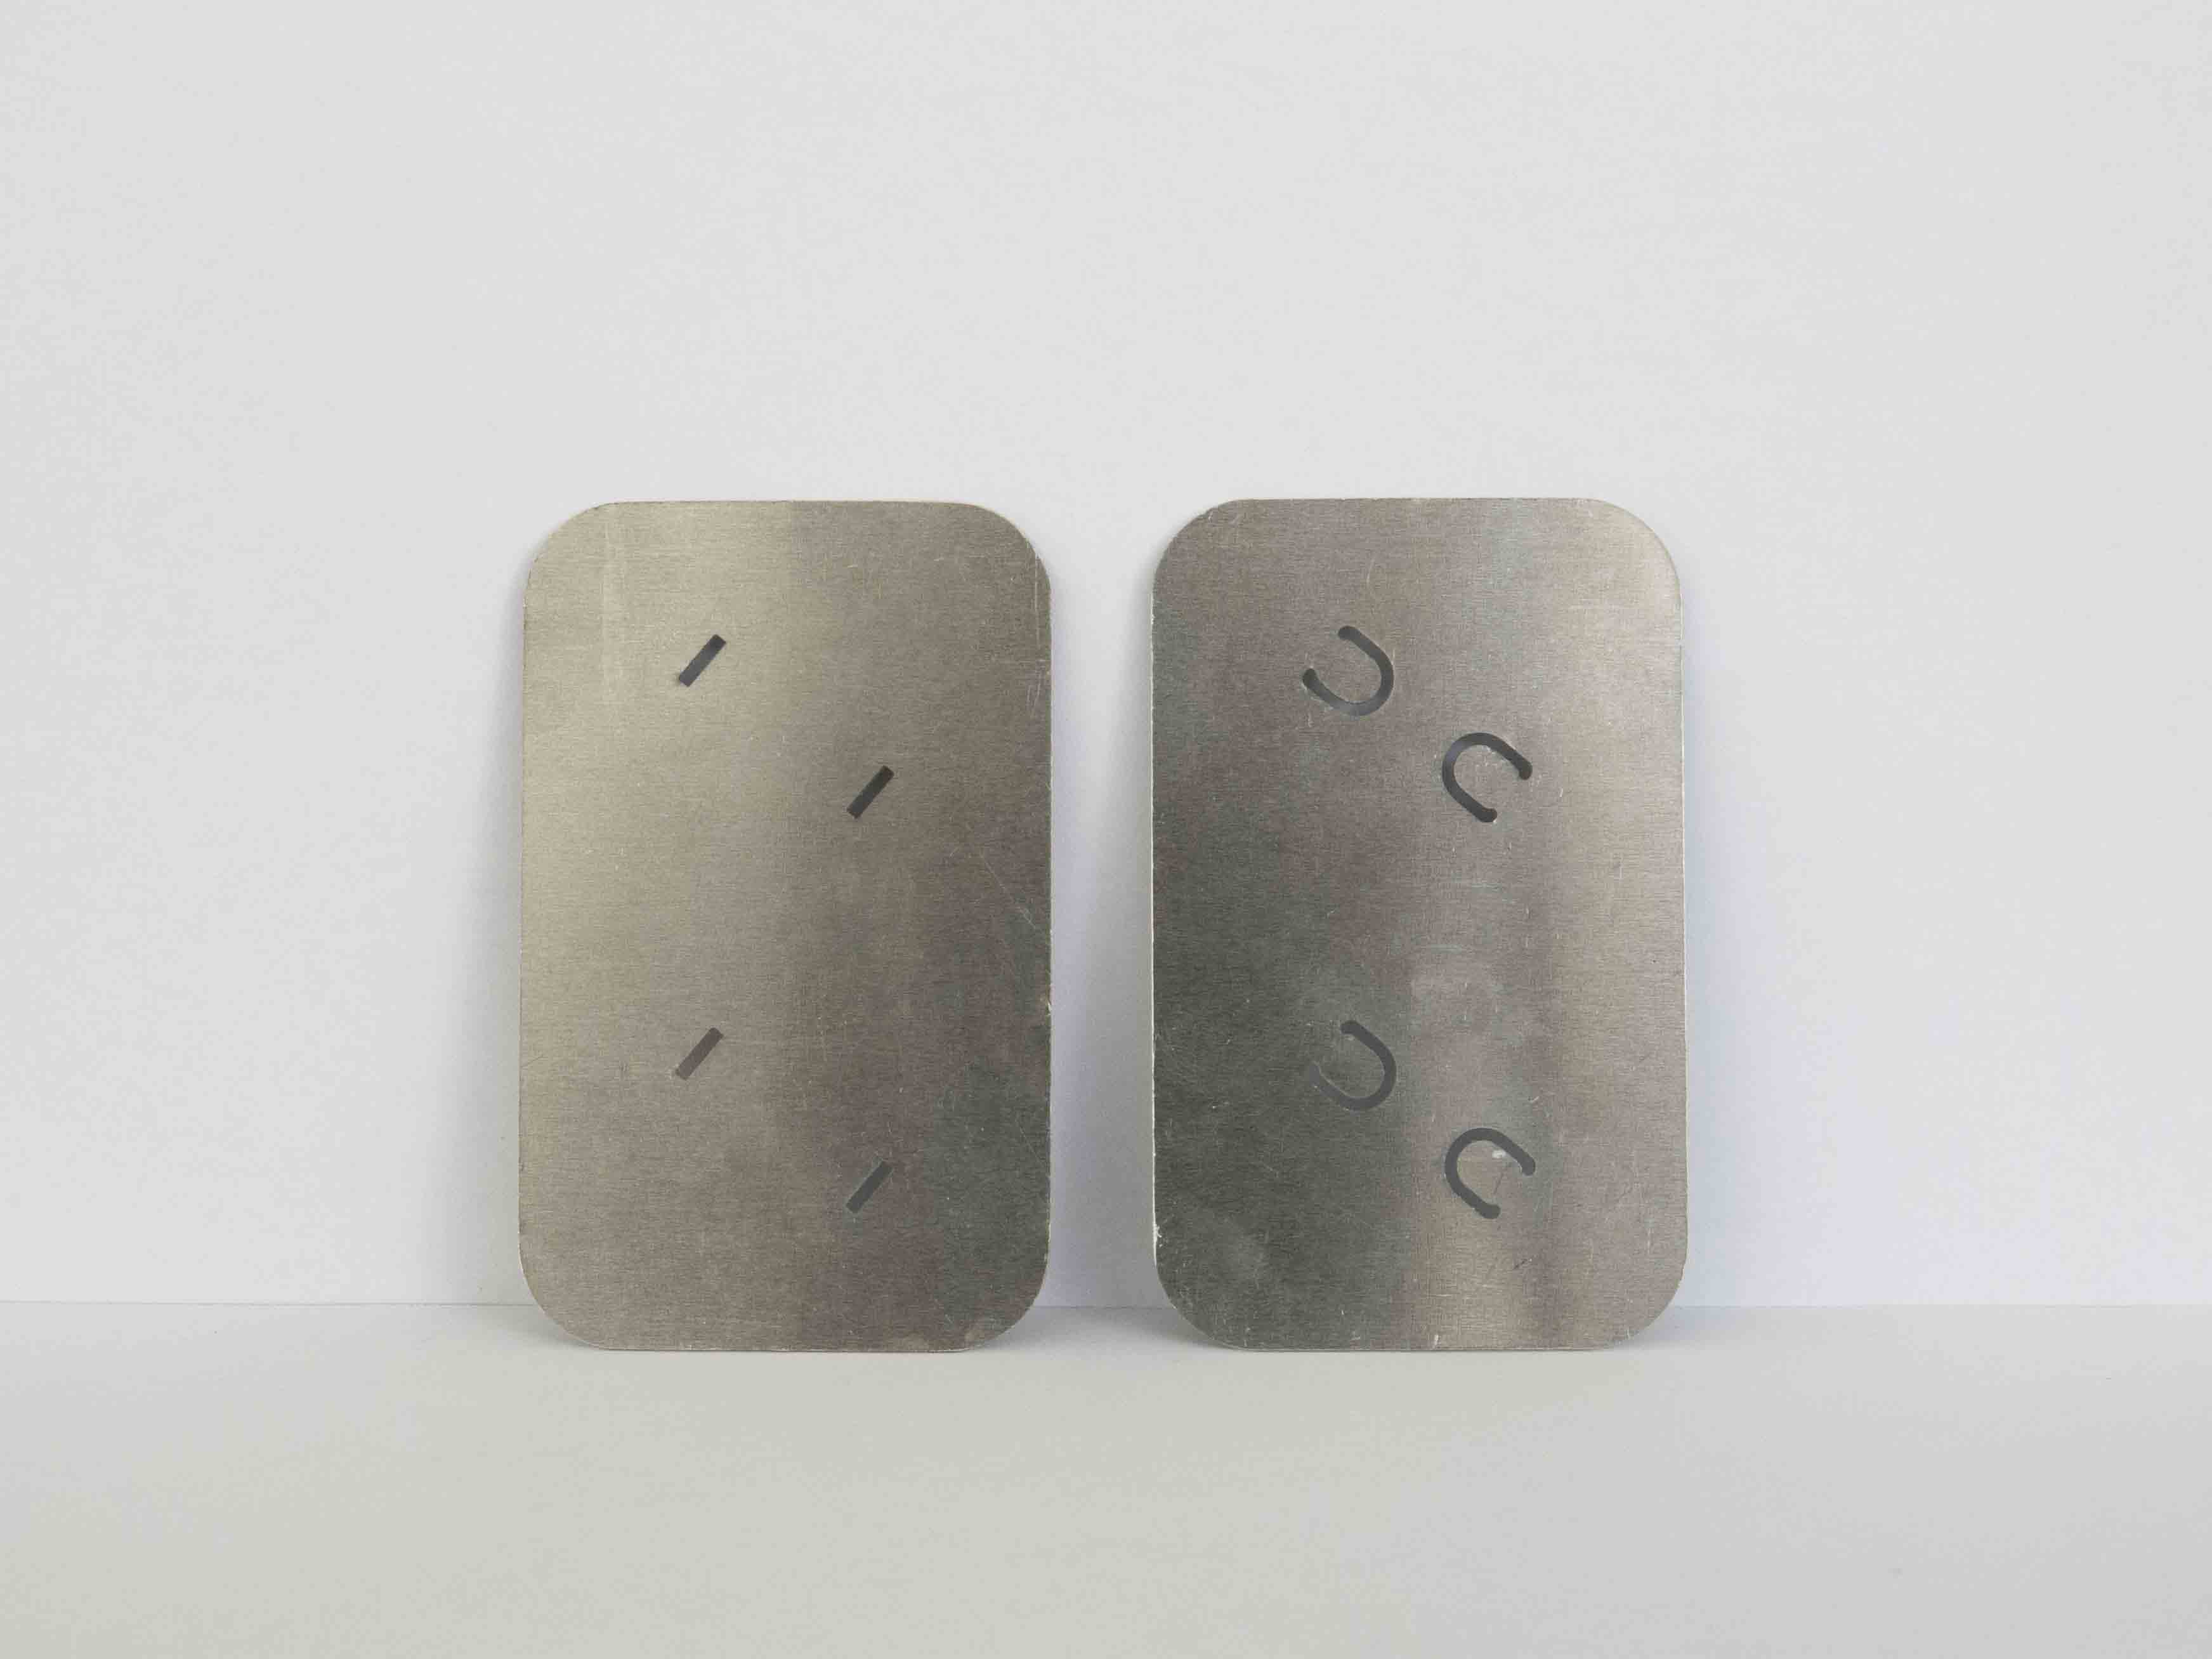
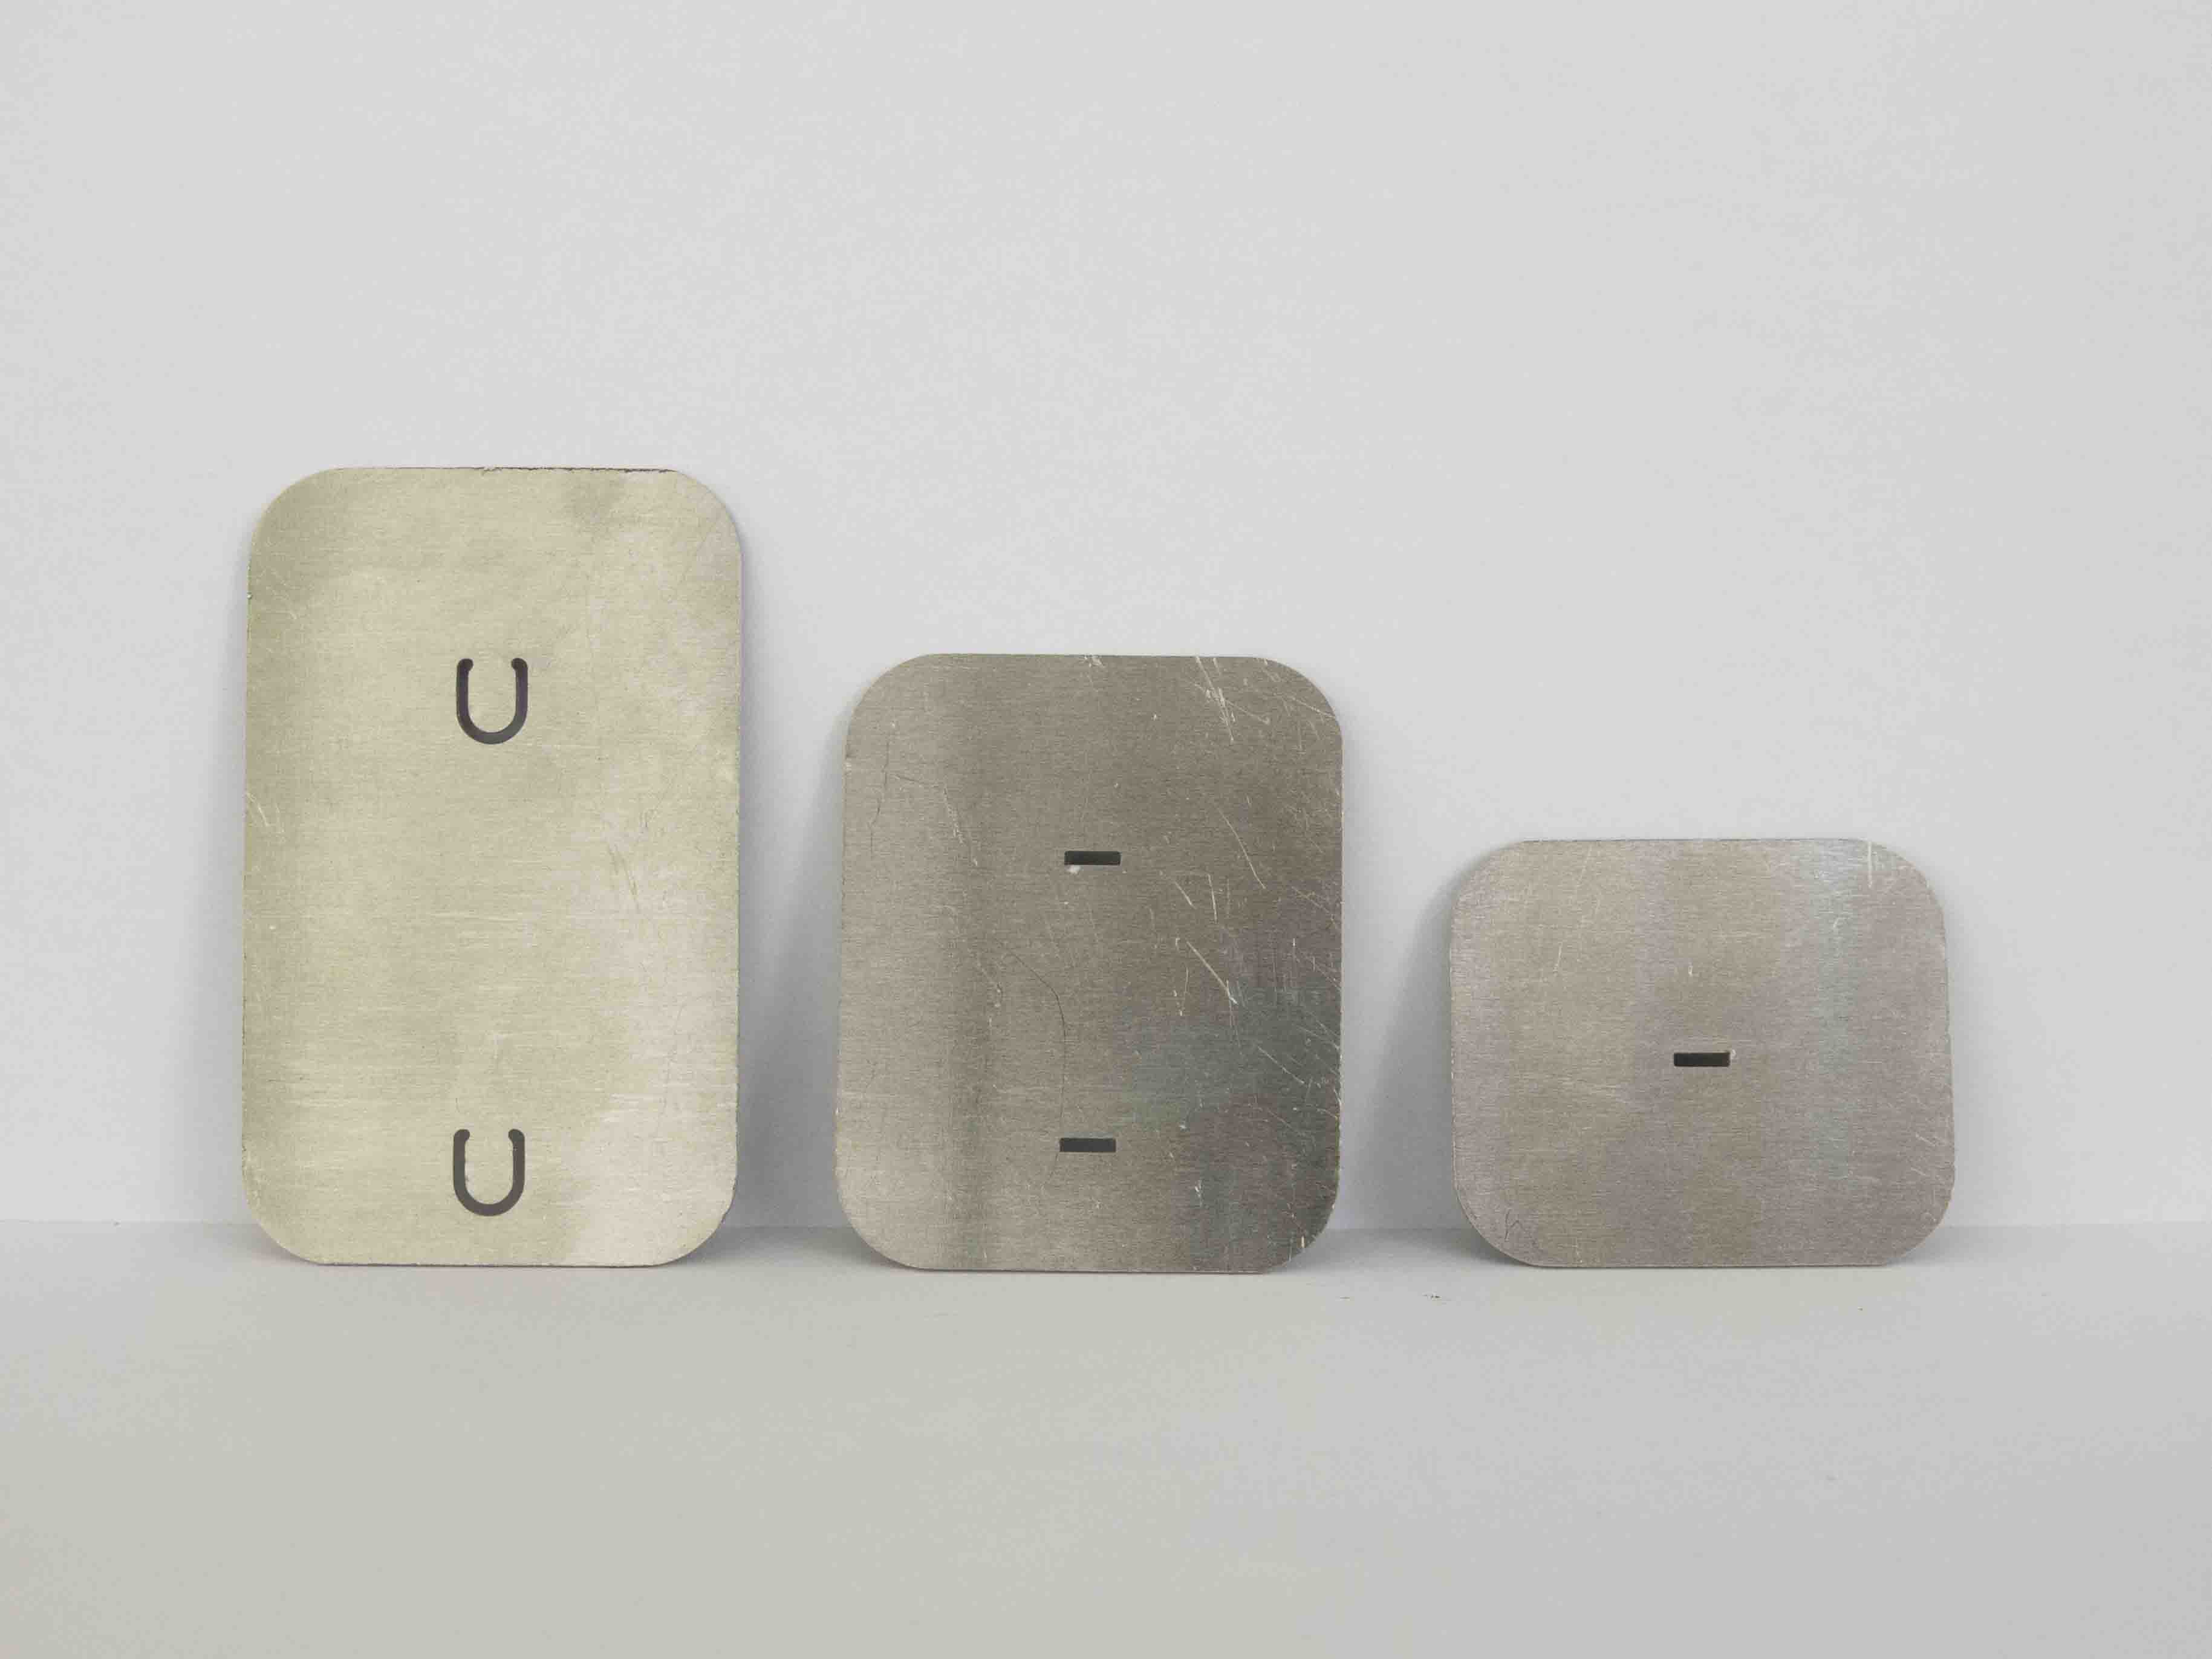
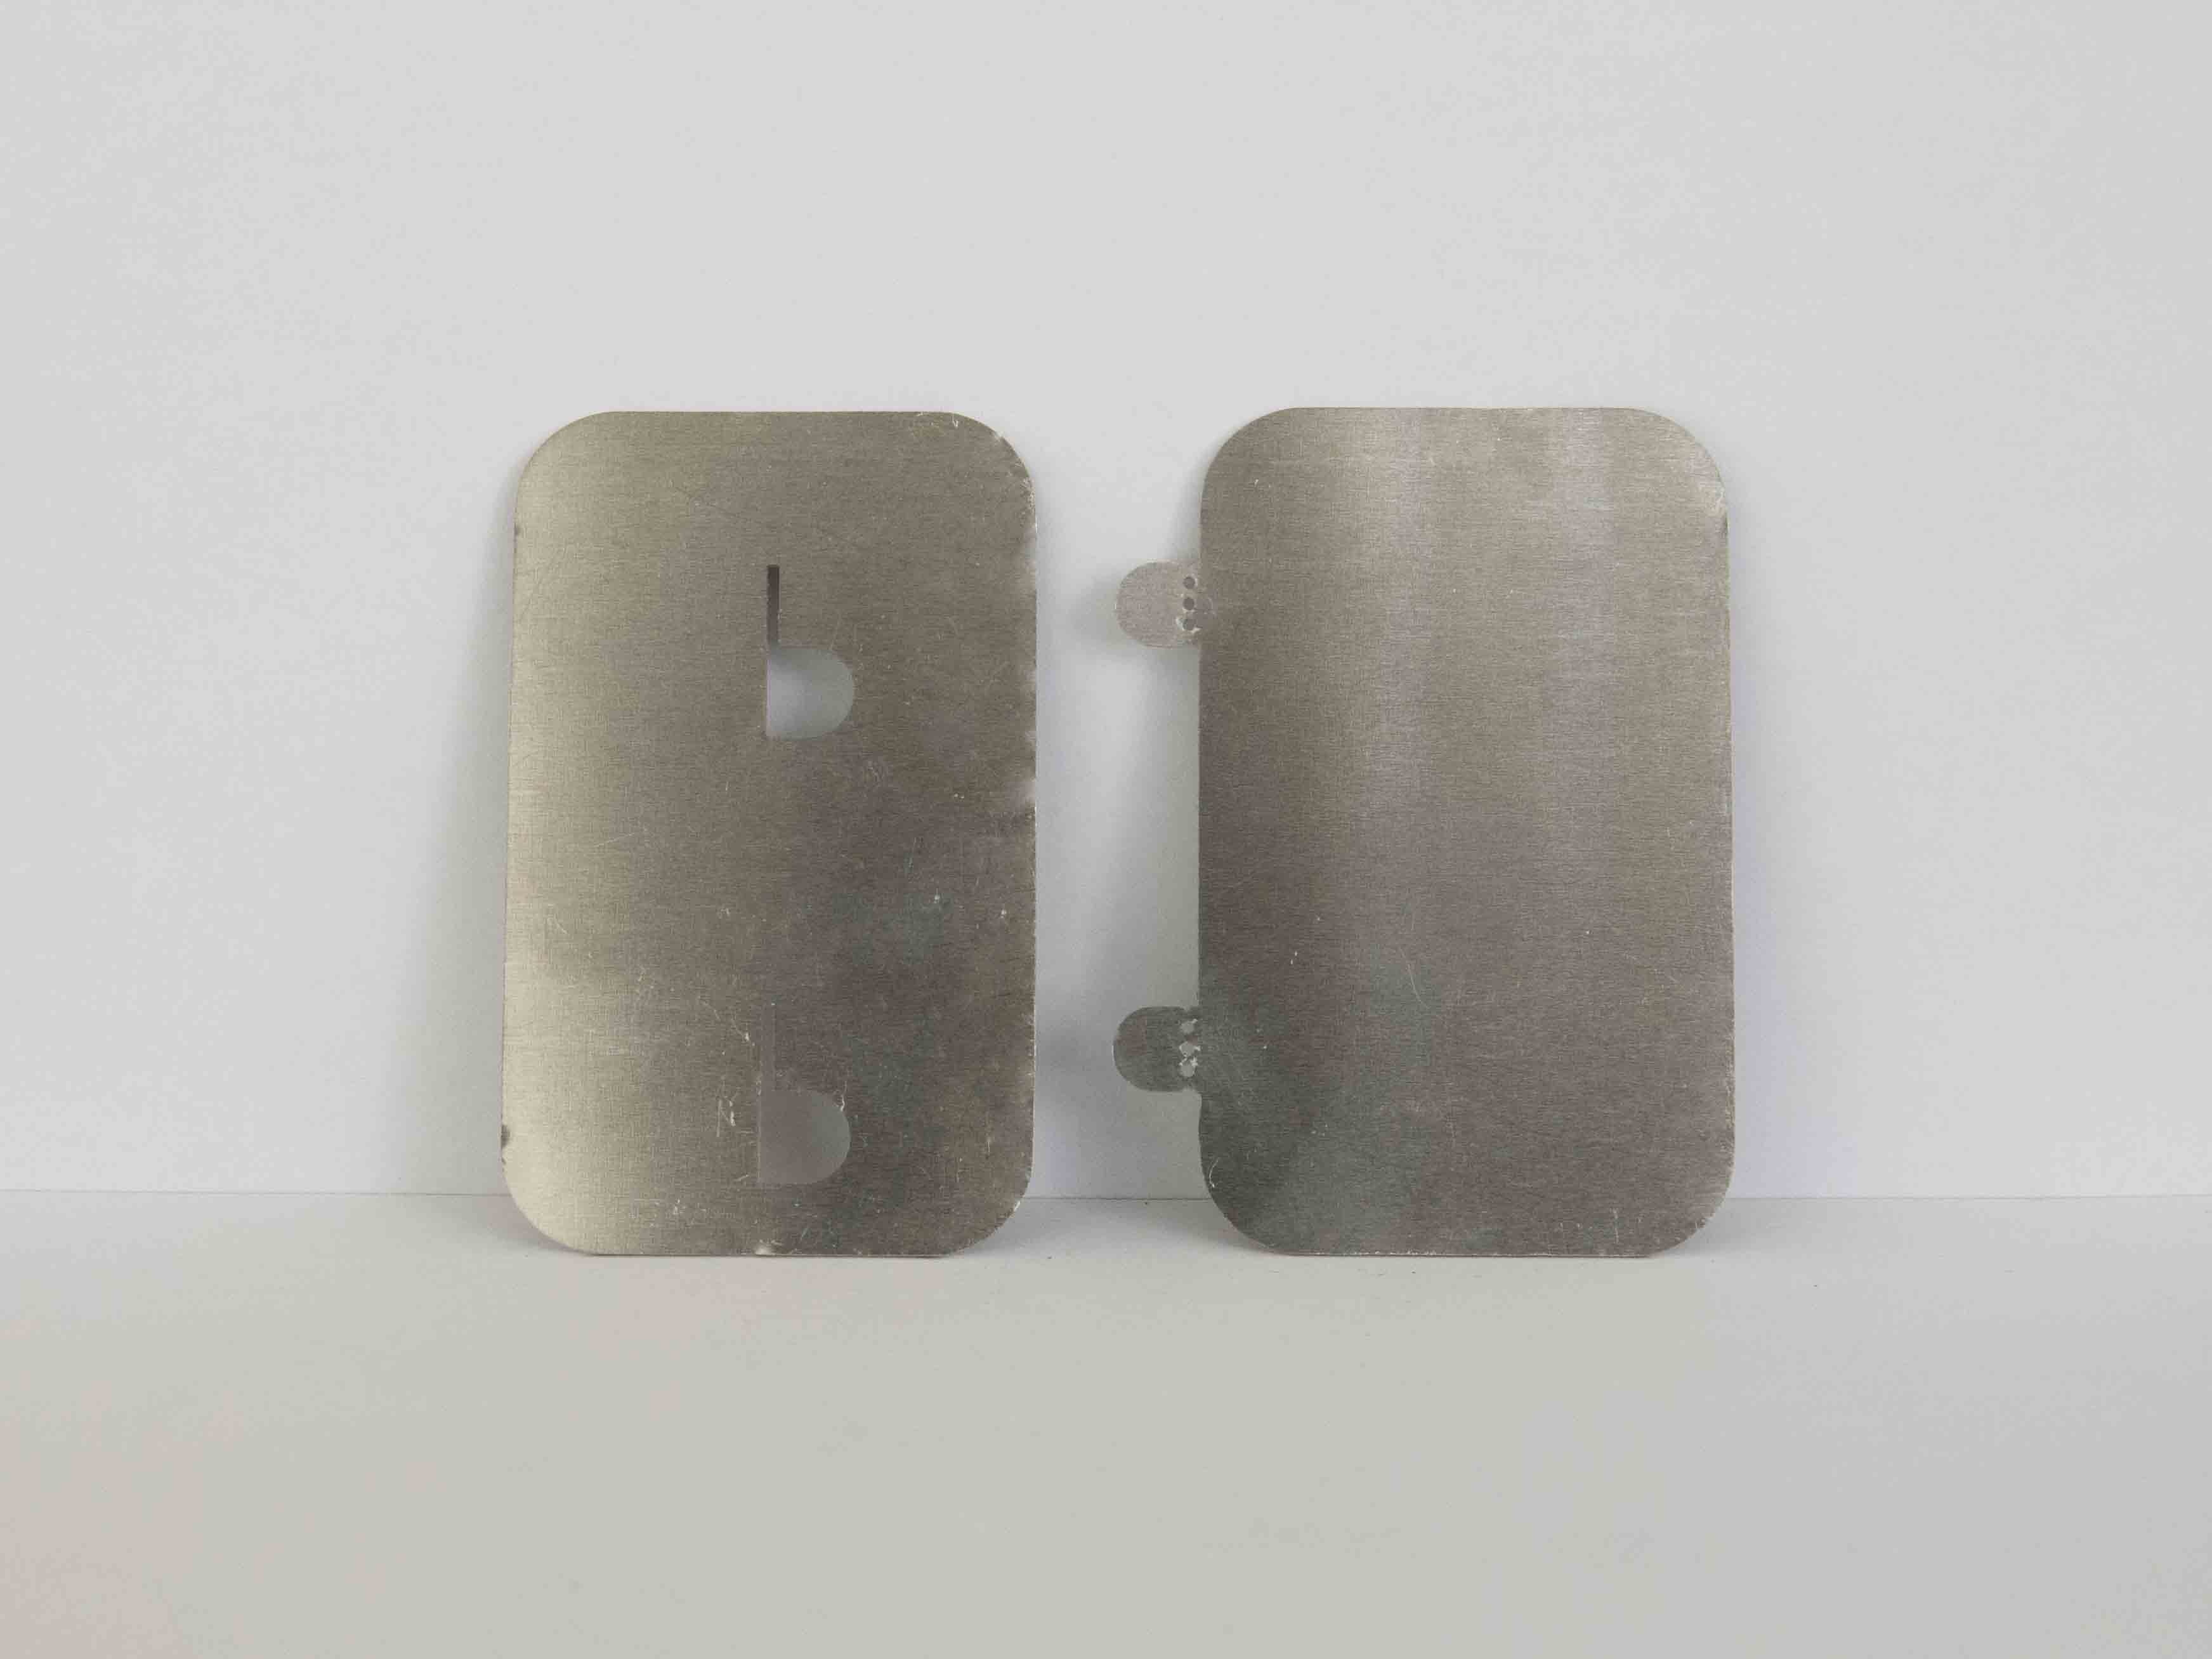
In the following paragraphs, we explain several straps techniques, but the process is the same for all of them: in your vector file for laser cutting, you need to design a flat version of the straps on one of the sheets, and the matching notch in the other sheets, as you can see here.
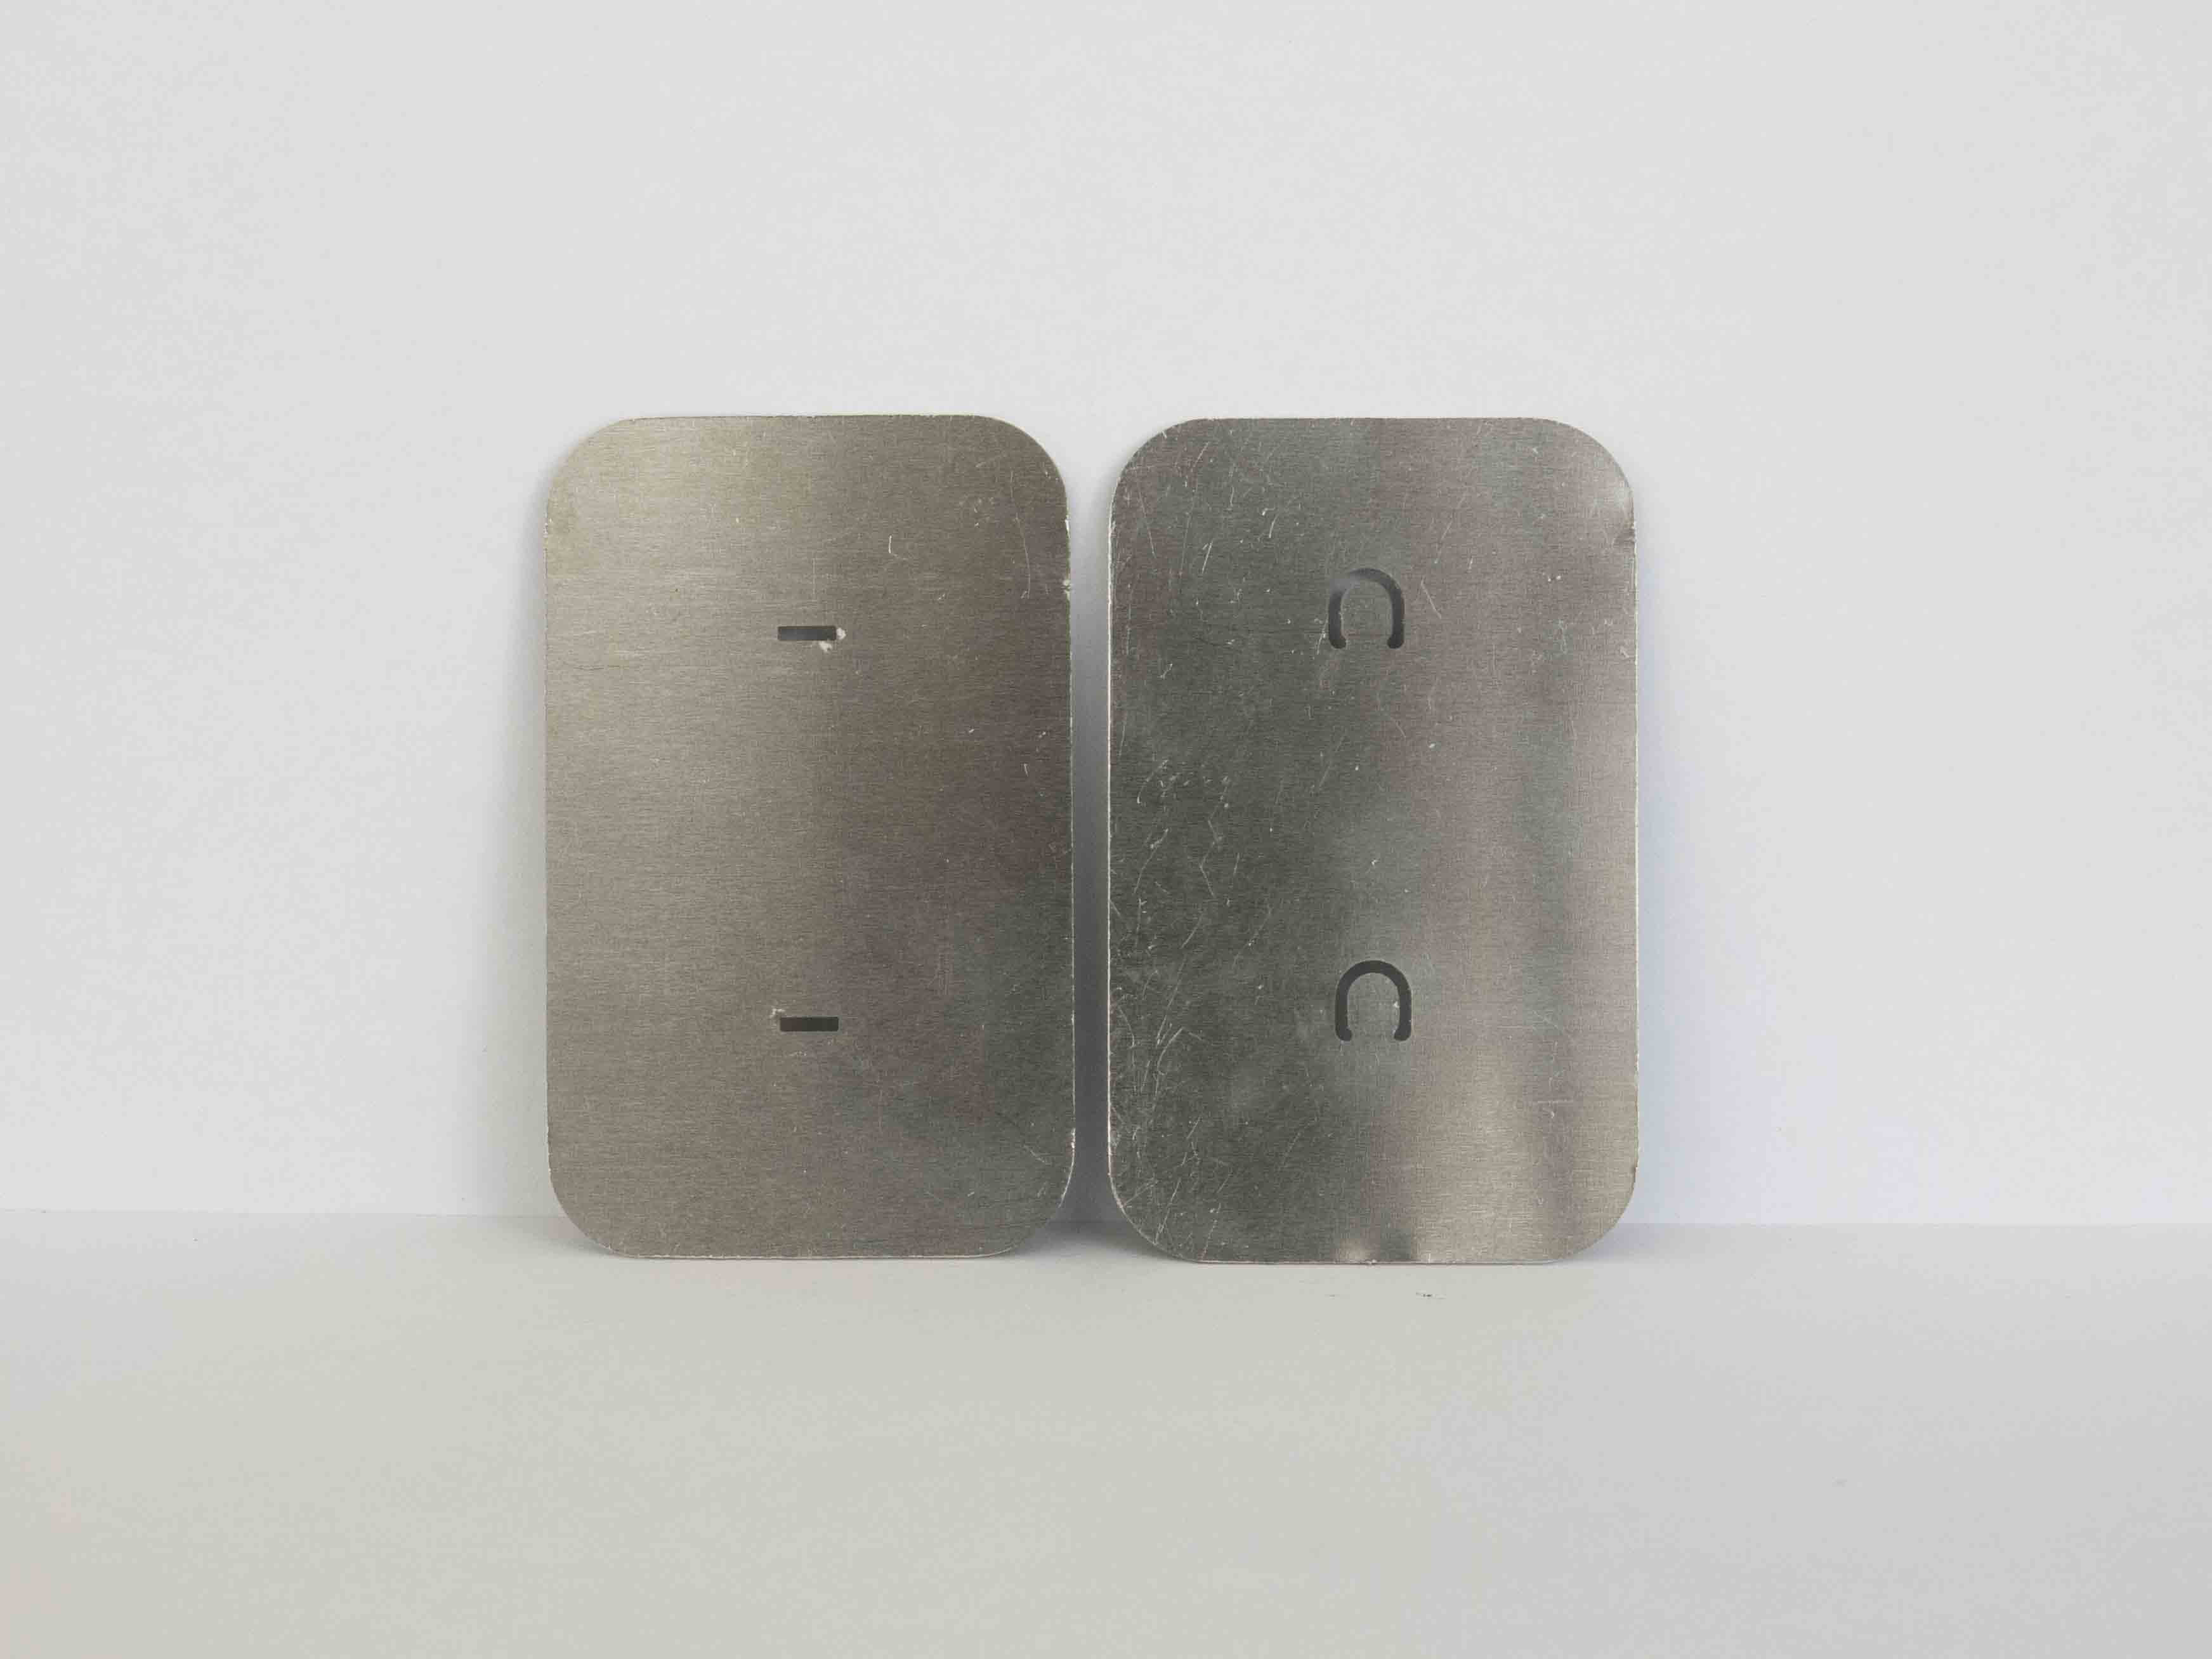
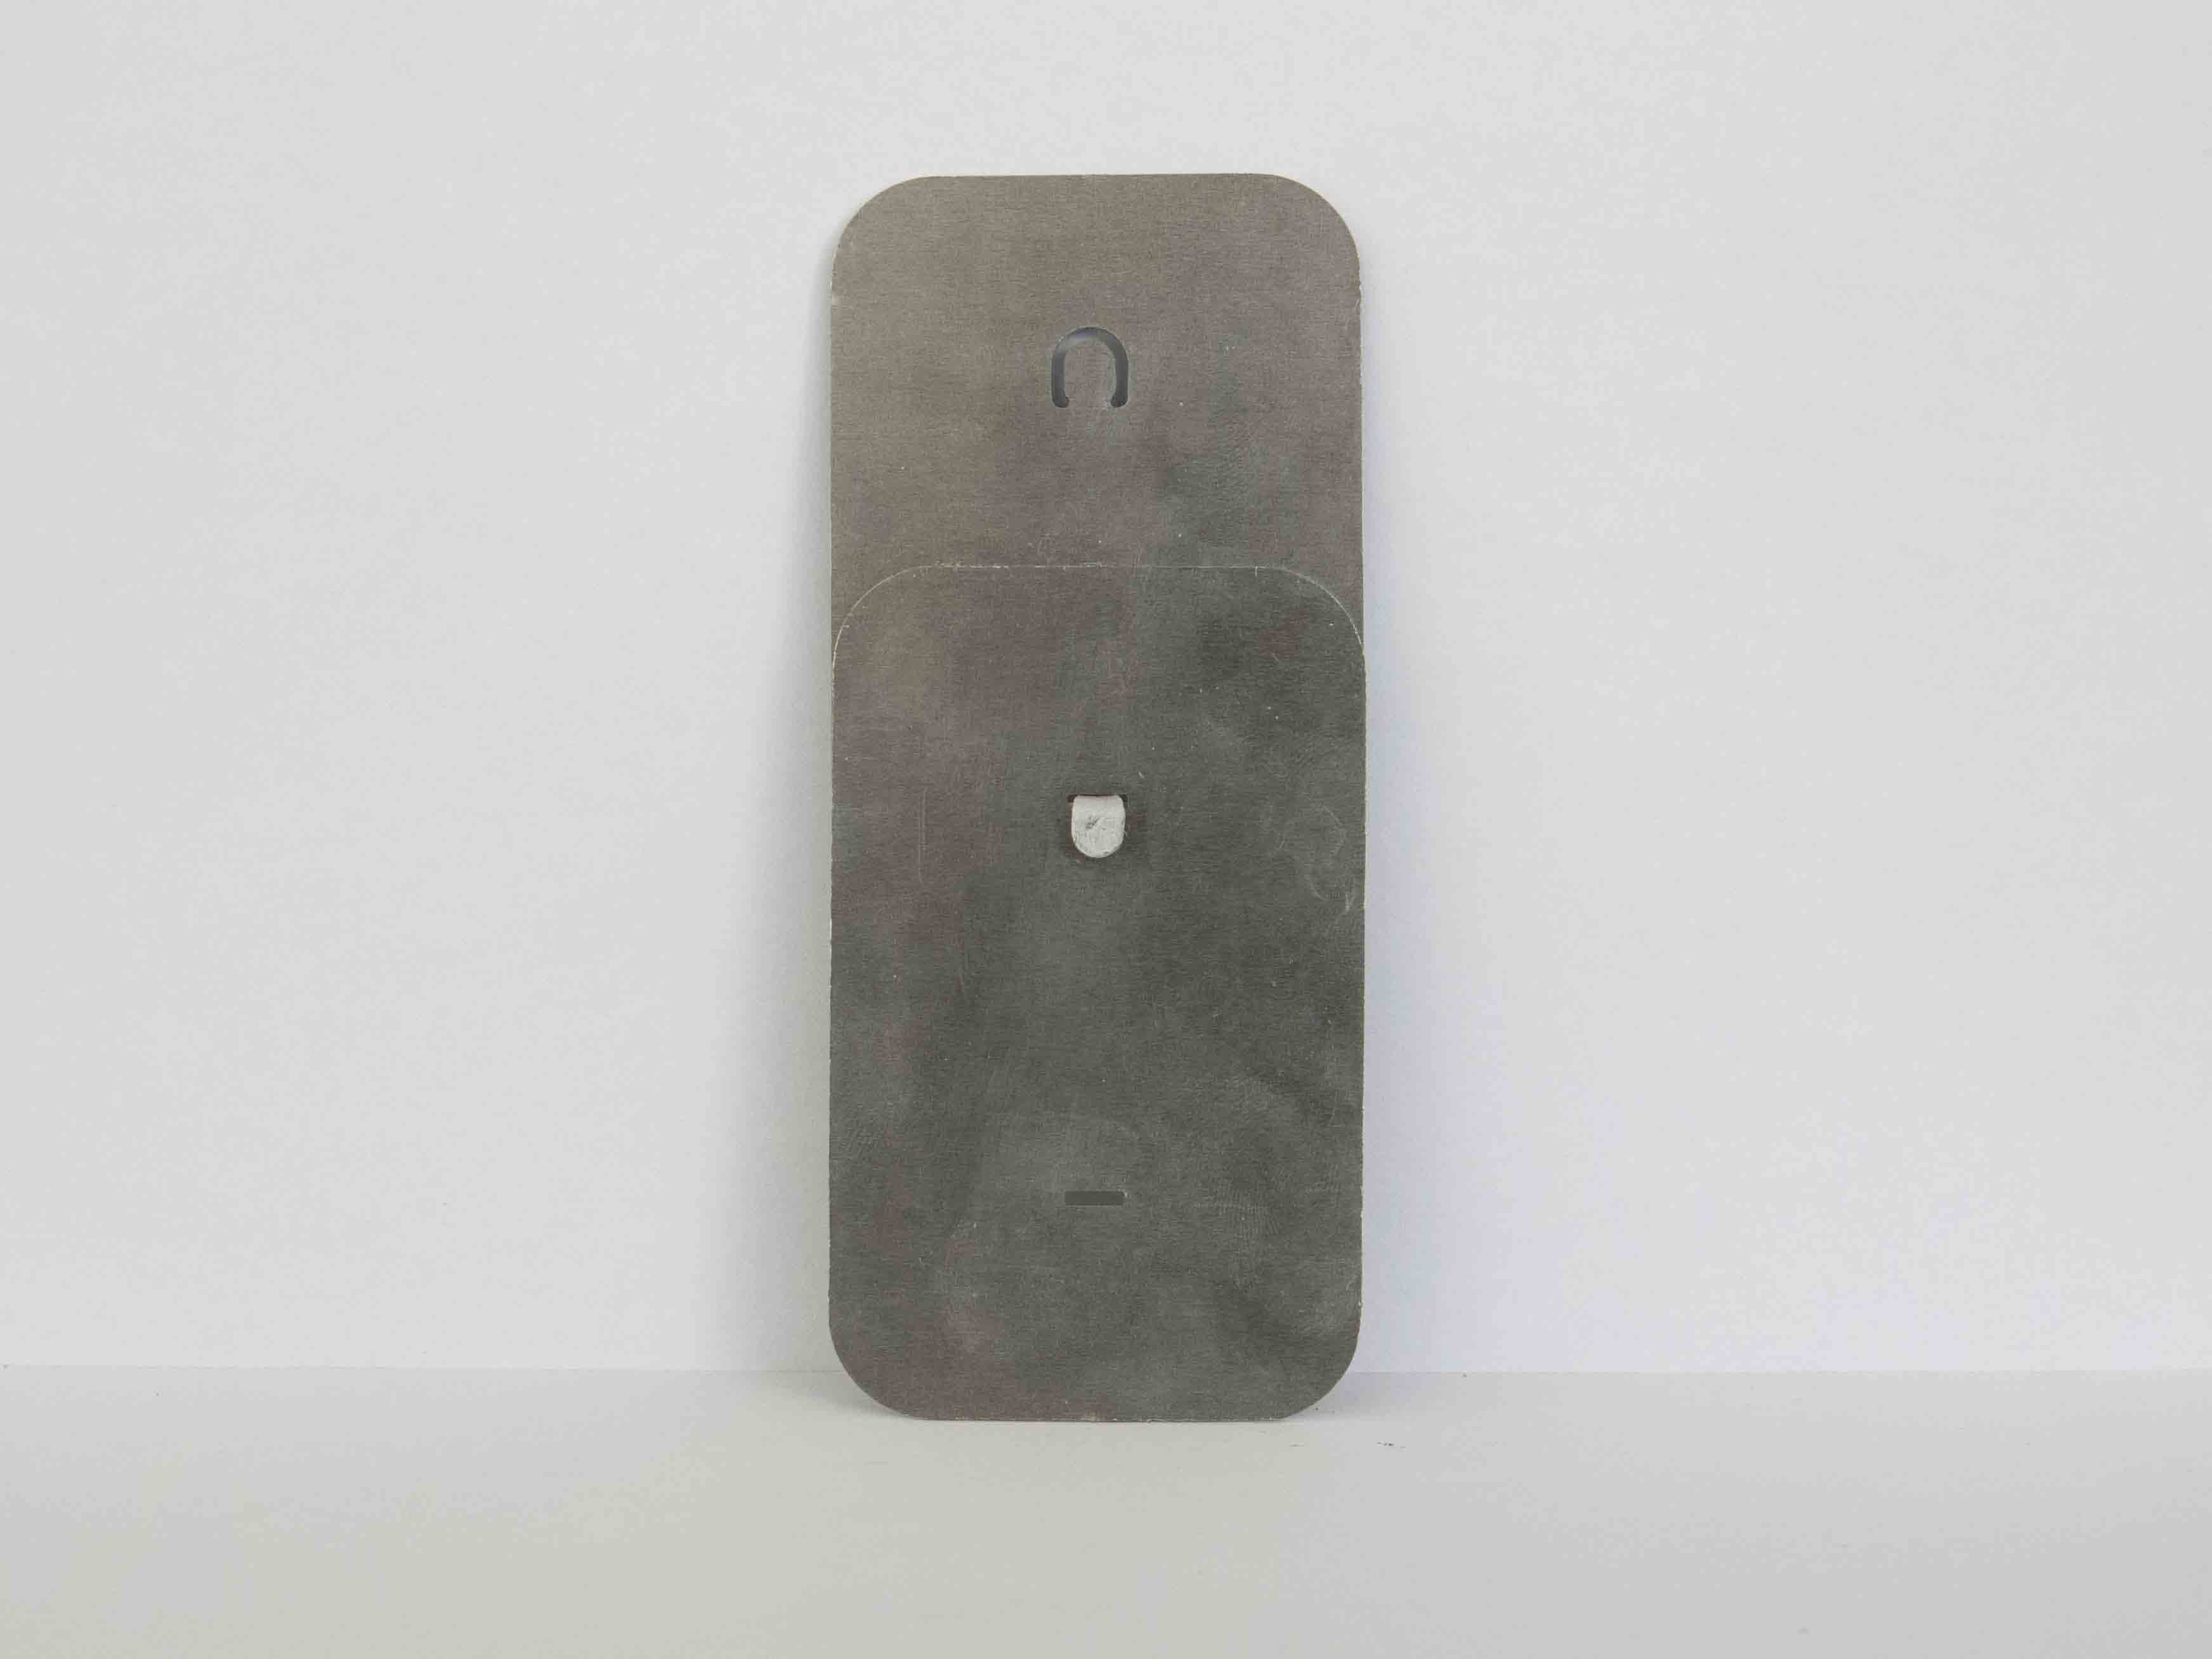
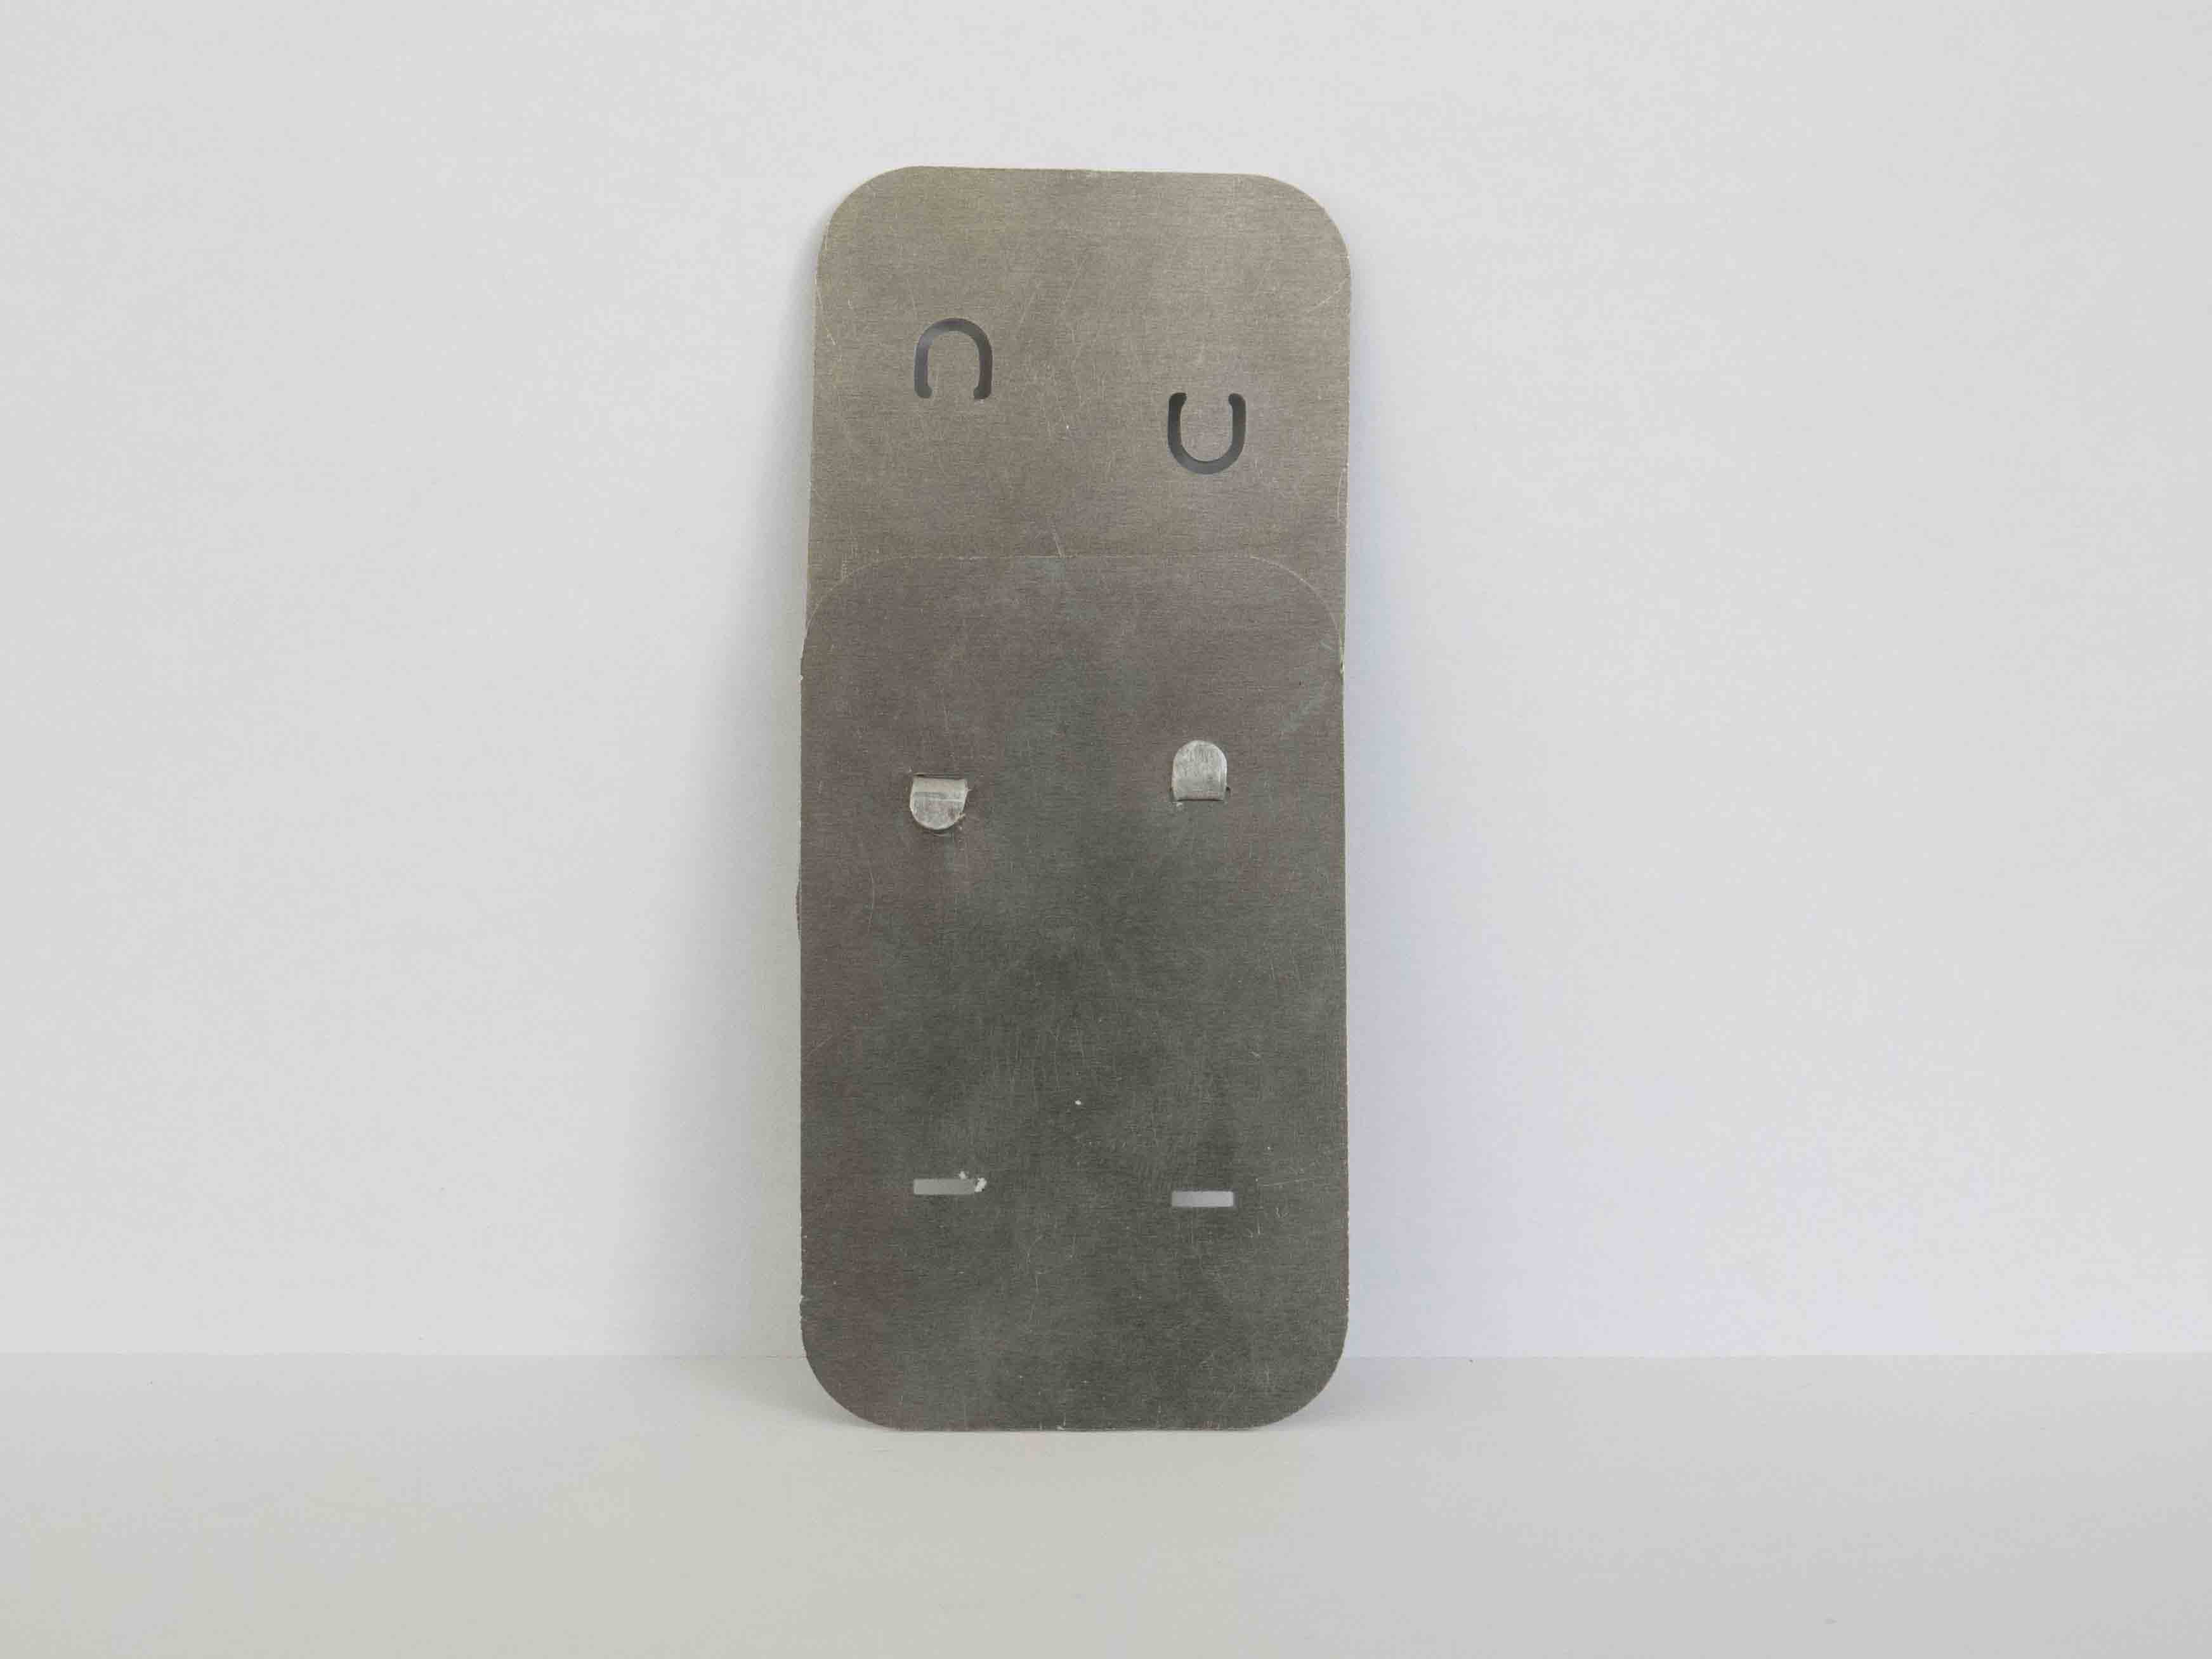
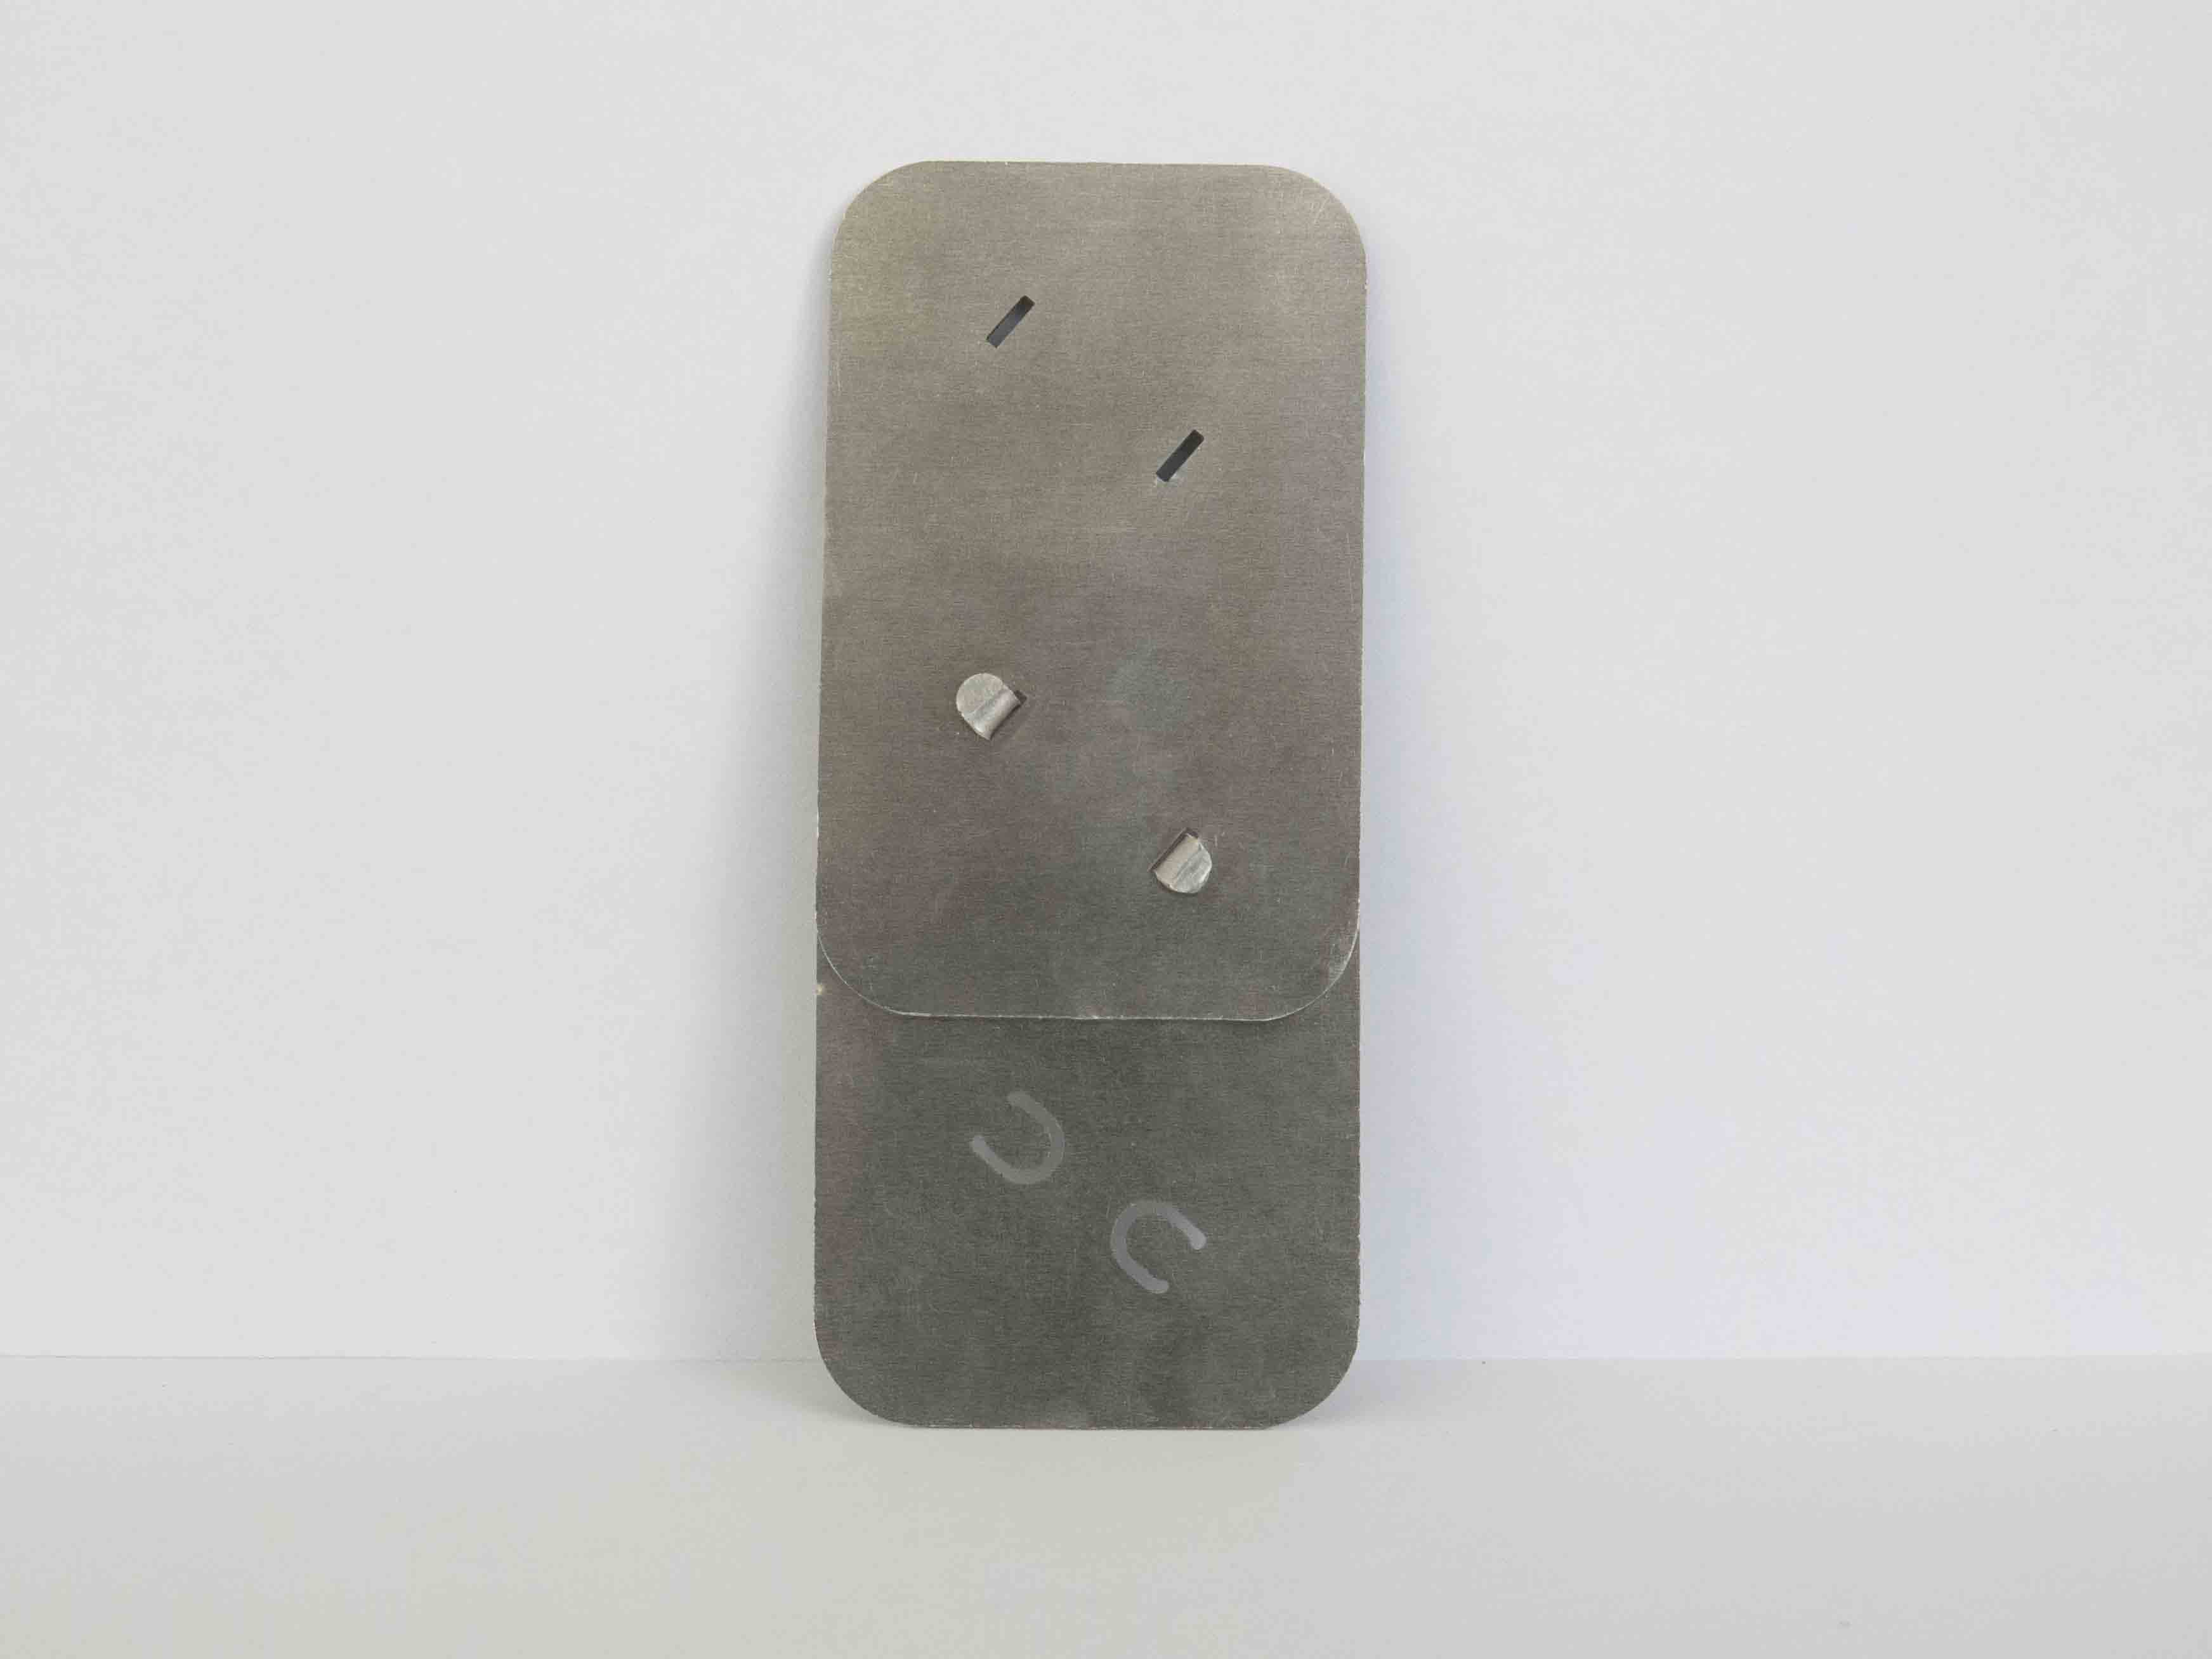
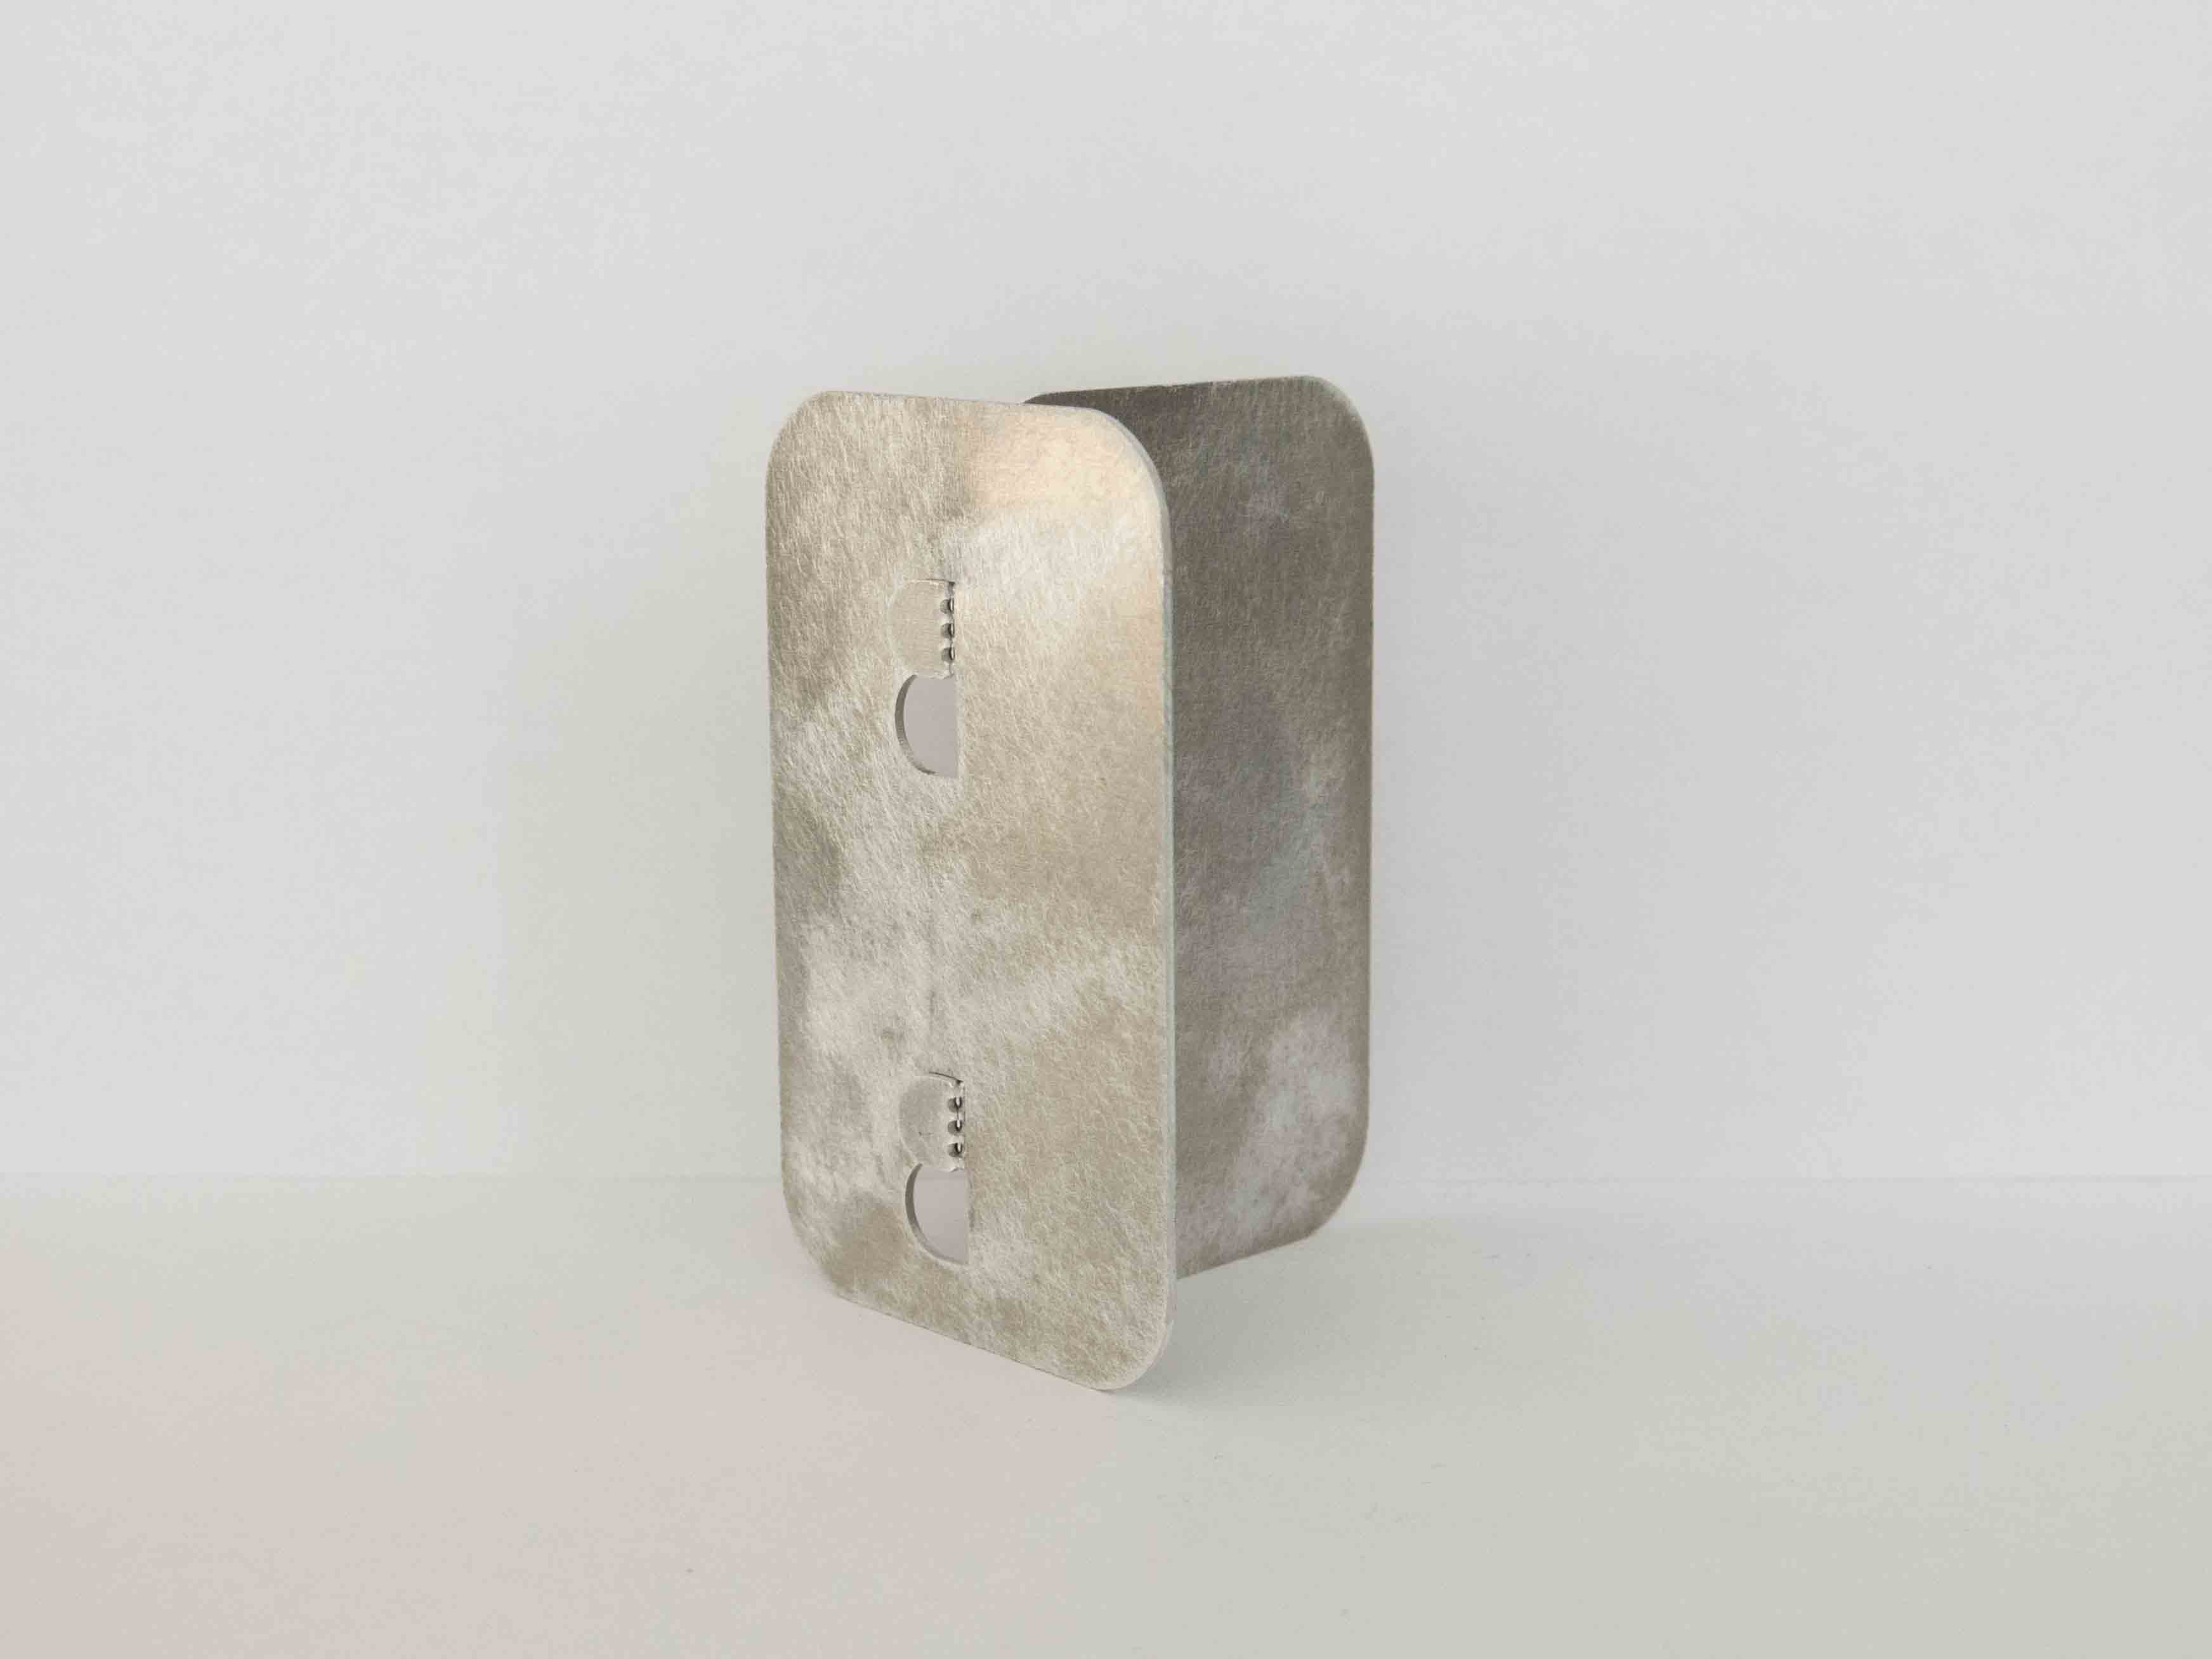
You can then fold the straps perpendicularly by hand or using pliers. You then slide them in the corresponding notches and fold them in to finish the fastening. For example, the above sheets, once fastened together, look like this:
You can see all the folding process in the gif below:
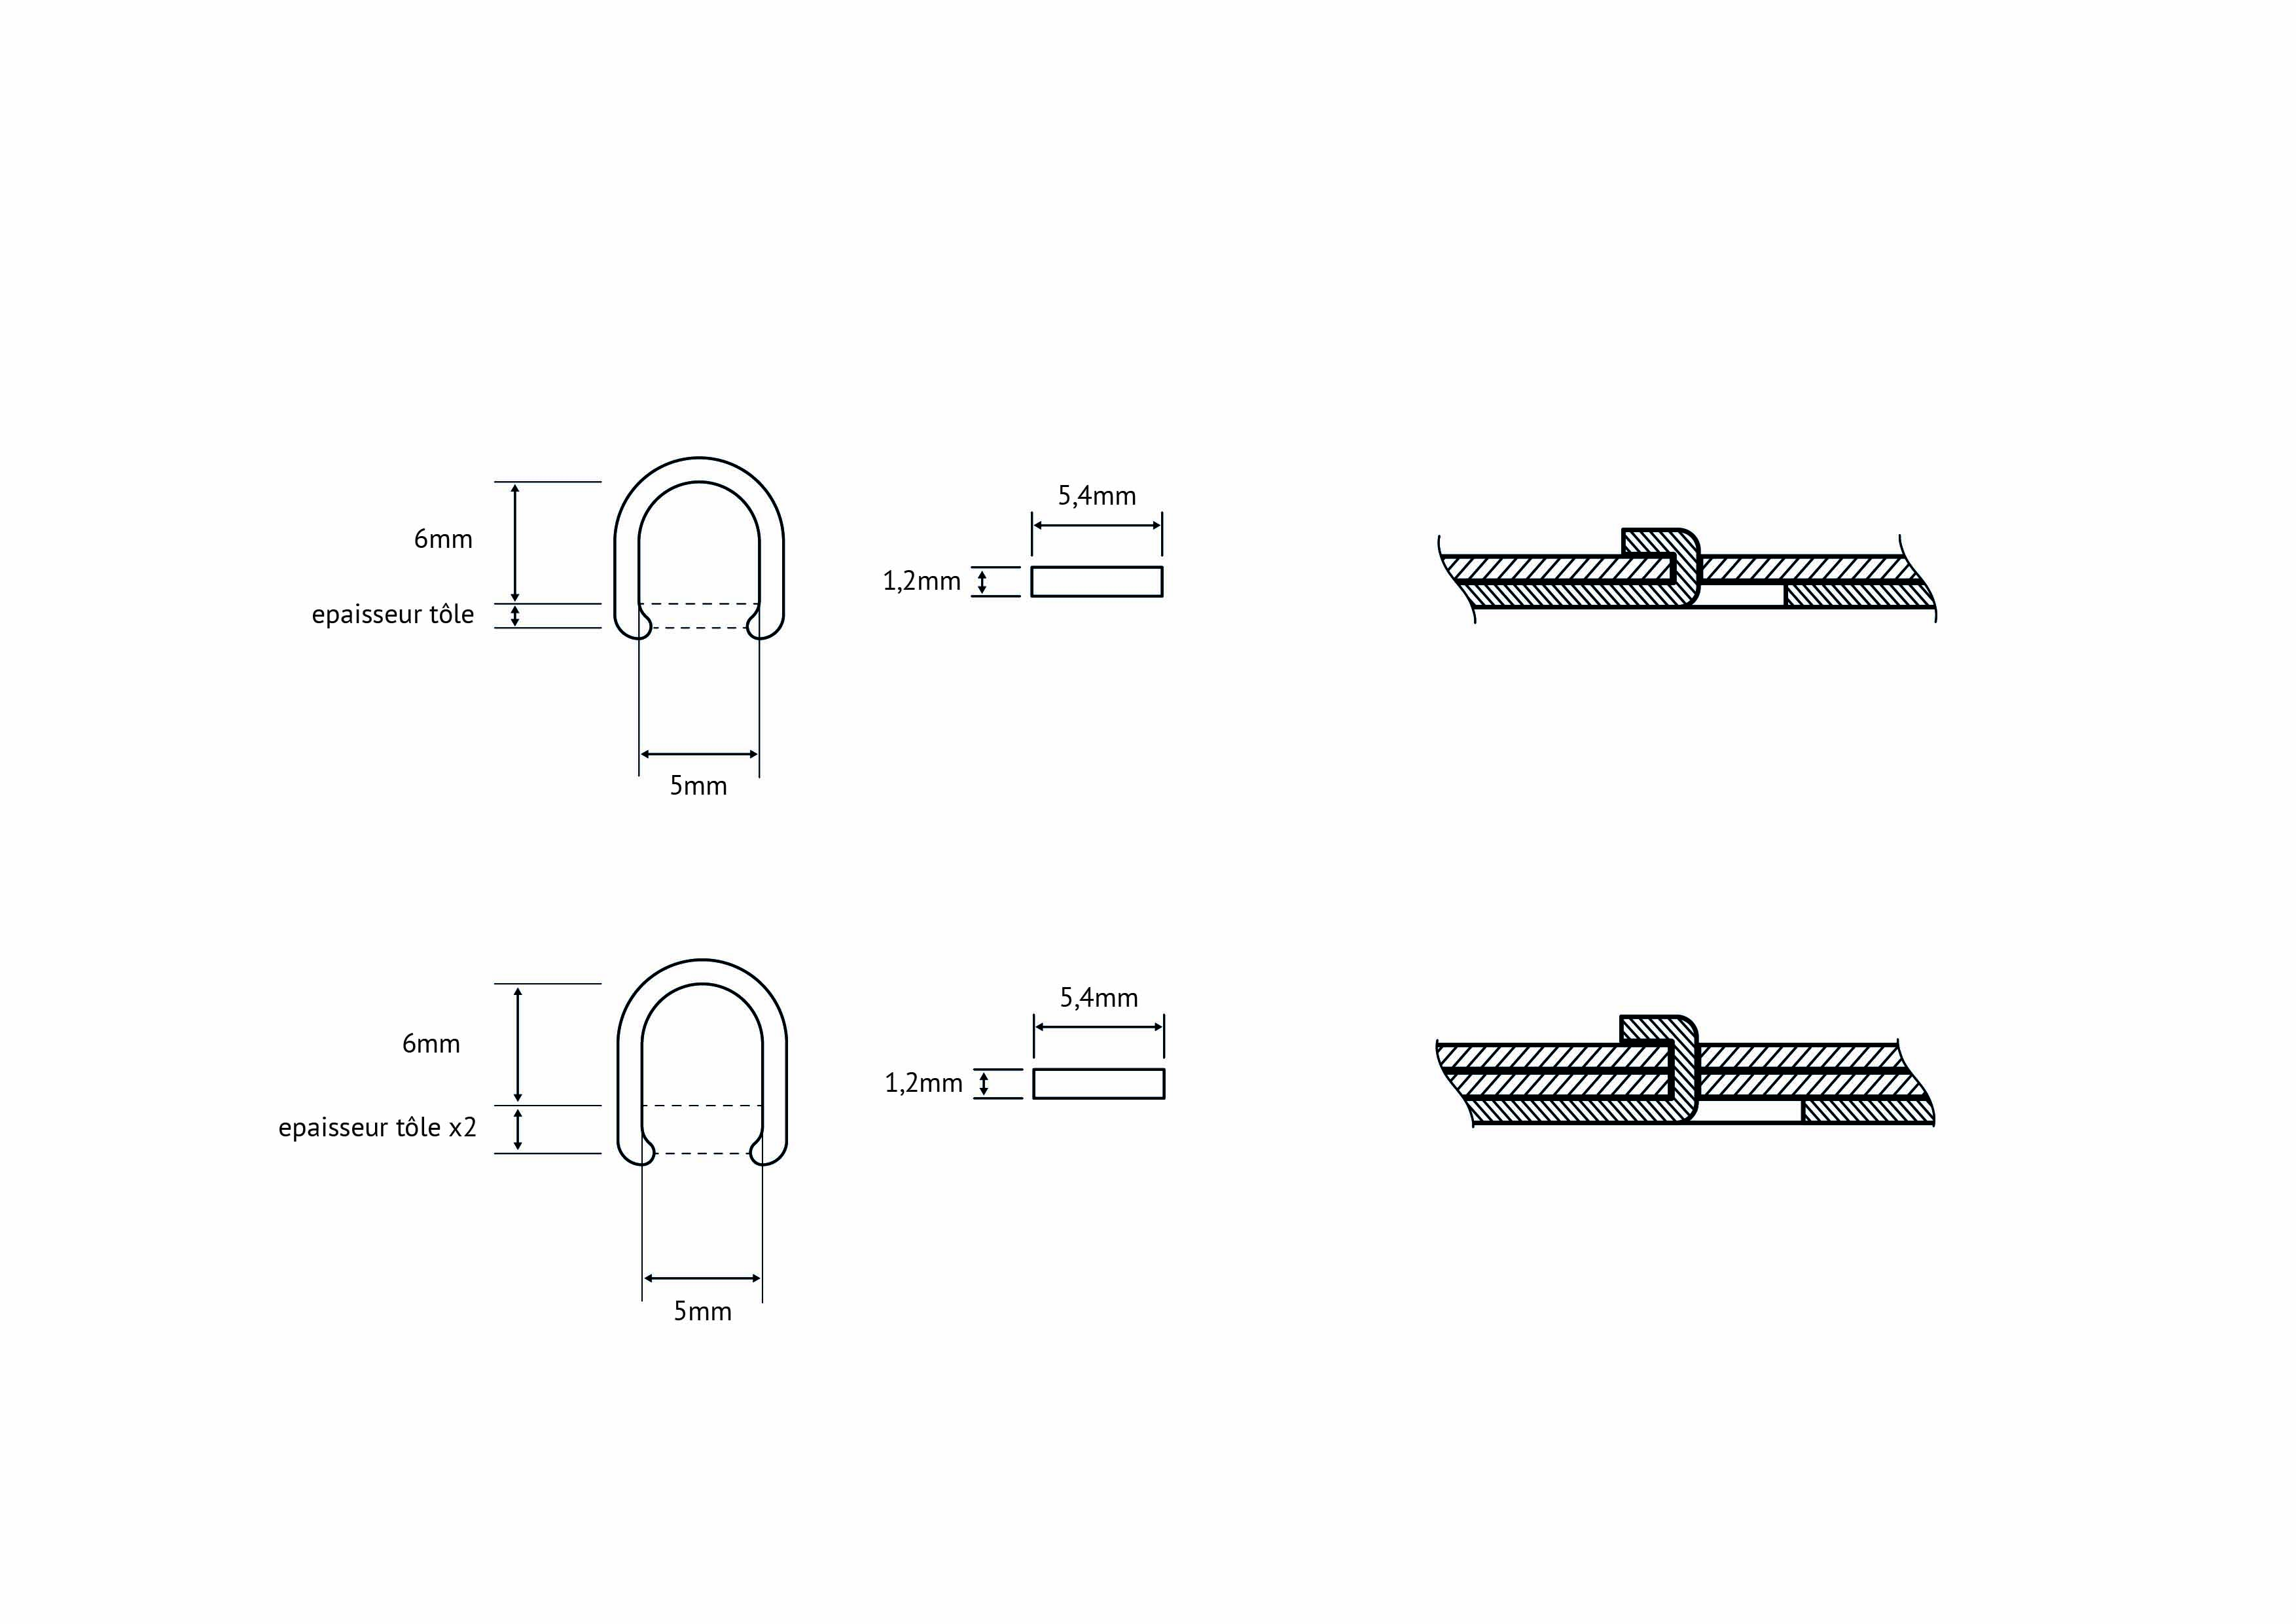
For more precision, here is a dimensional drawing of the fastening system:
Foreword 2: How to prepare for the hooks techniques in your 2D design
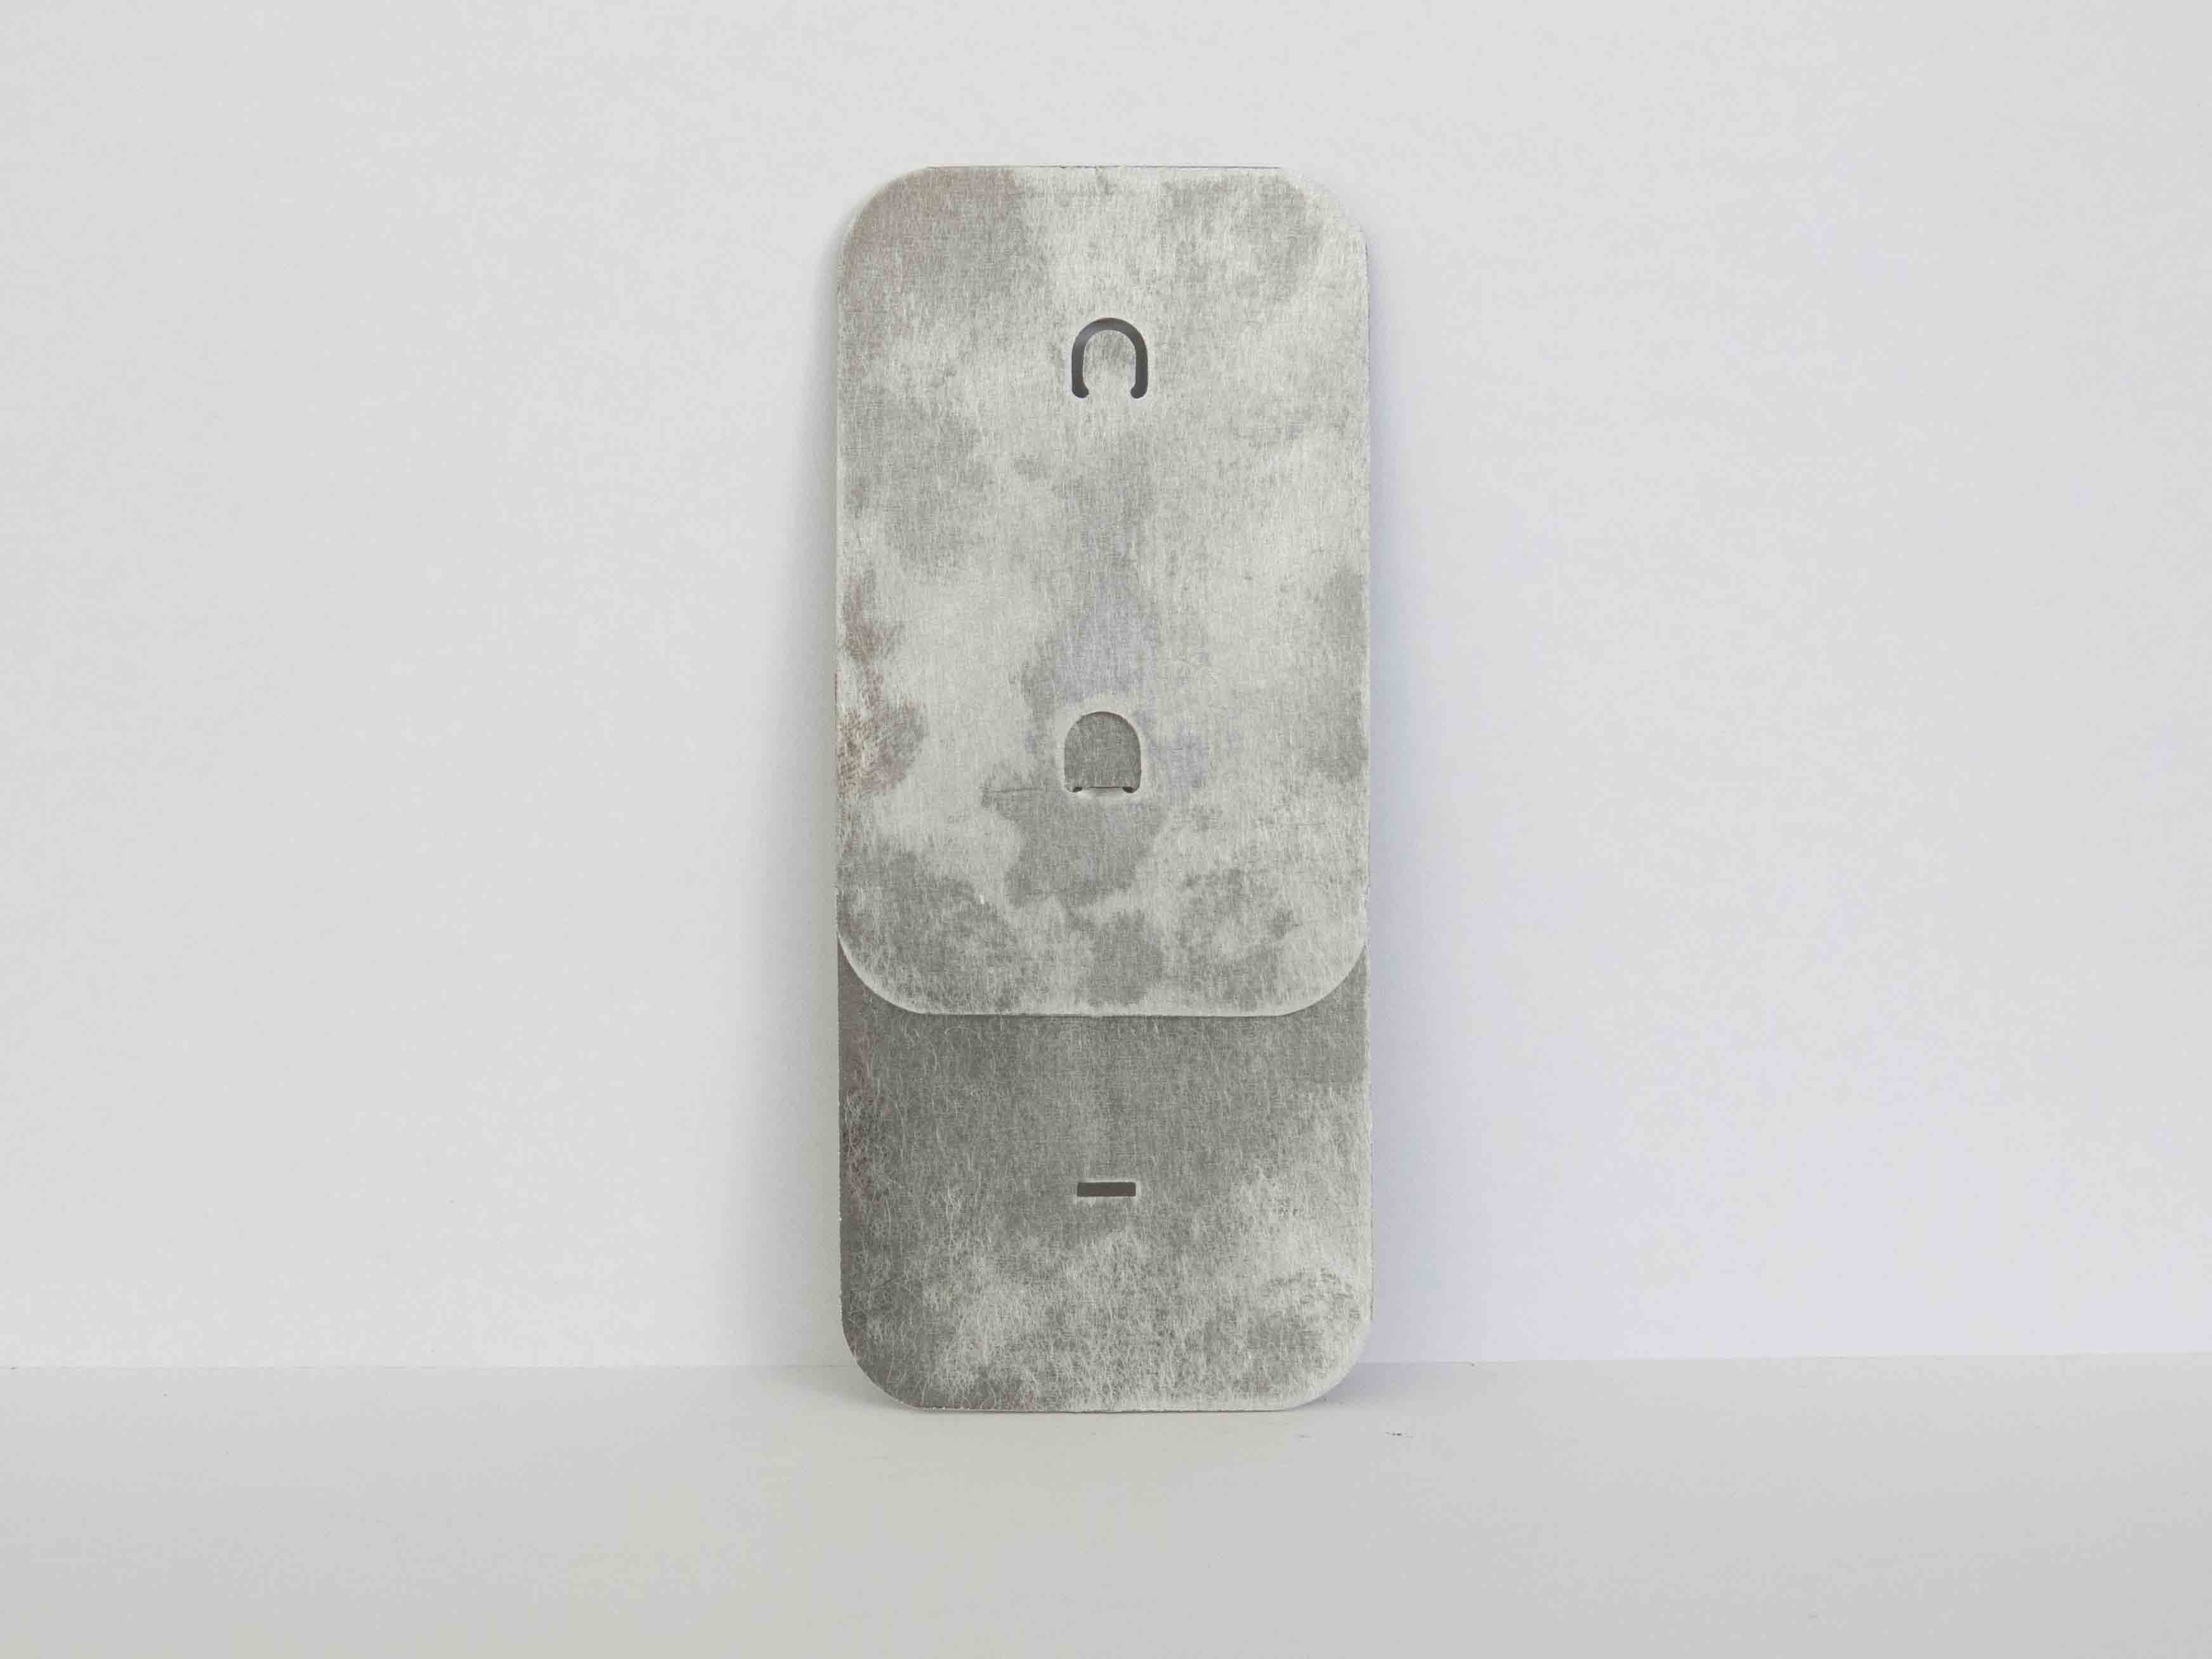
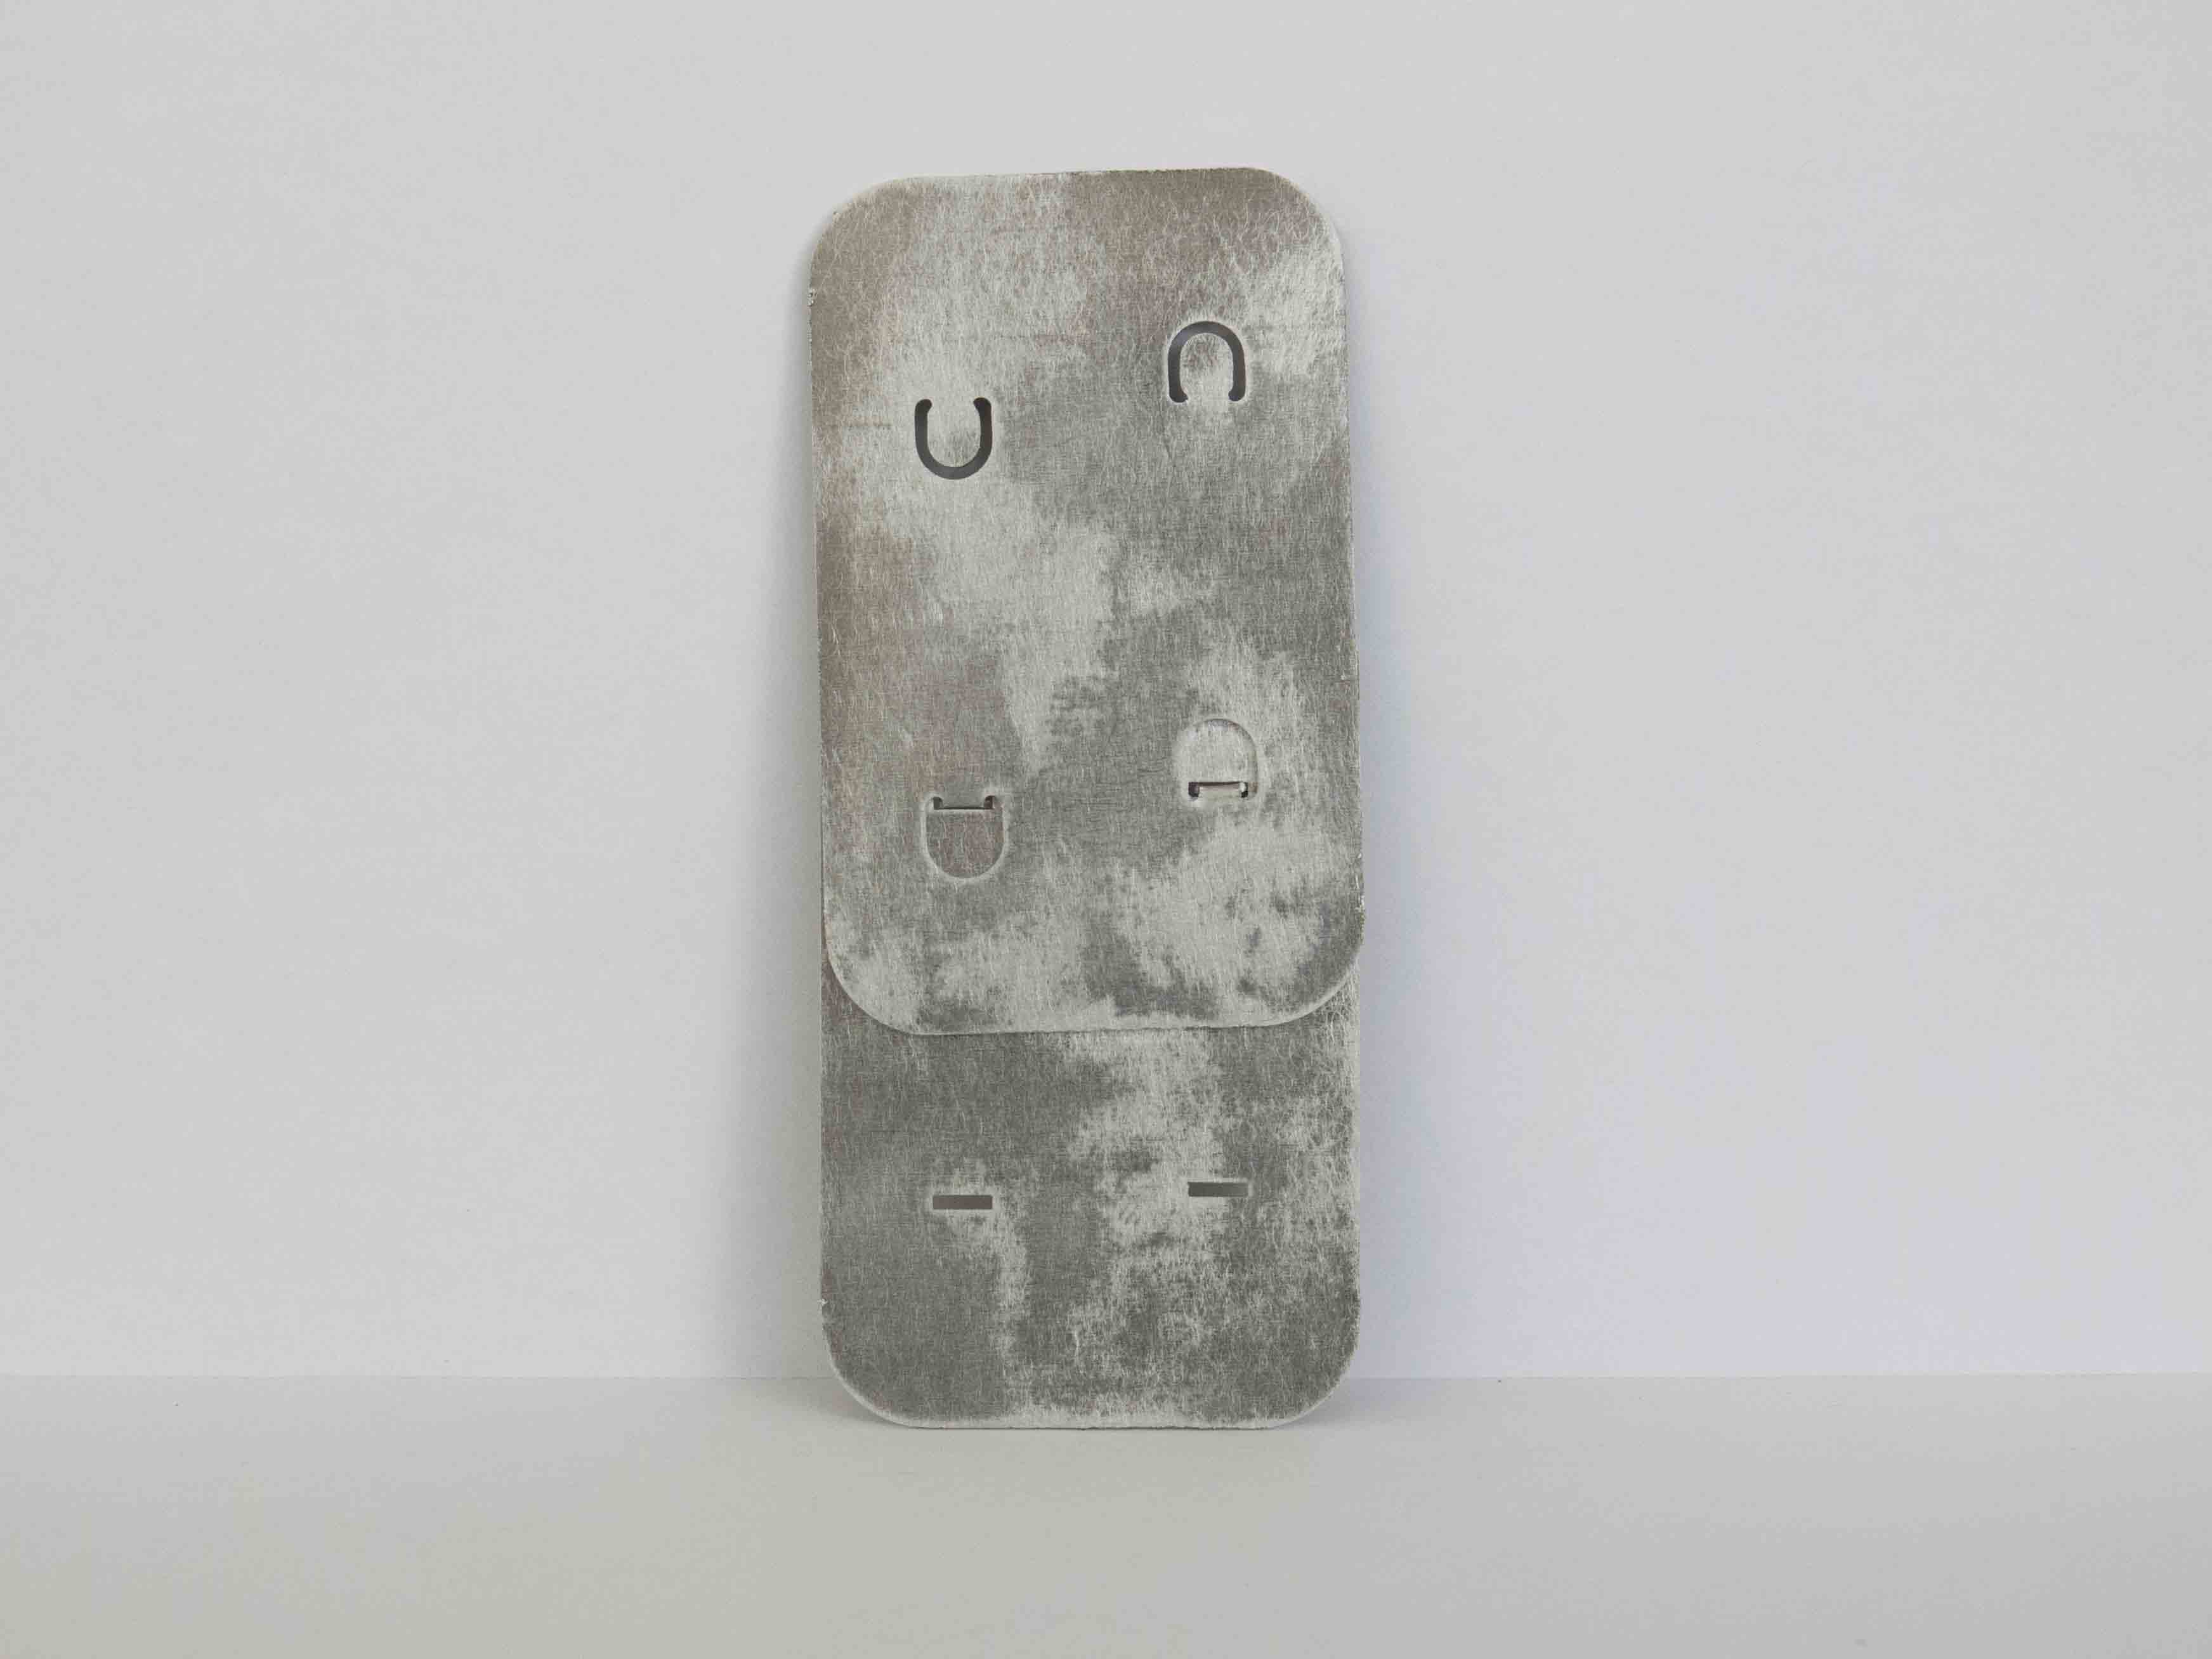
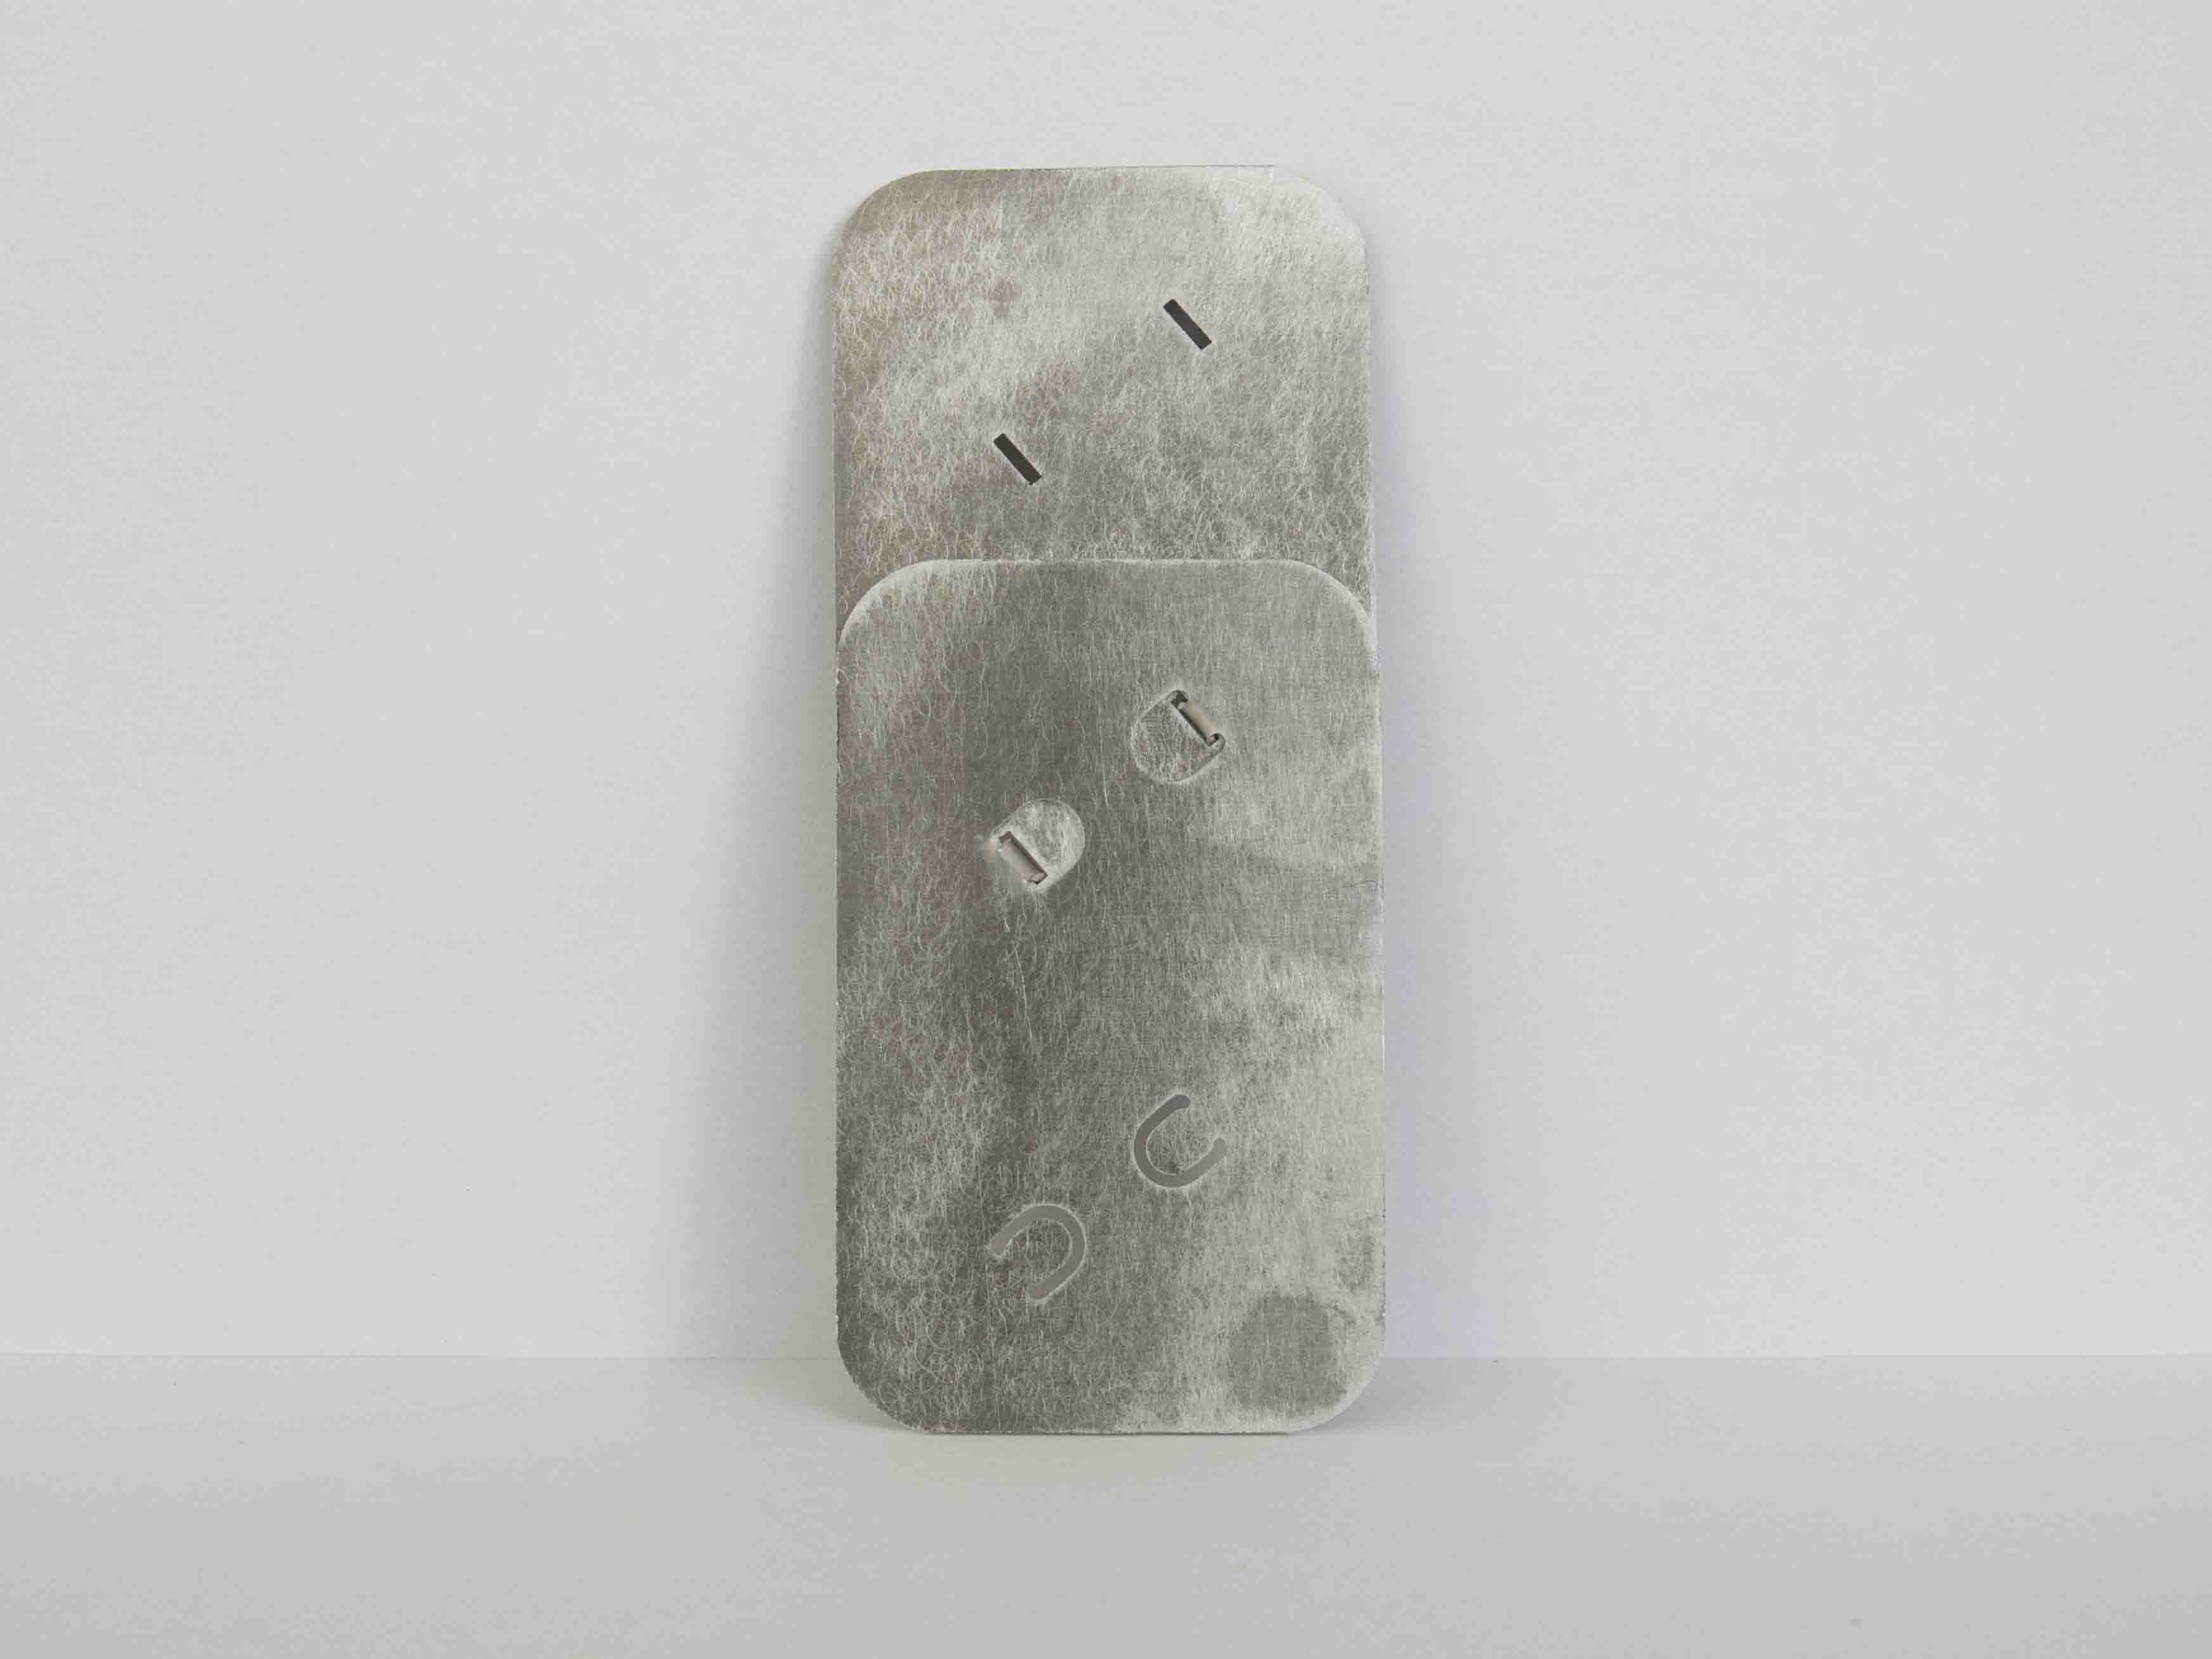
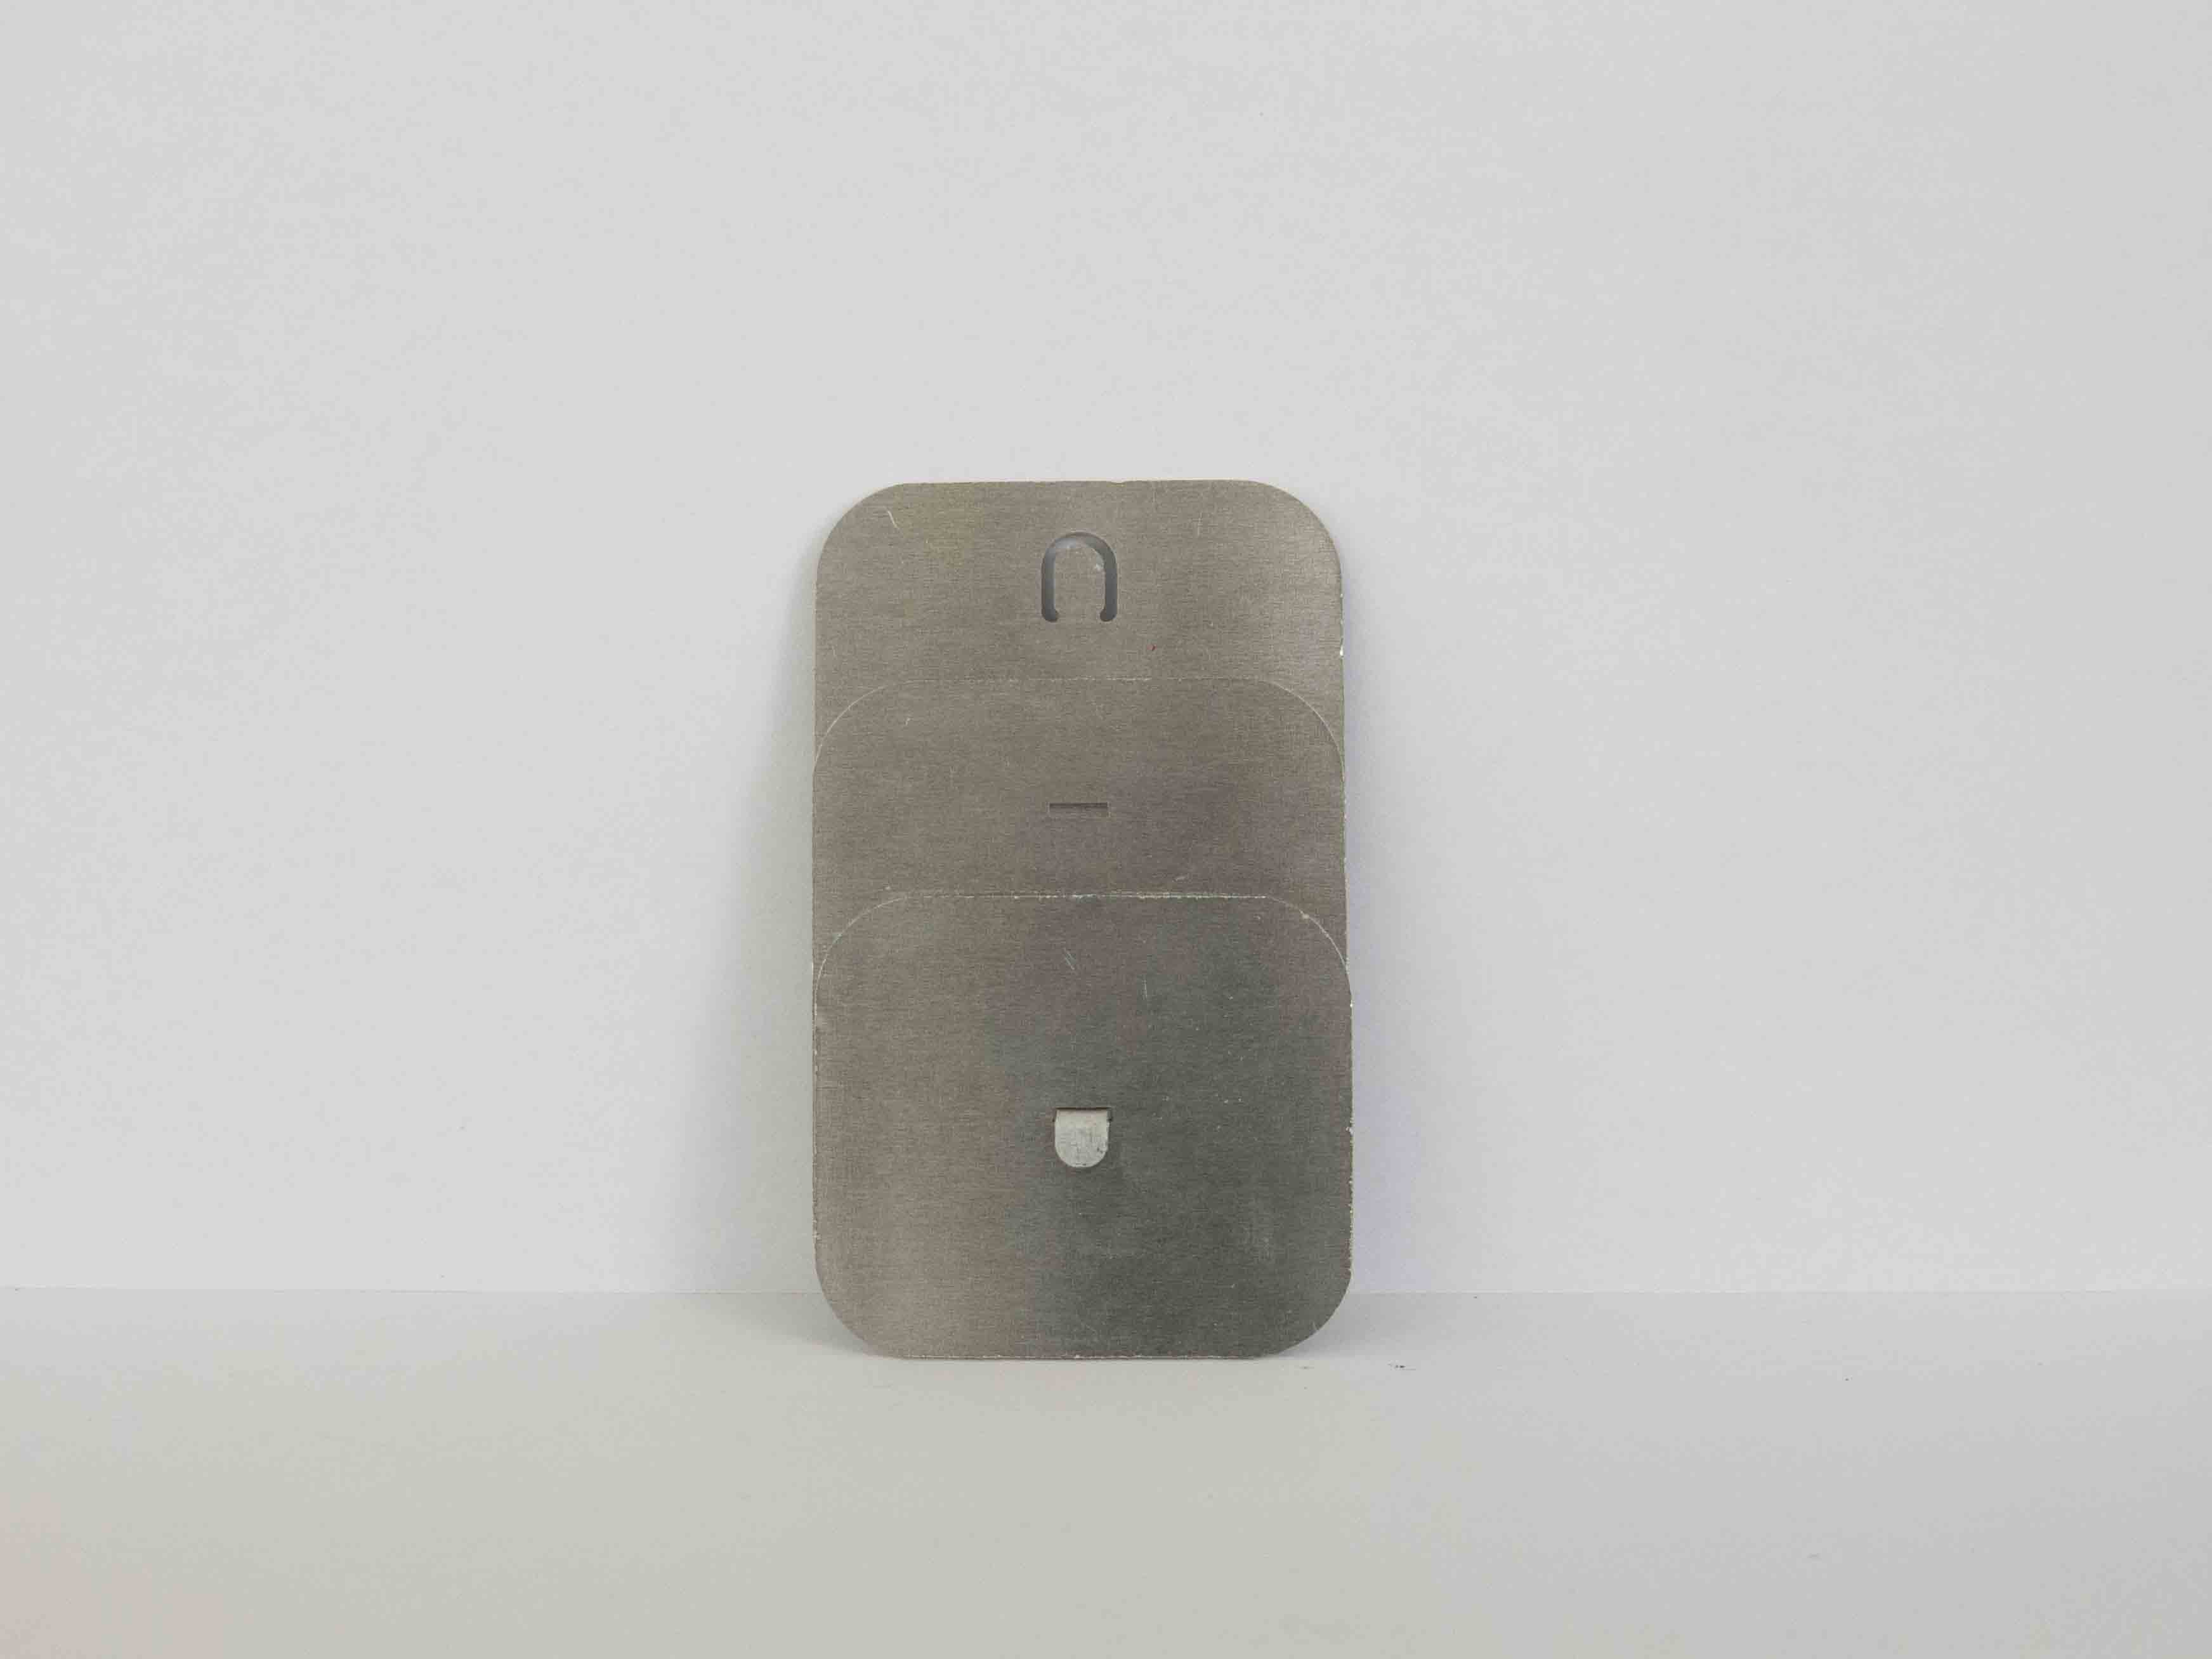
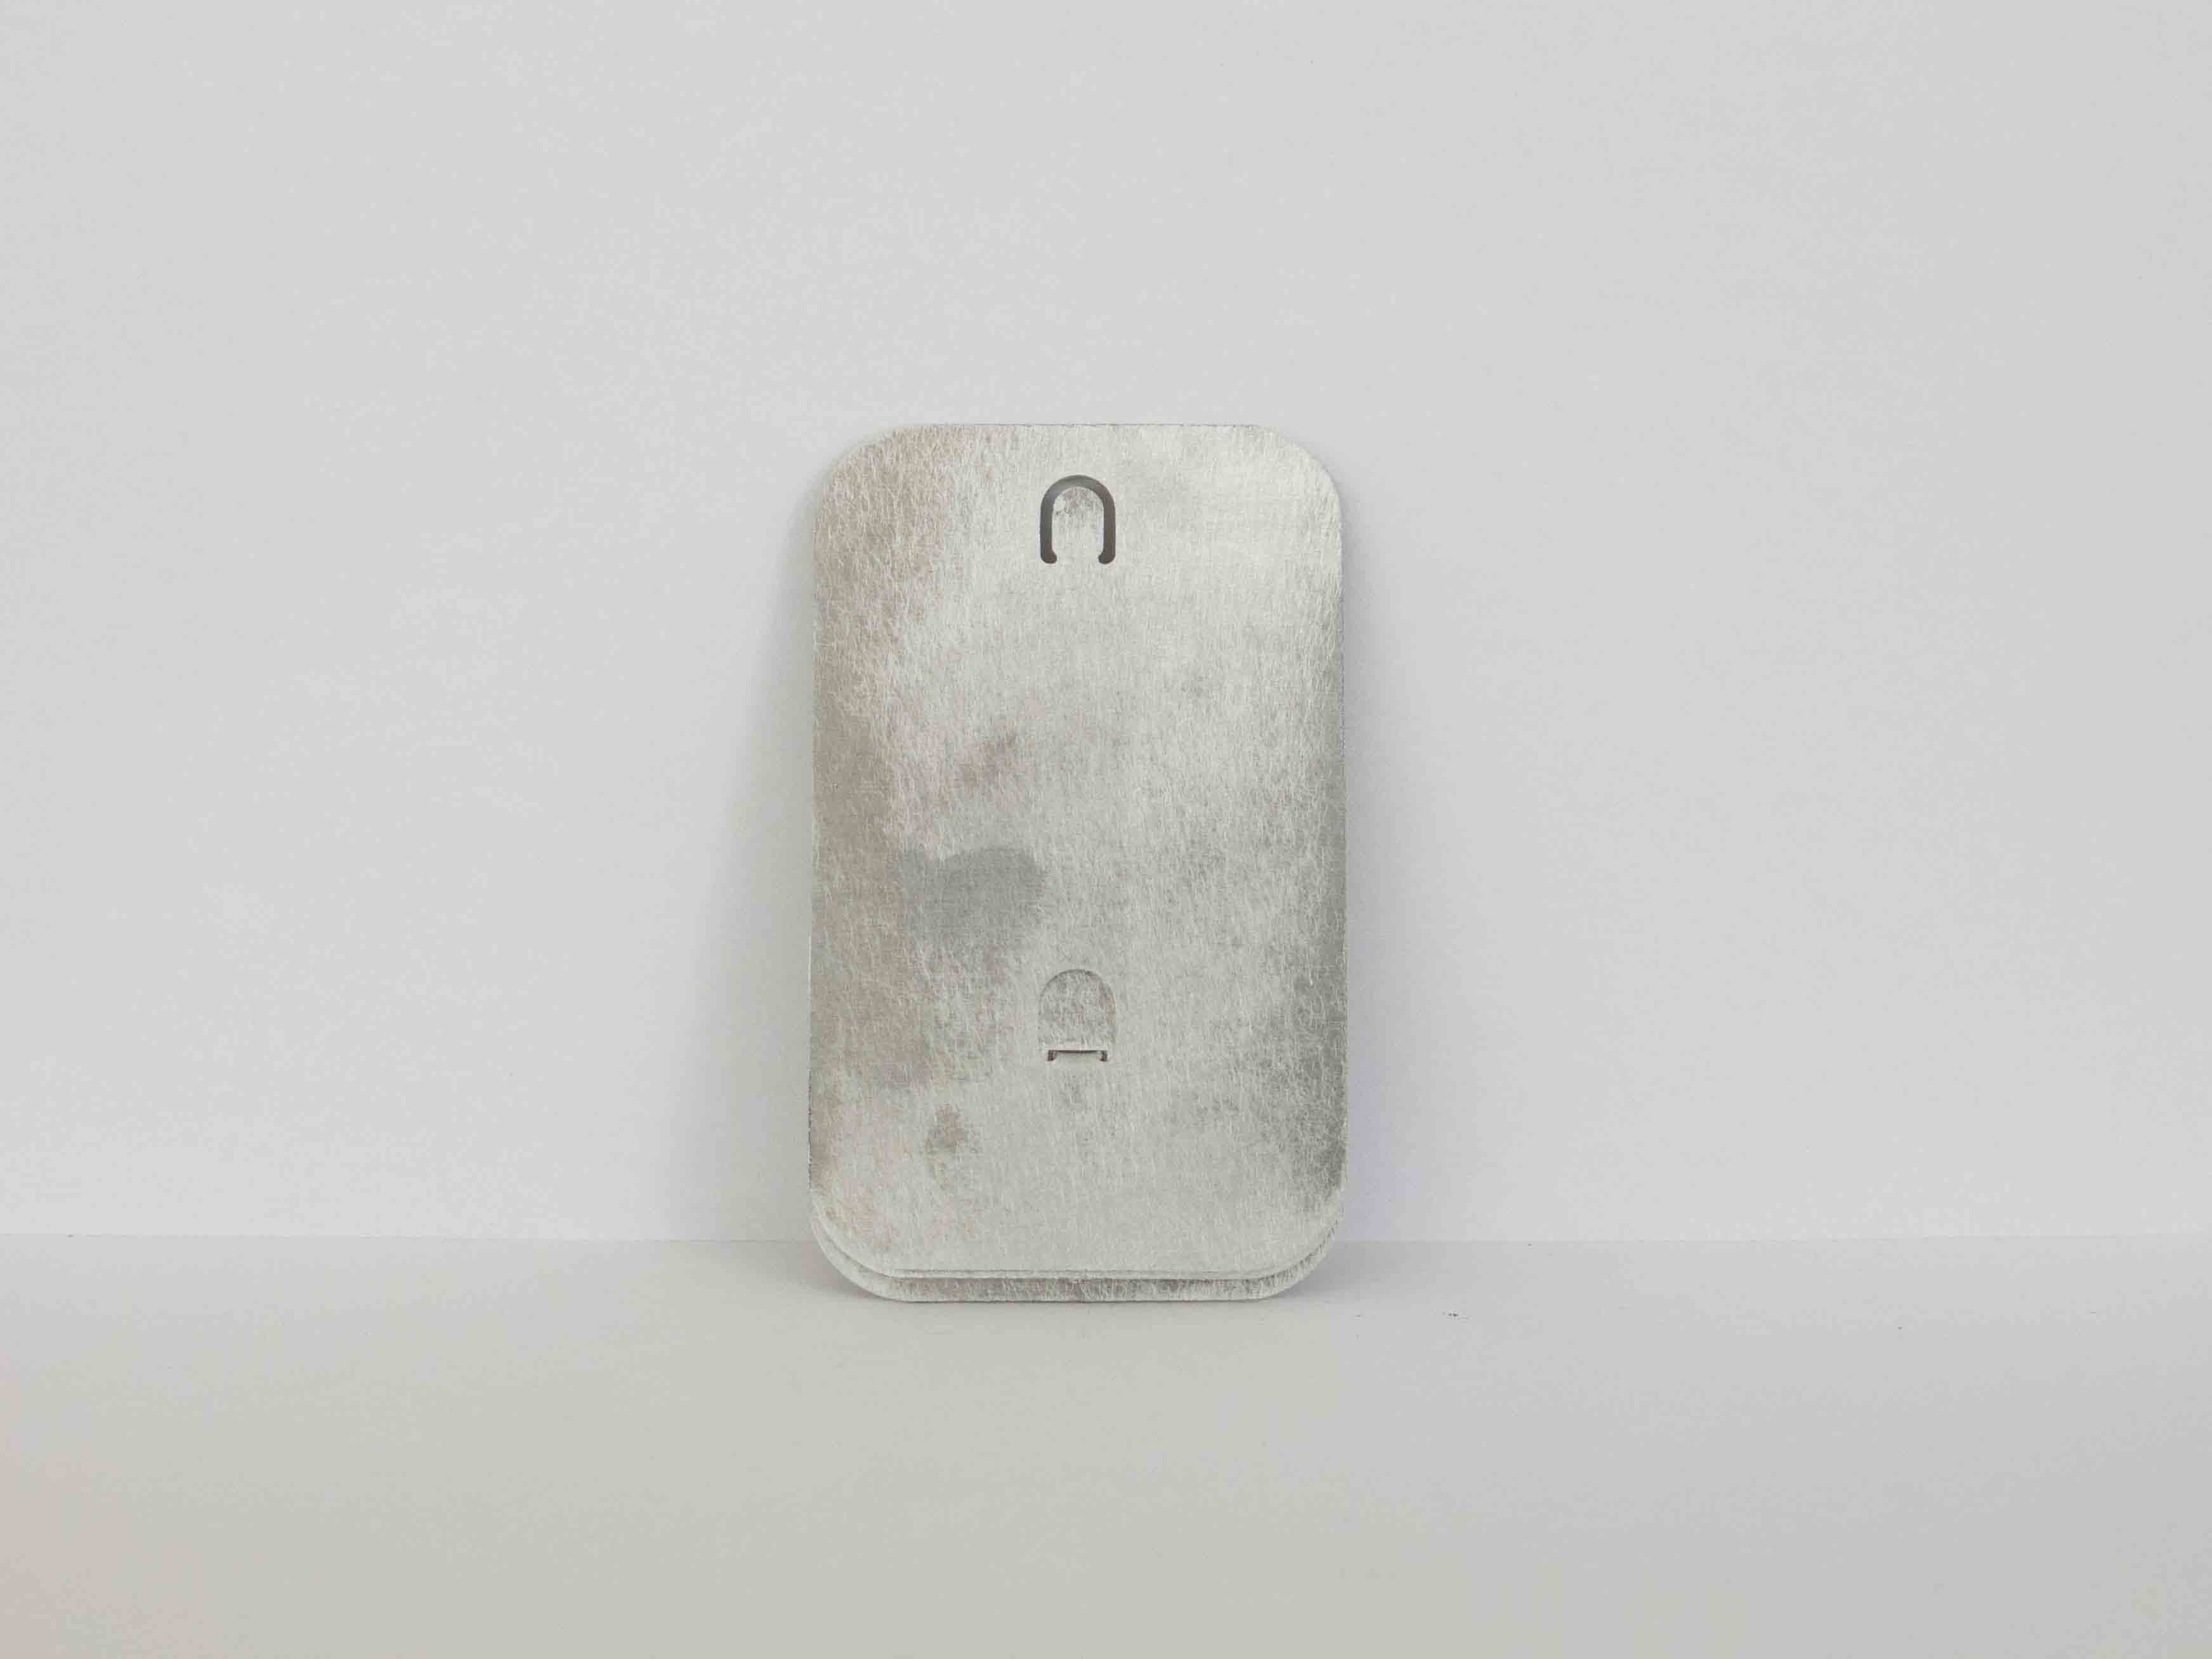
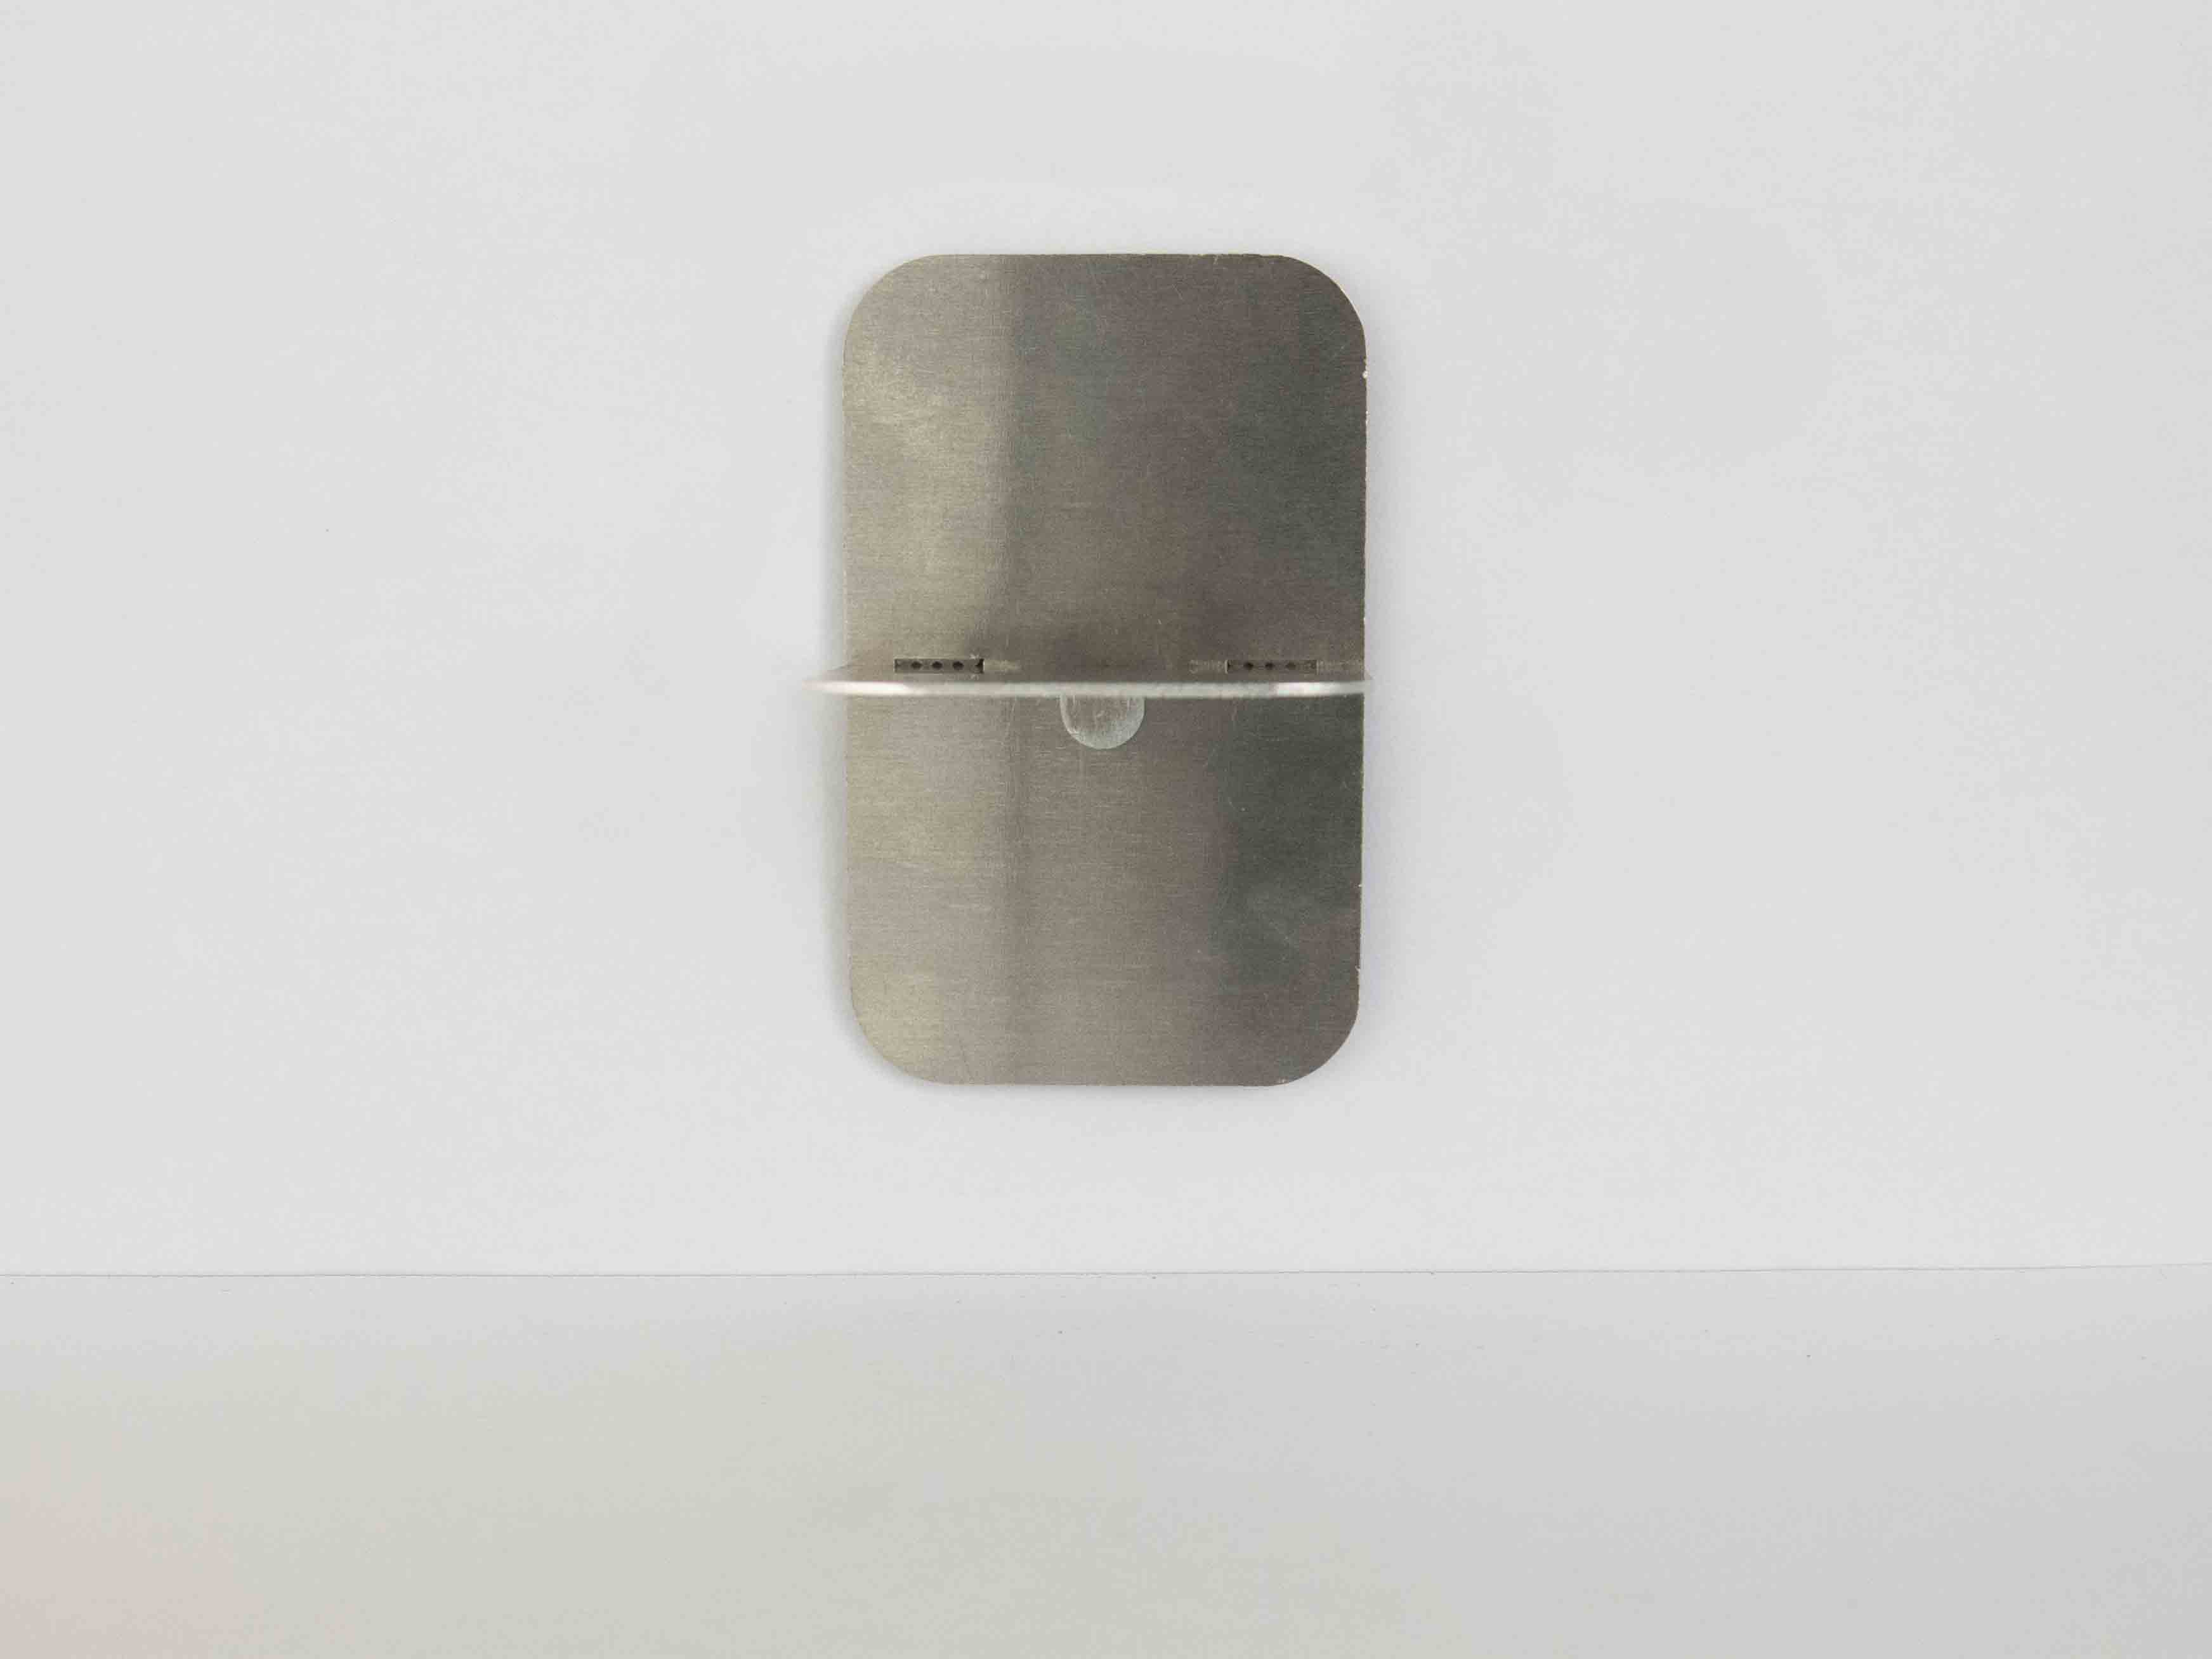
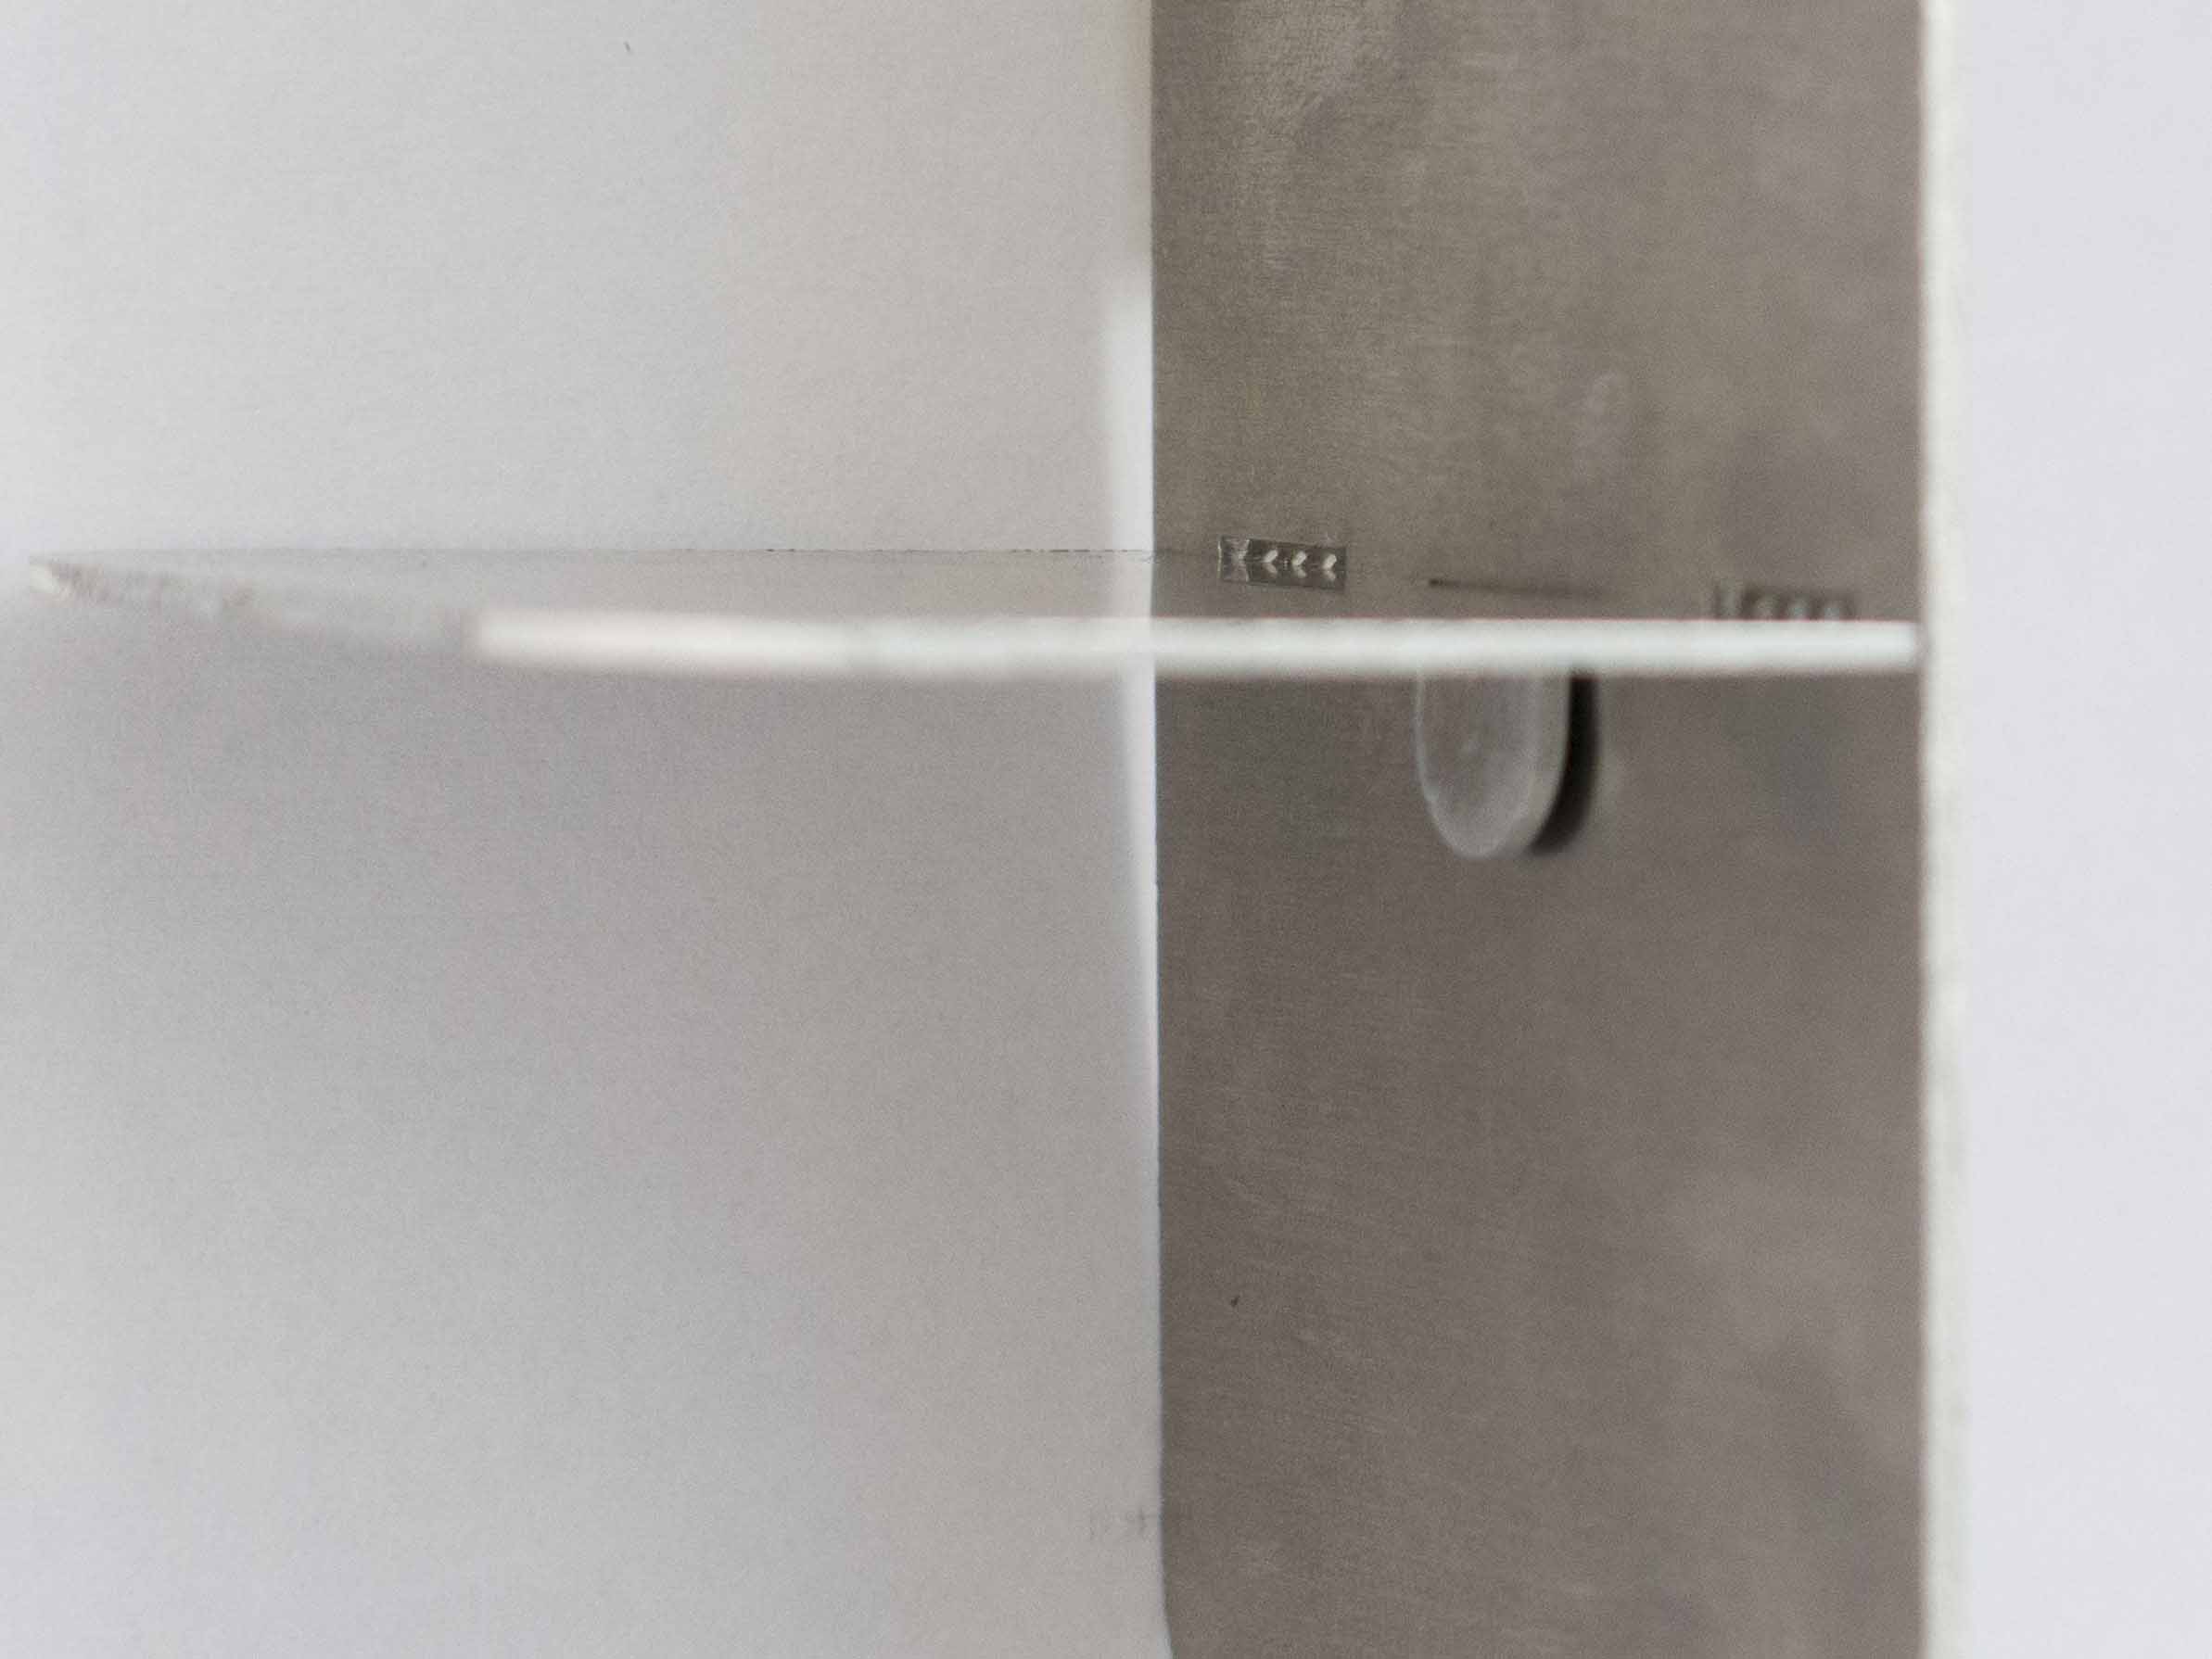
We also explain several hooks techniques, which have the same fundamentals: the hooks need to slide into the notches. When you design your 2D file, make sure that the two metal sheets level once the hooks are slid in place, like this:

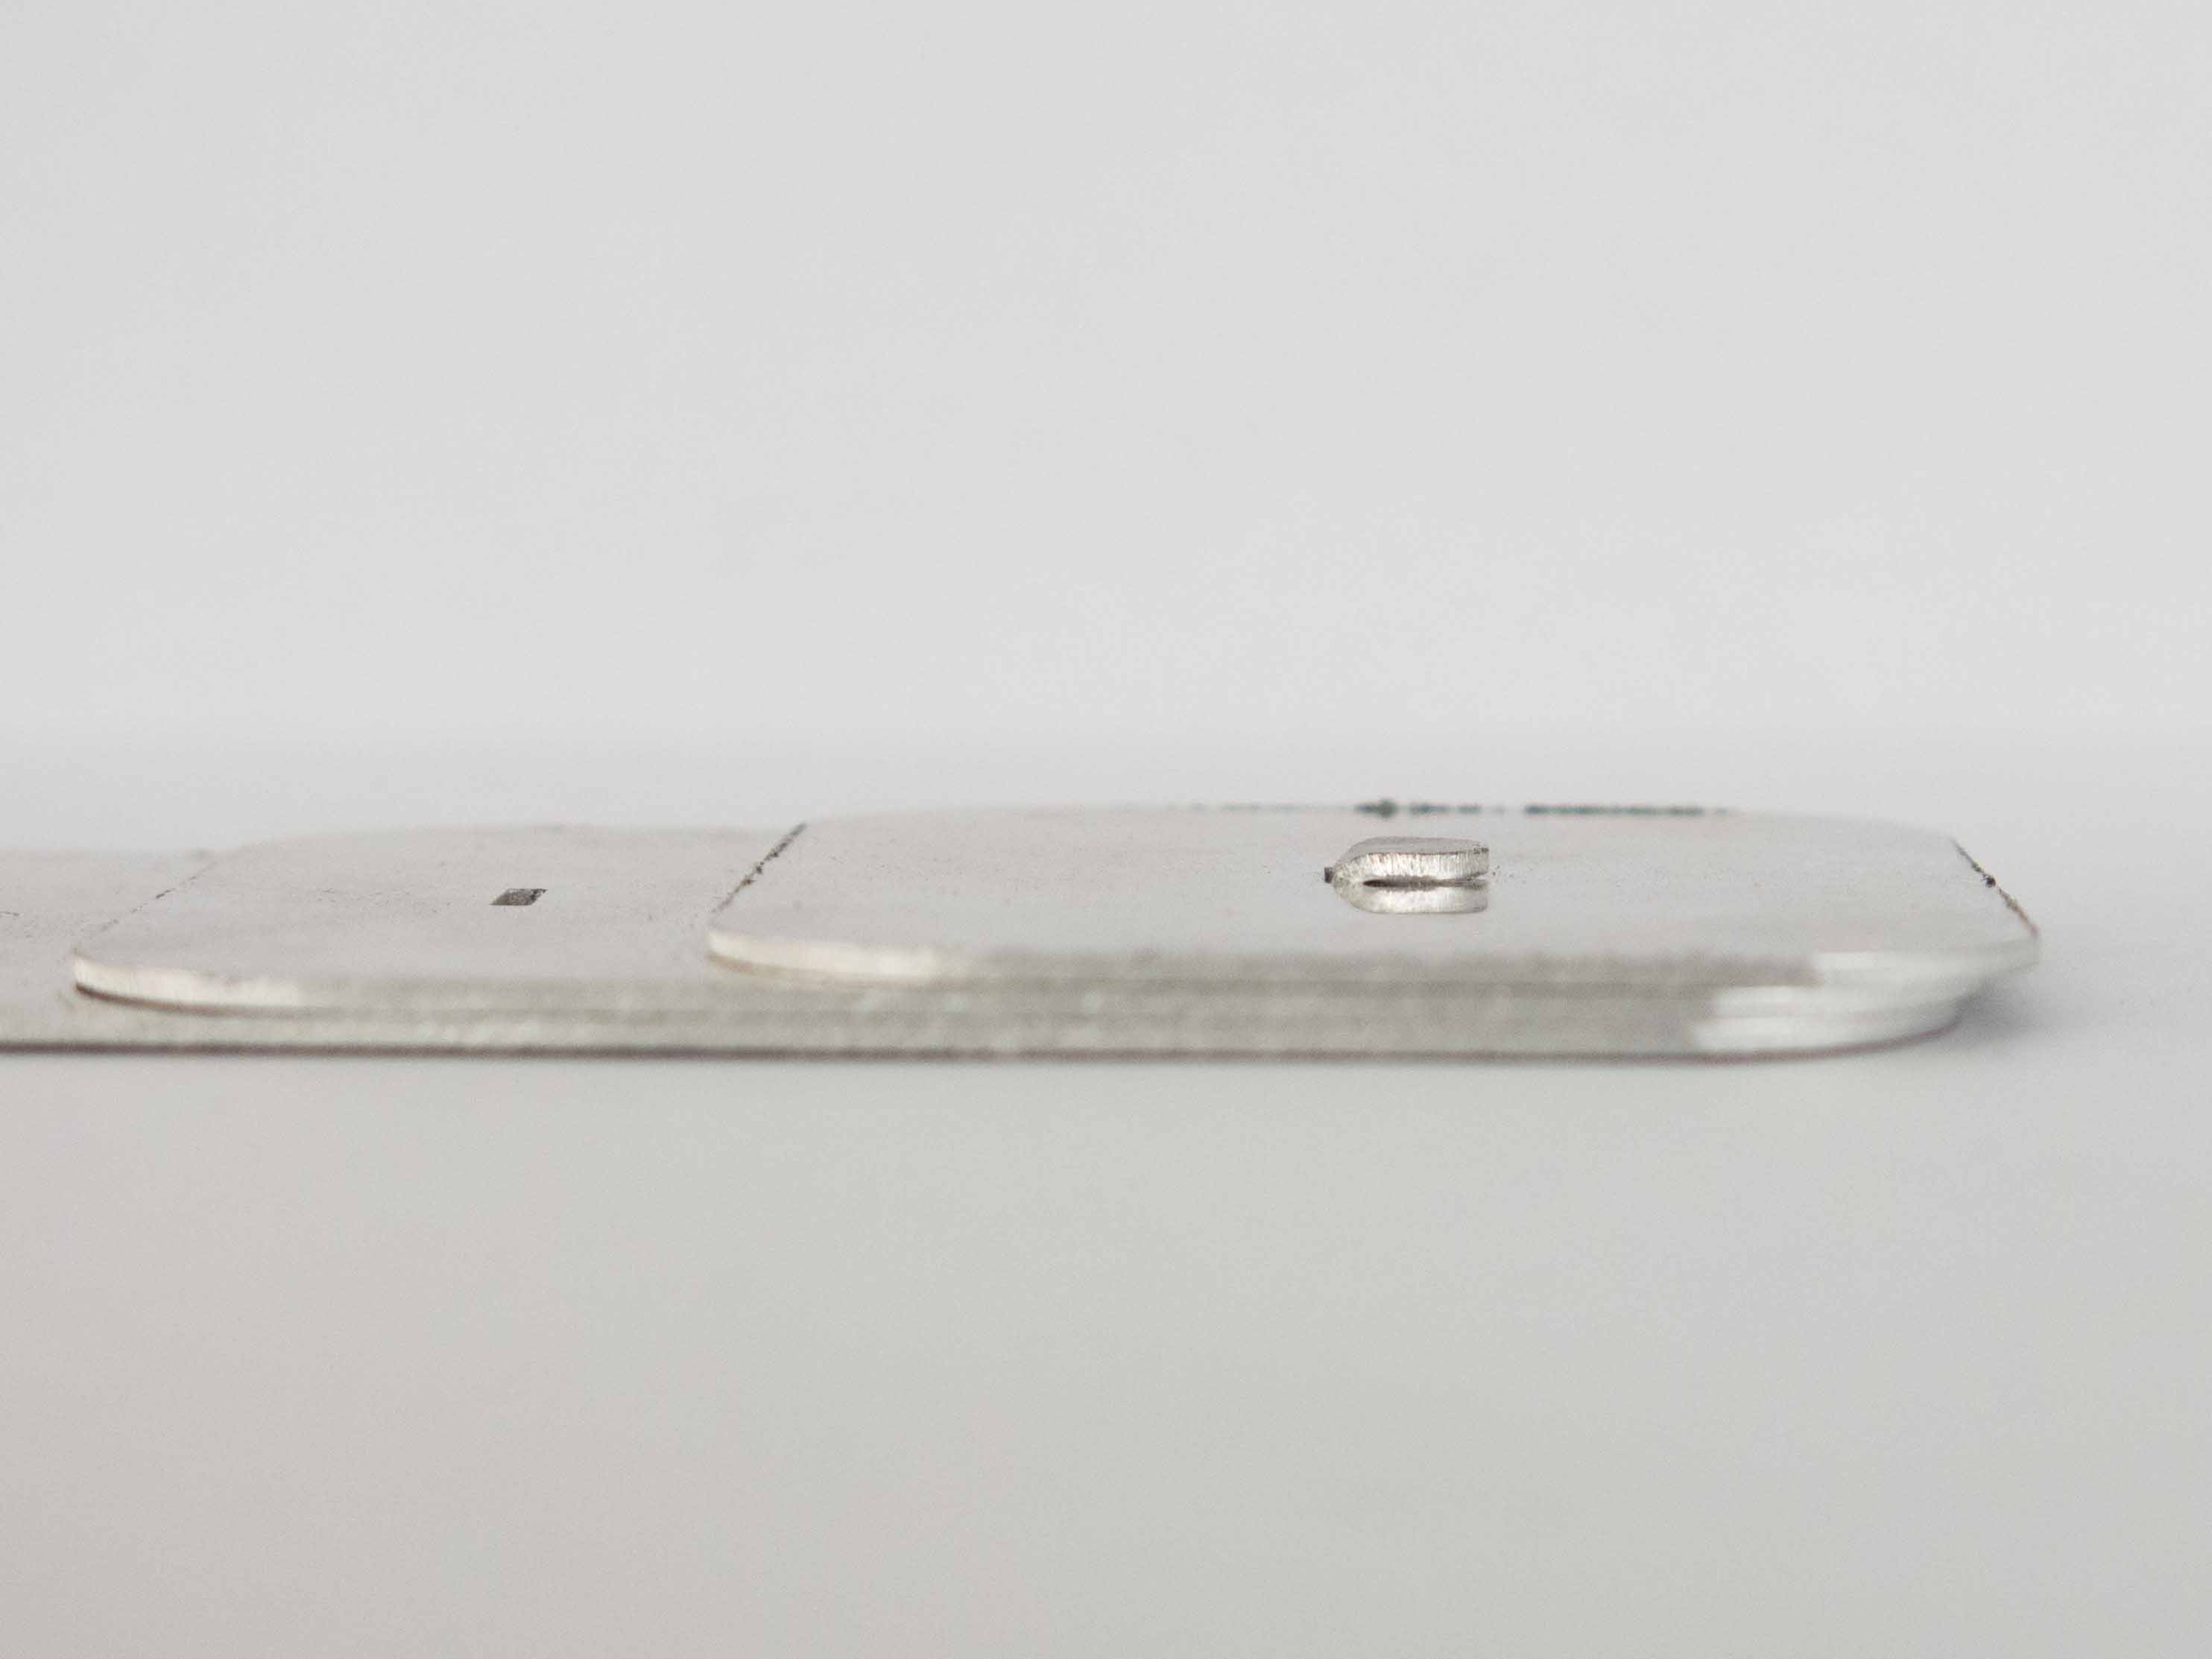
Here you see, that the hooks are lower than the notches before assembly. This is because to assemble, you need to slide the hooks in, then down. Only then can the two metal sheets level.
You also need to make sure the space between the hooks and the border of the part is equivalent to the thickness of the material (here 1mm space between the hooks and the side on the sheet on the right, because the sheet on the left is 1 mm thick).
1. Foldable strap of metal to fasten several sheets of material parallelly
We use this first method to tie several sheets of metal together by adding them one on top of the other (parallelly), like in the first example we showed you:
The point is to create volumes by addition, or to make chains of metal parts.
Tip 1: The orientation of the straps changes how tight the fastening is
This technique can be used in a variety of ways depending on how tight you want your connections to be.
Method a) Straps oriented in alternate directions can make your metal ties stronger
With double straps that each point in a different direction, you make sure your sheets of laser cut metal won’t budge. This way:
Method b) Making the straps crooked will increase grasp even more
If you need extra grasp, these crooked straps will be better than ones that are parallel to the outer border of the sheet.
Tip 2: You can fasten more than two sheets together
All you have to do is adjust the length of the strap so that it takes into account the thickness of the added sheet of metal. Here: we added an extra 1 mm thick metal sheet, so the strap is 1 mm longer.
2. Foldable strap of metal to hold a different material with your metal sheet
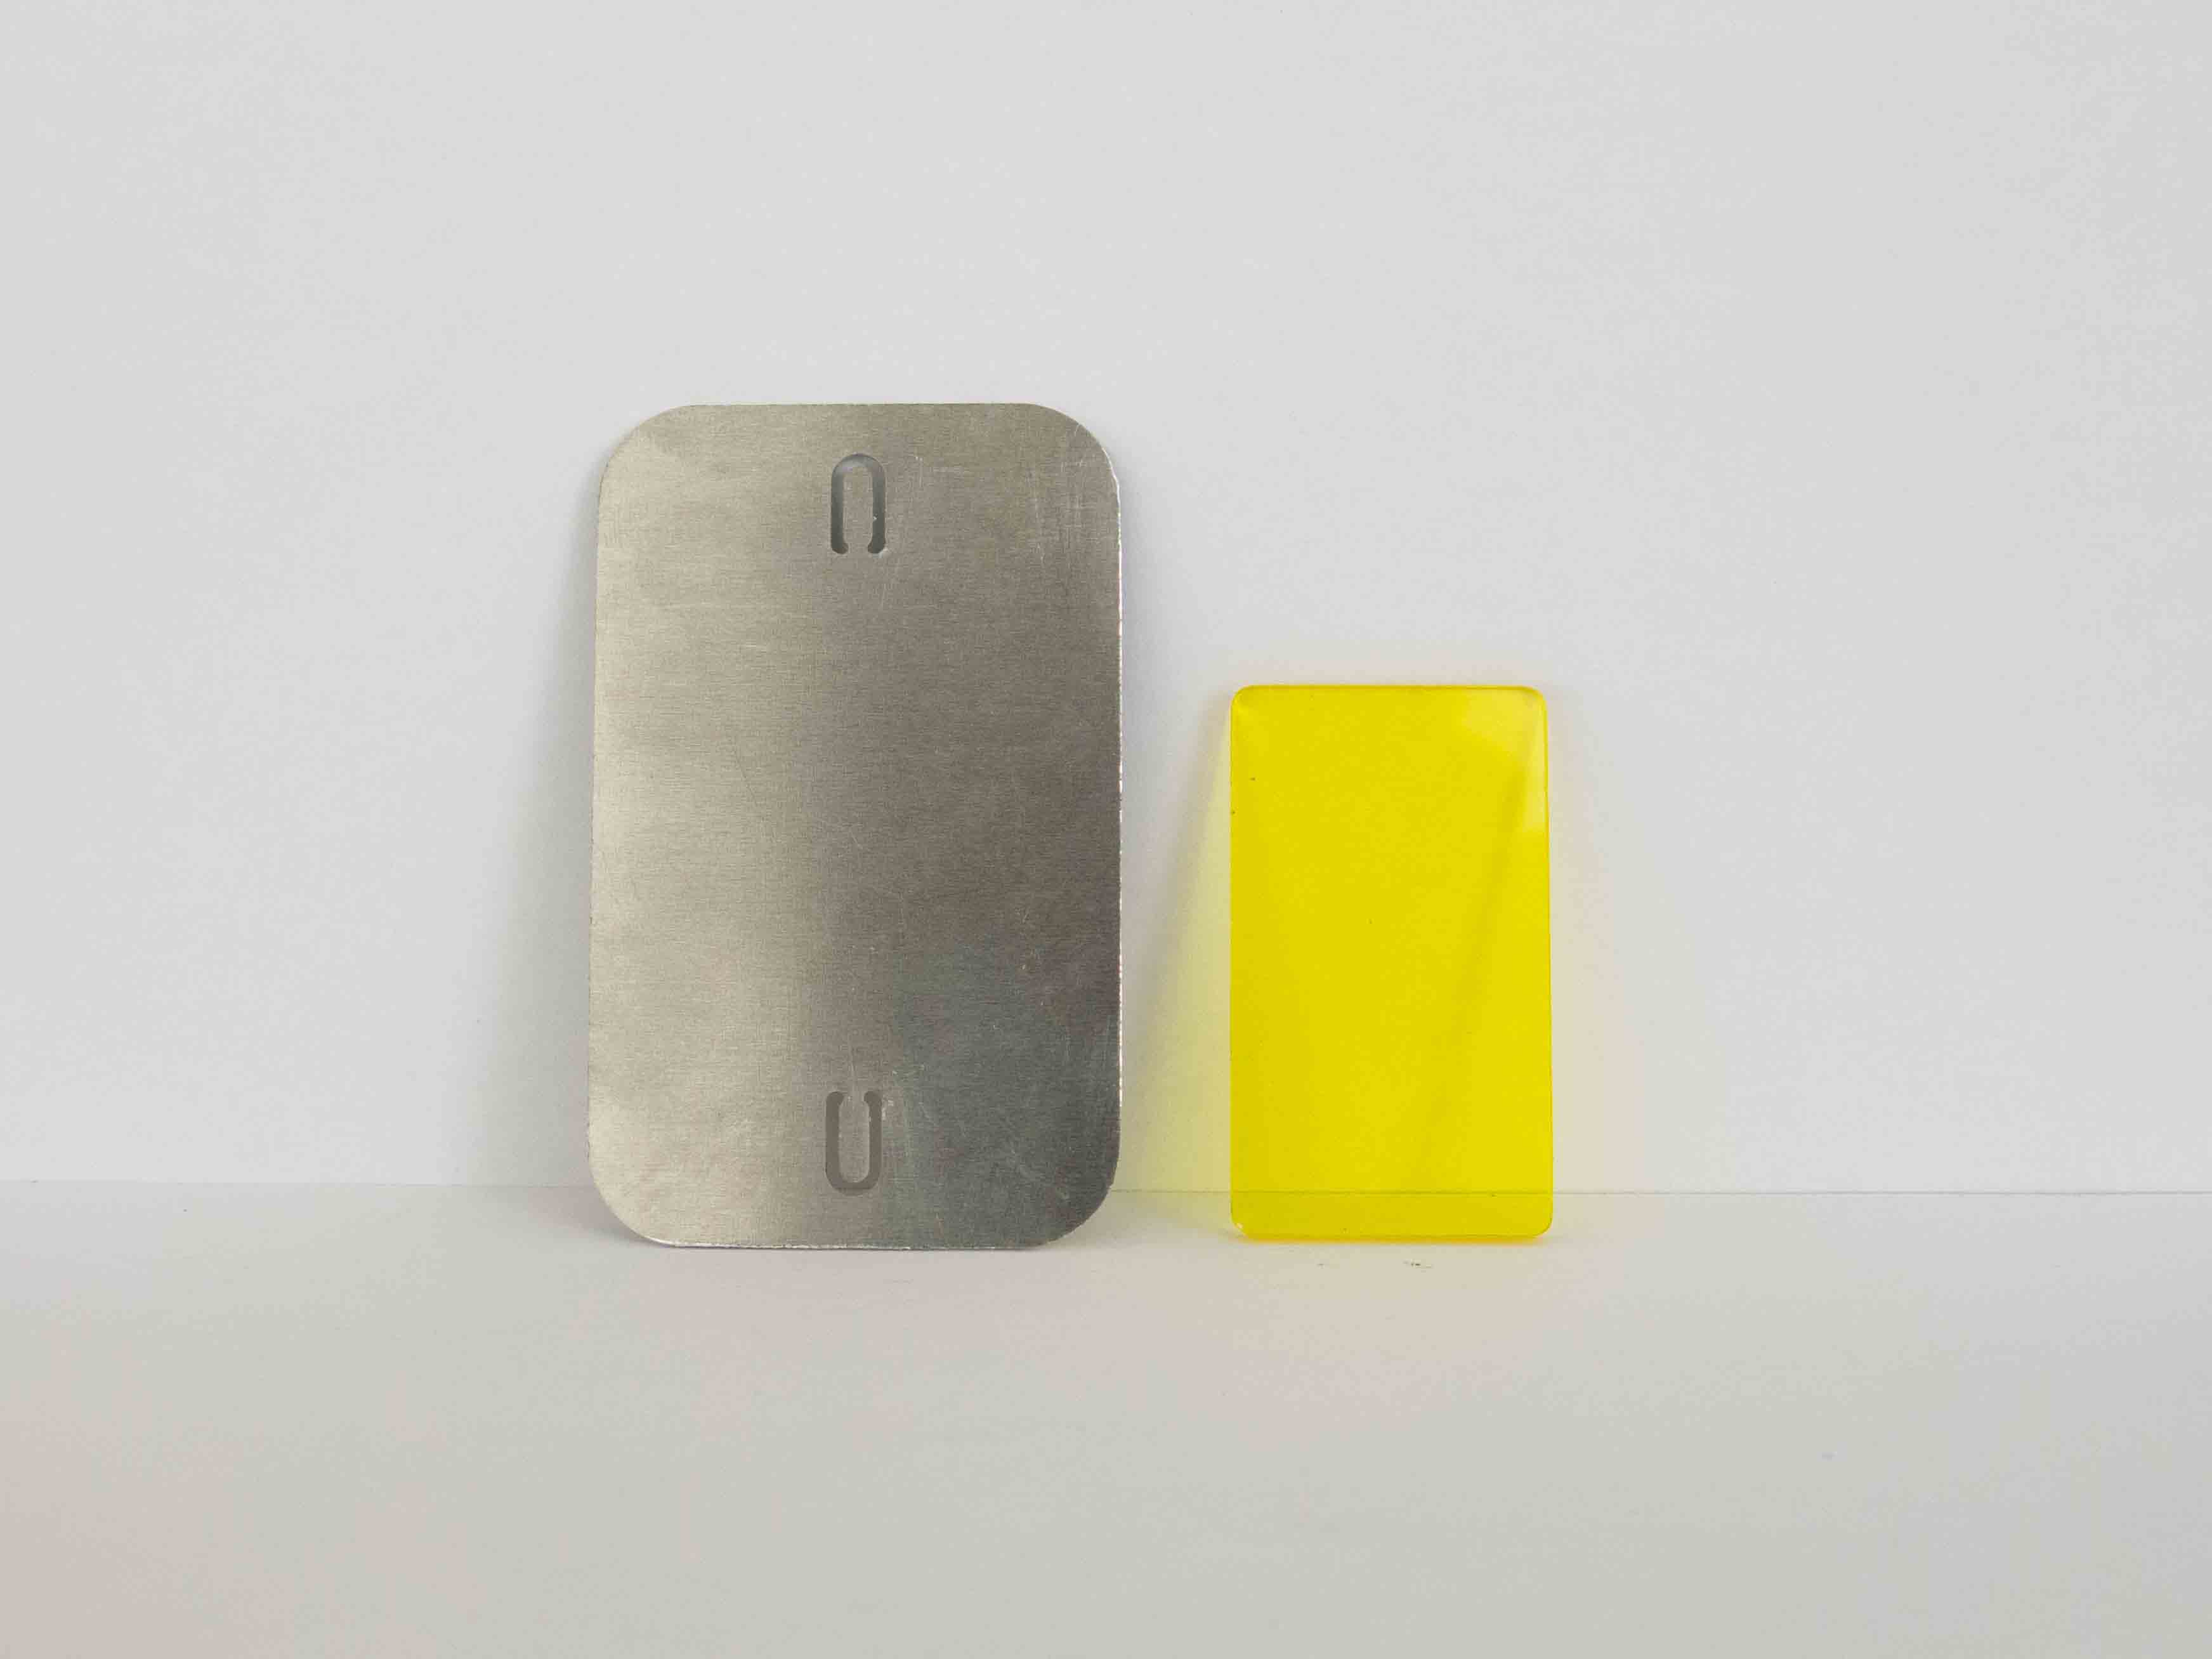
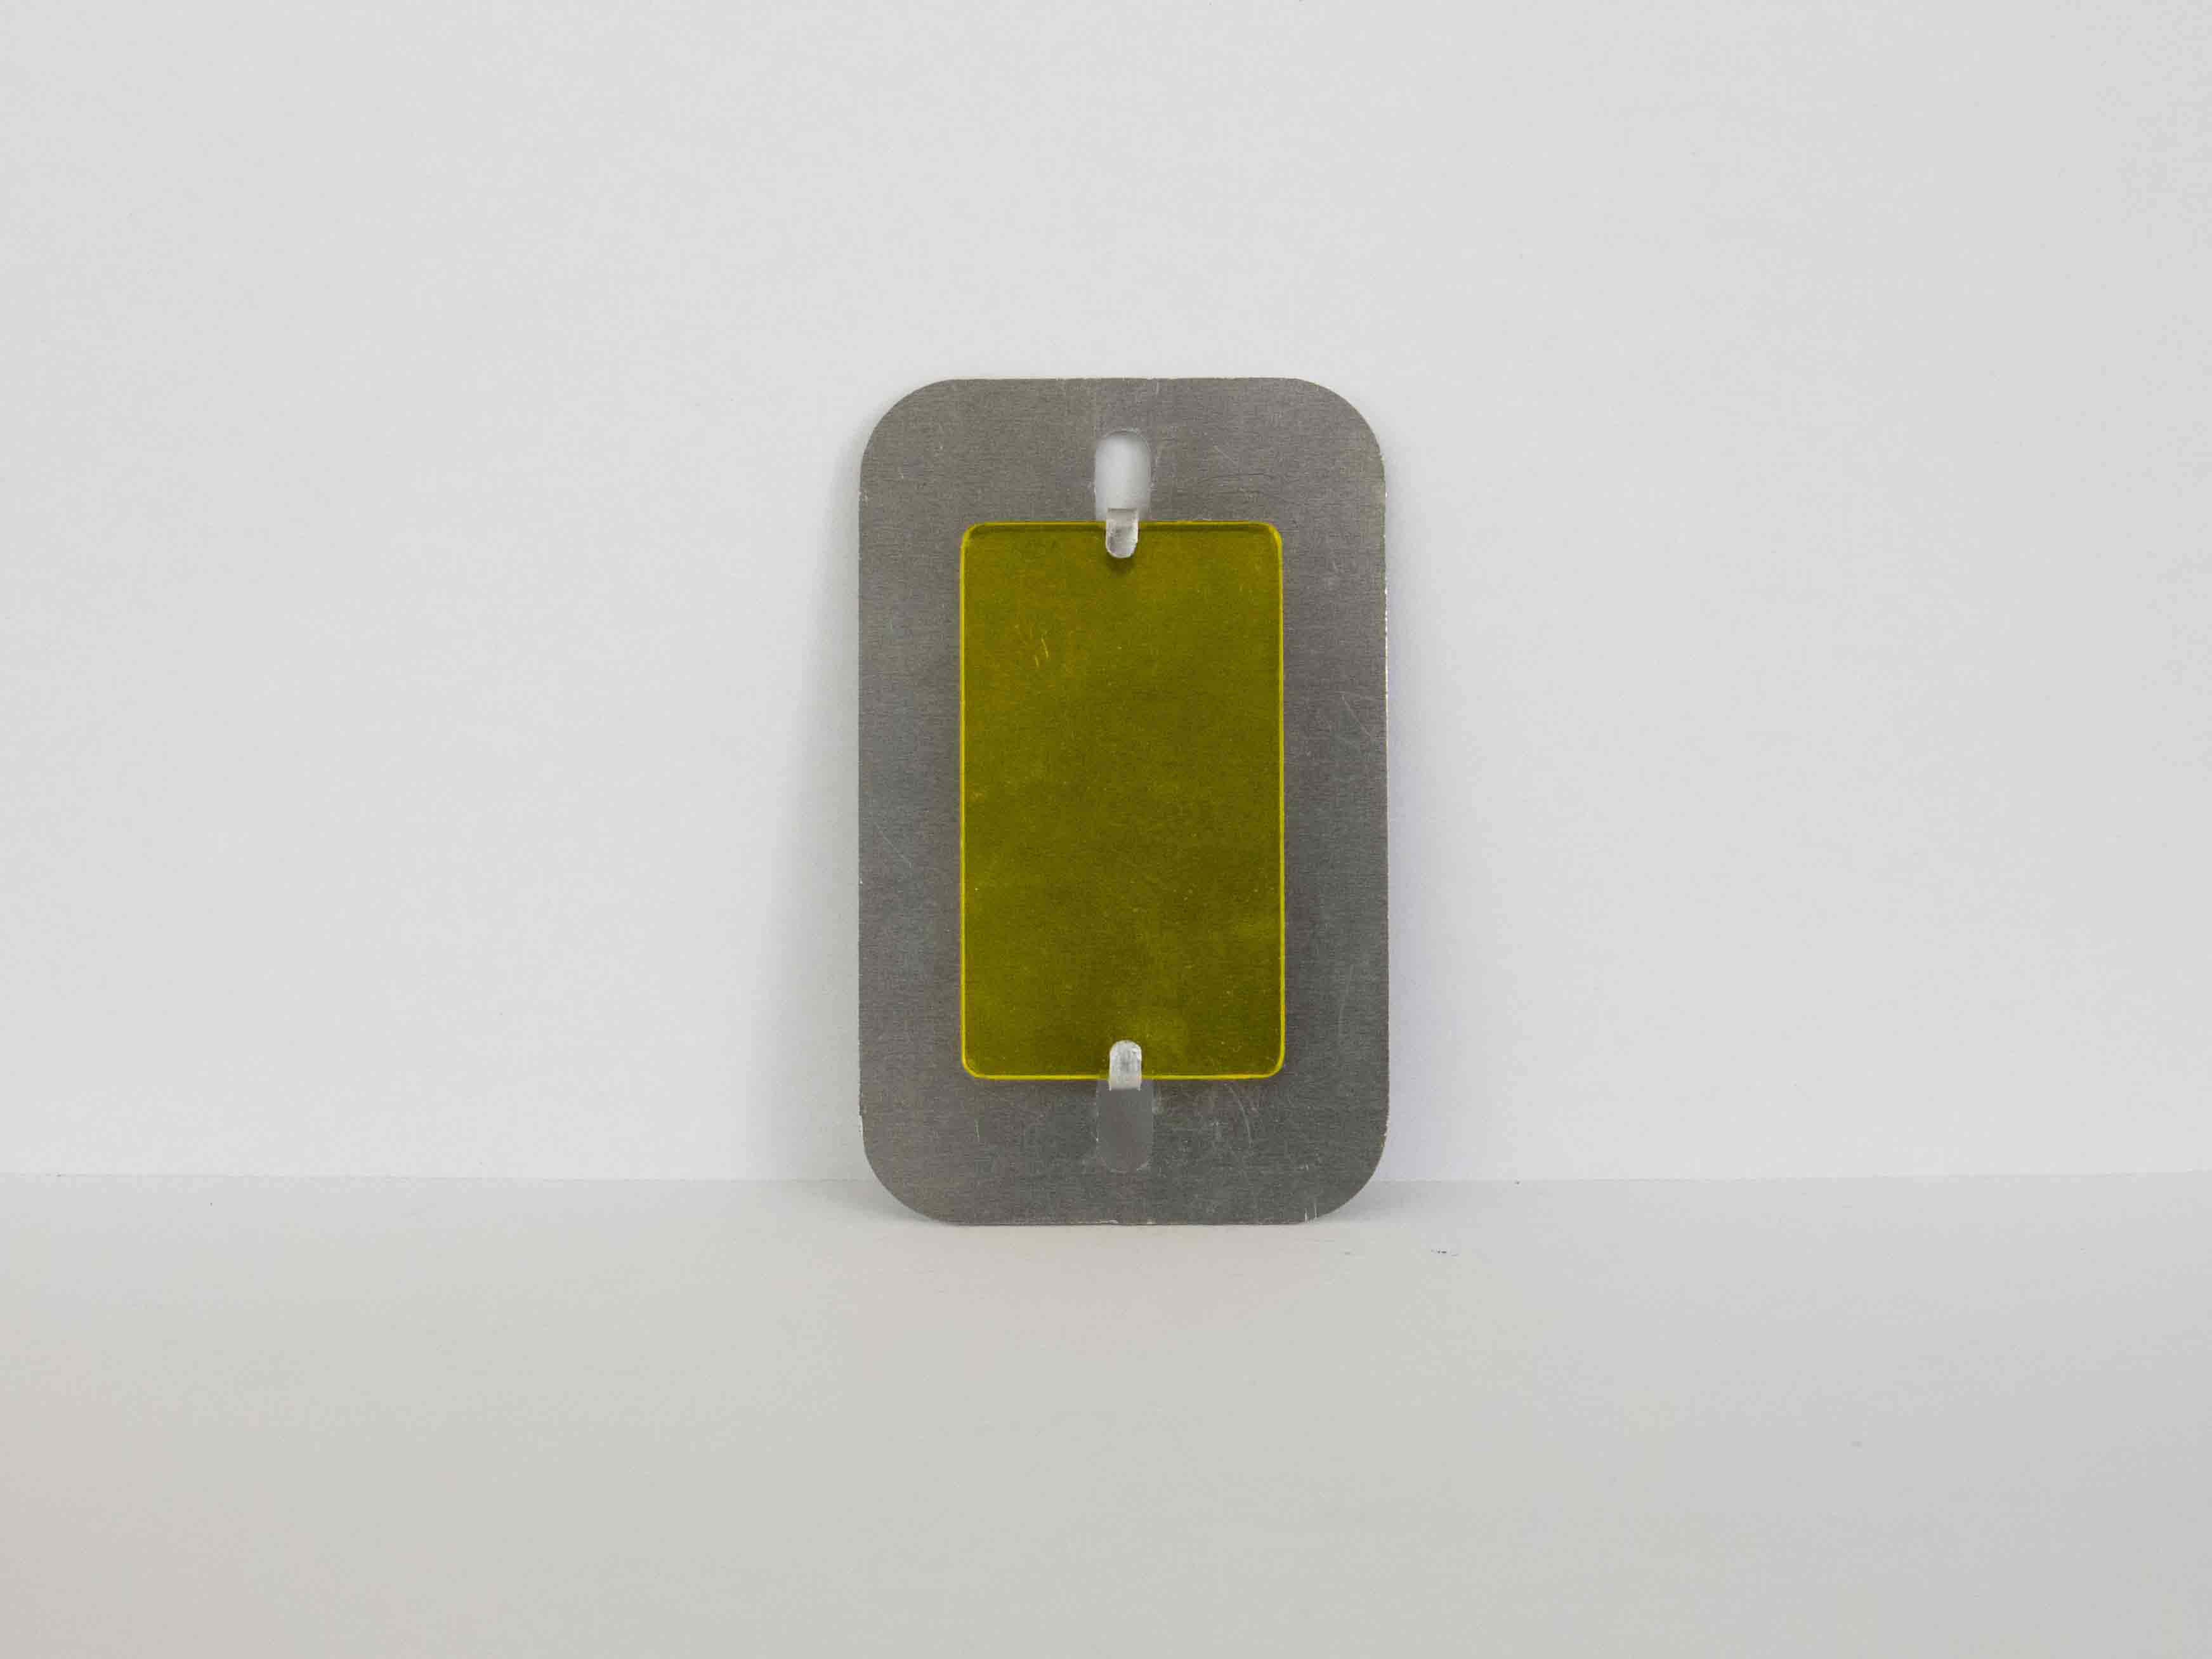
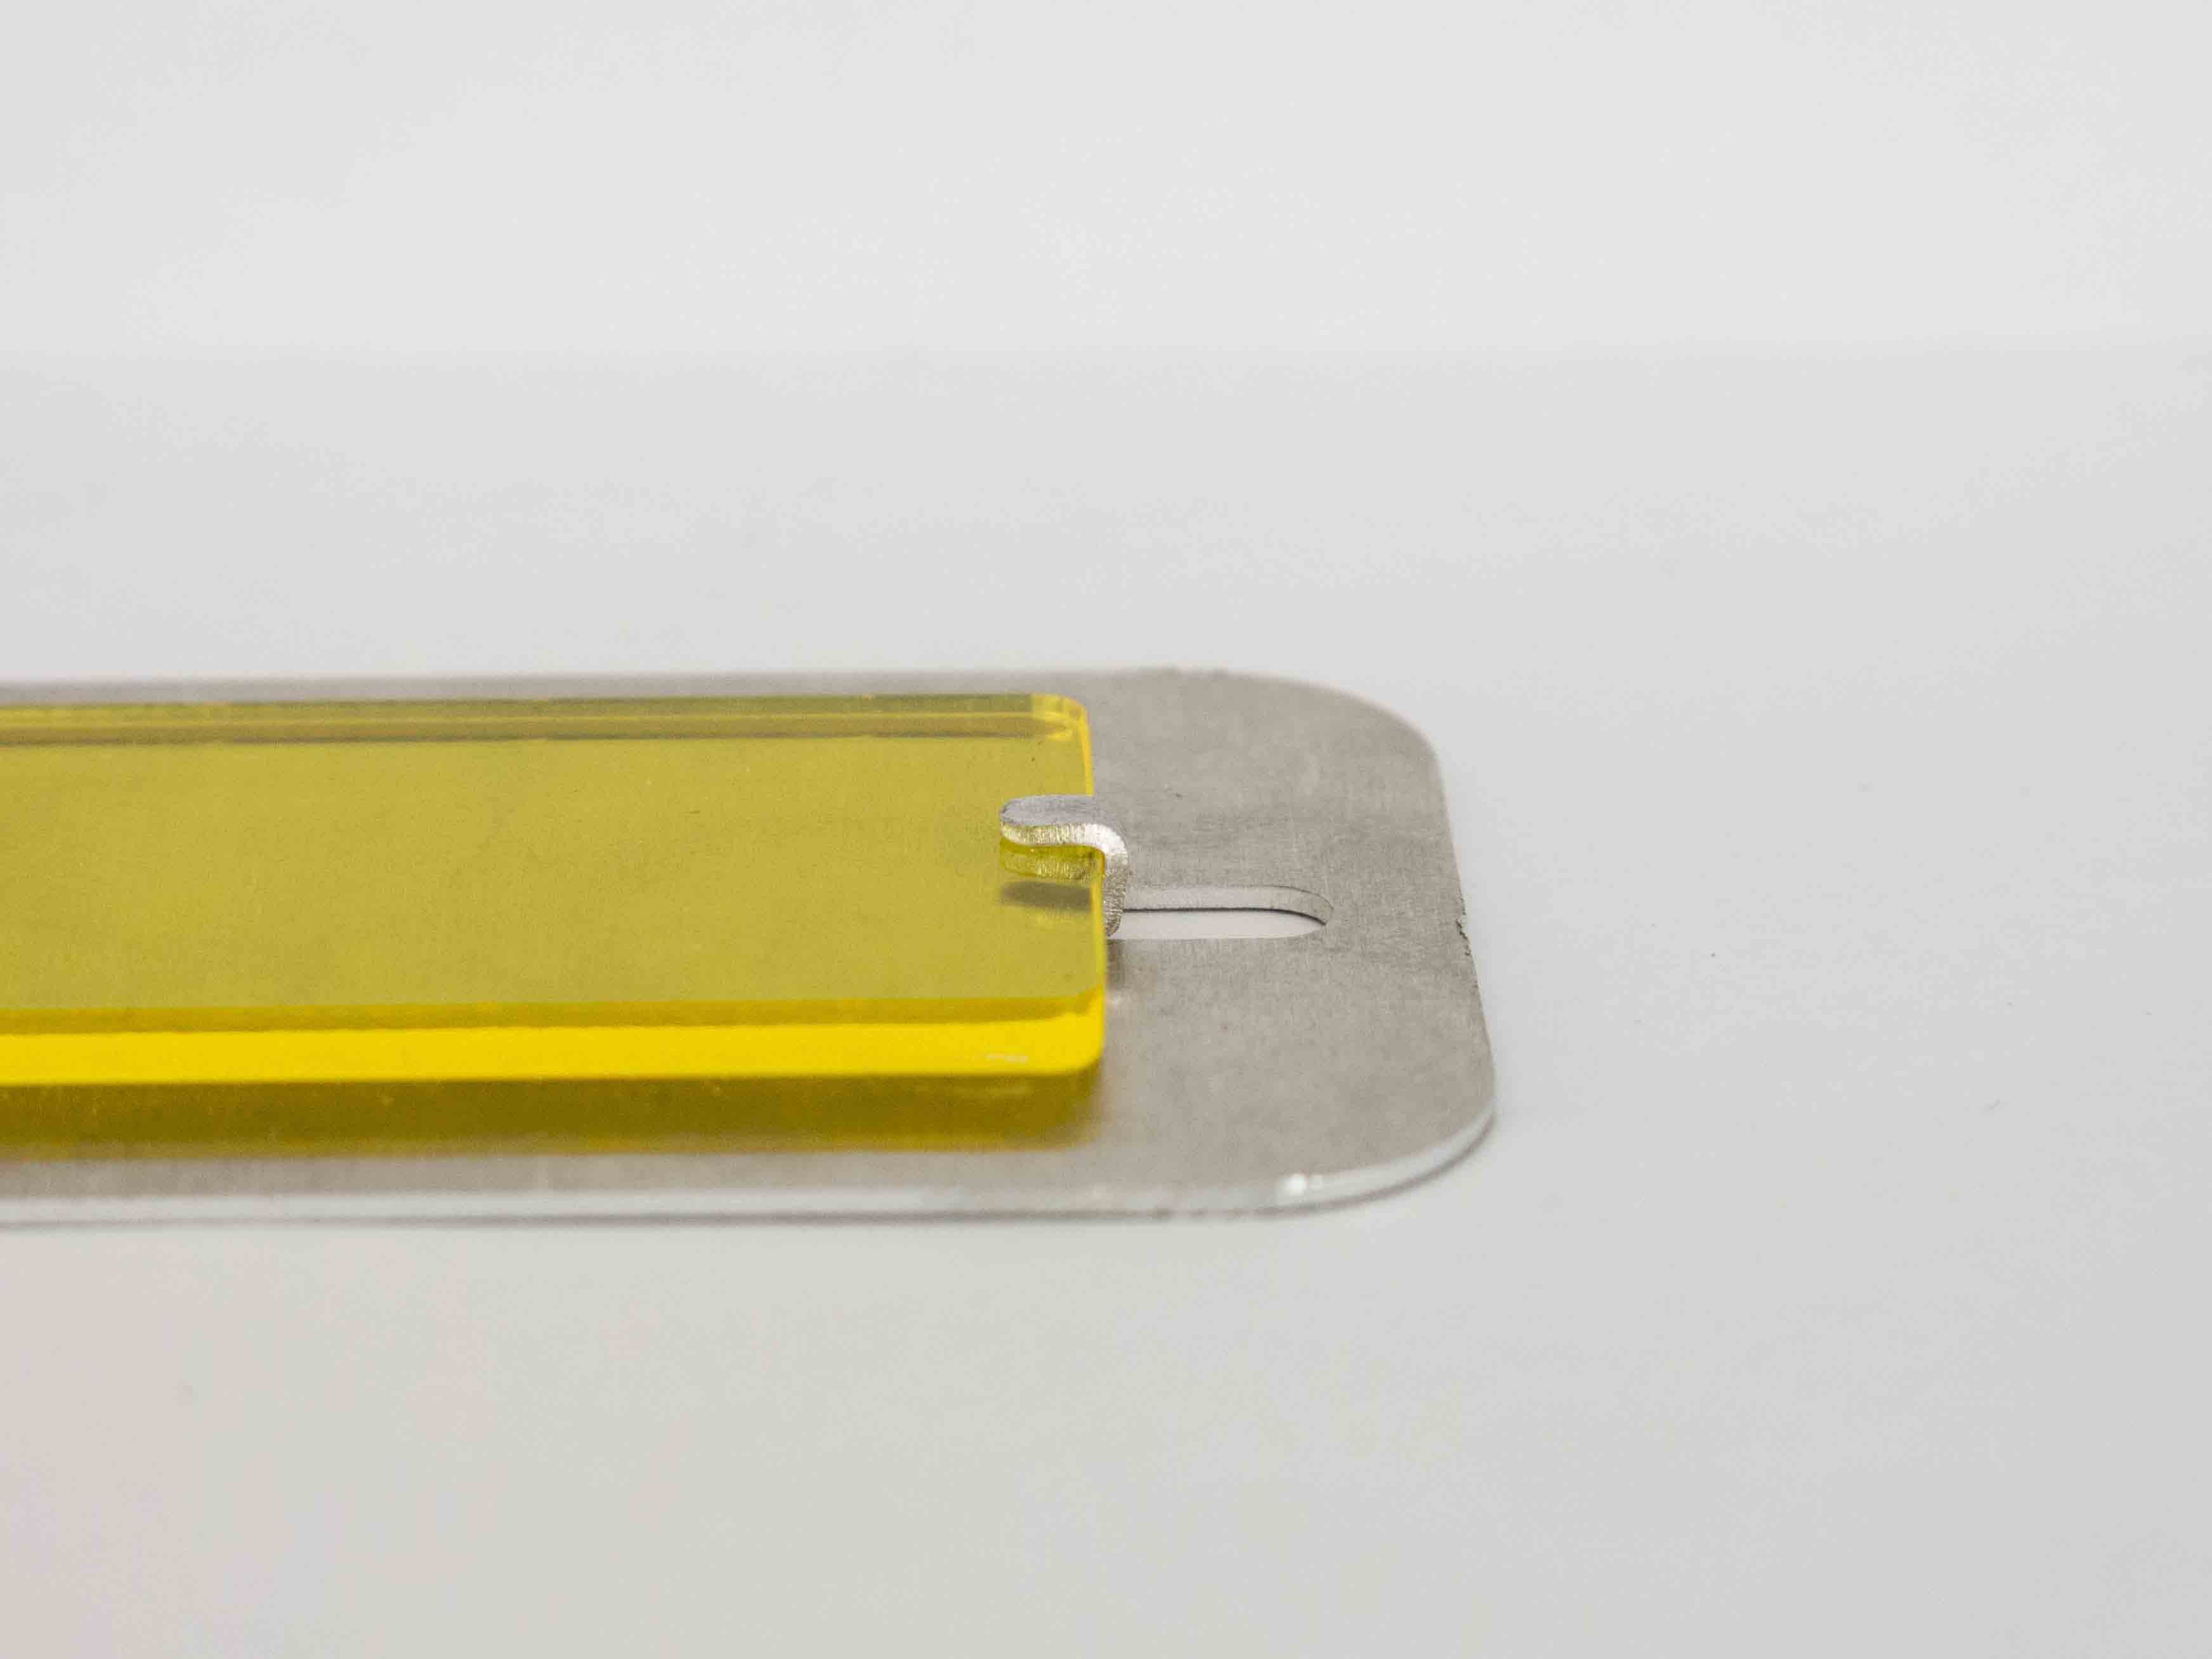
It can be very useful to add another material to your assembly. In the example below, we tied a laser cut acrylic (PMMA) sheet to a metal sheet. The advantage that can be imagined is that PMMA is easily laser engraved, while metal is not. So if you want to add writing or images to your object, PMMA can be an option.
The technique still uses foldable straps, this time to hold the parts together at the top and bottom of the acrylic sheet. Of course, you can use all of the techniques described above and apply them to the material of your choice (keeping in mind, however, that not all materials are foldable).
Among the laser cutting materials that we offer, others are ideal for laser engraving, particularly plywood and MDF.
3. Foldable strap of metal to fasten two sheets of metal perpendicularly
Method a) 3 straps to clips your perpendicular metal sheet
This first technique consists in creating three foldable straps so that one goes down and two go up. The ones that go up will be slid into the notch, and the one that goes down will hold the sheet in place. Depending on the angle at which you bend the straps, you can choose the angle between your two metal sheets.
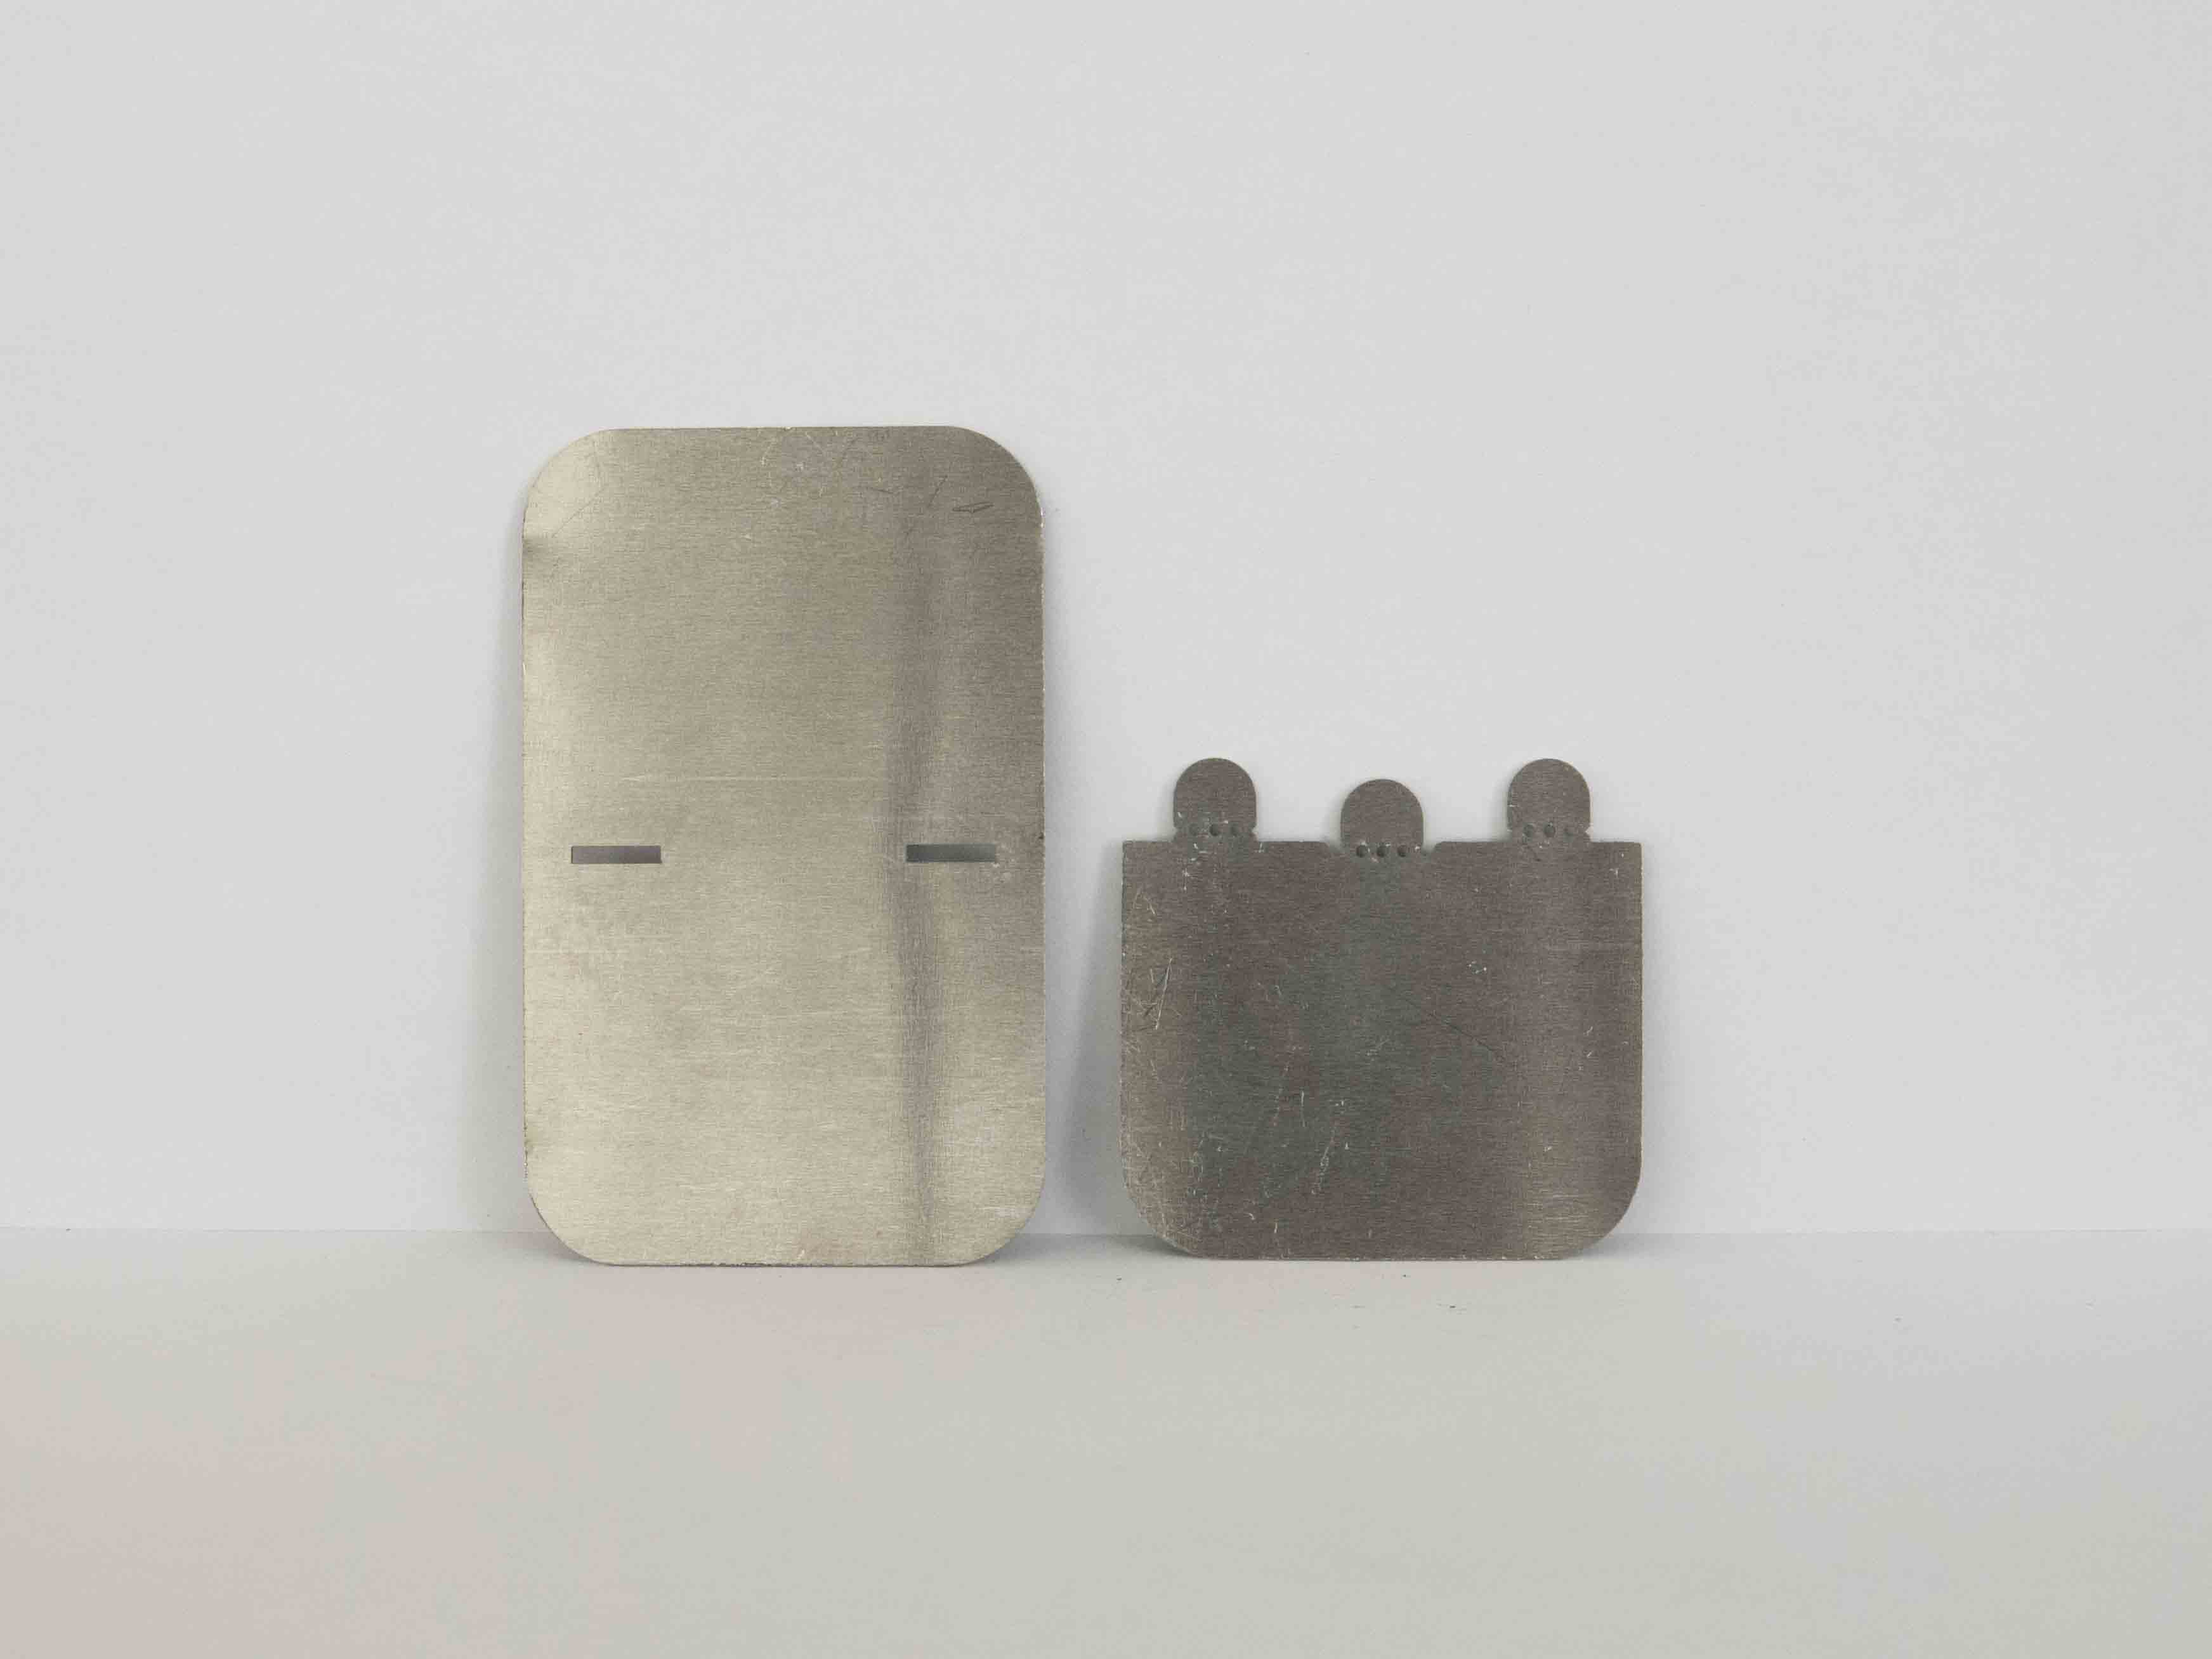
As you can see here, the two straps that will be folded are longer than the middle strap, to take into account the thickness of the metal (here, they are 1 mm longer because the laser cut metal sheet is 1 mm thick).
You can imagine this technique being used for small shelves, and assemblies of the kind
Method b) Folded straps that slide into the notches
With this technique, you slide your straps into the notches, and then bend them. The advantage is the hole that remains apparent, which can be used as an aesthetic or technical part of your design.

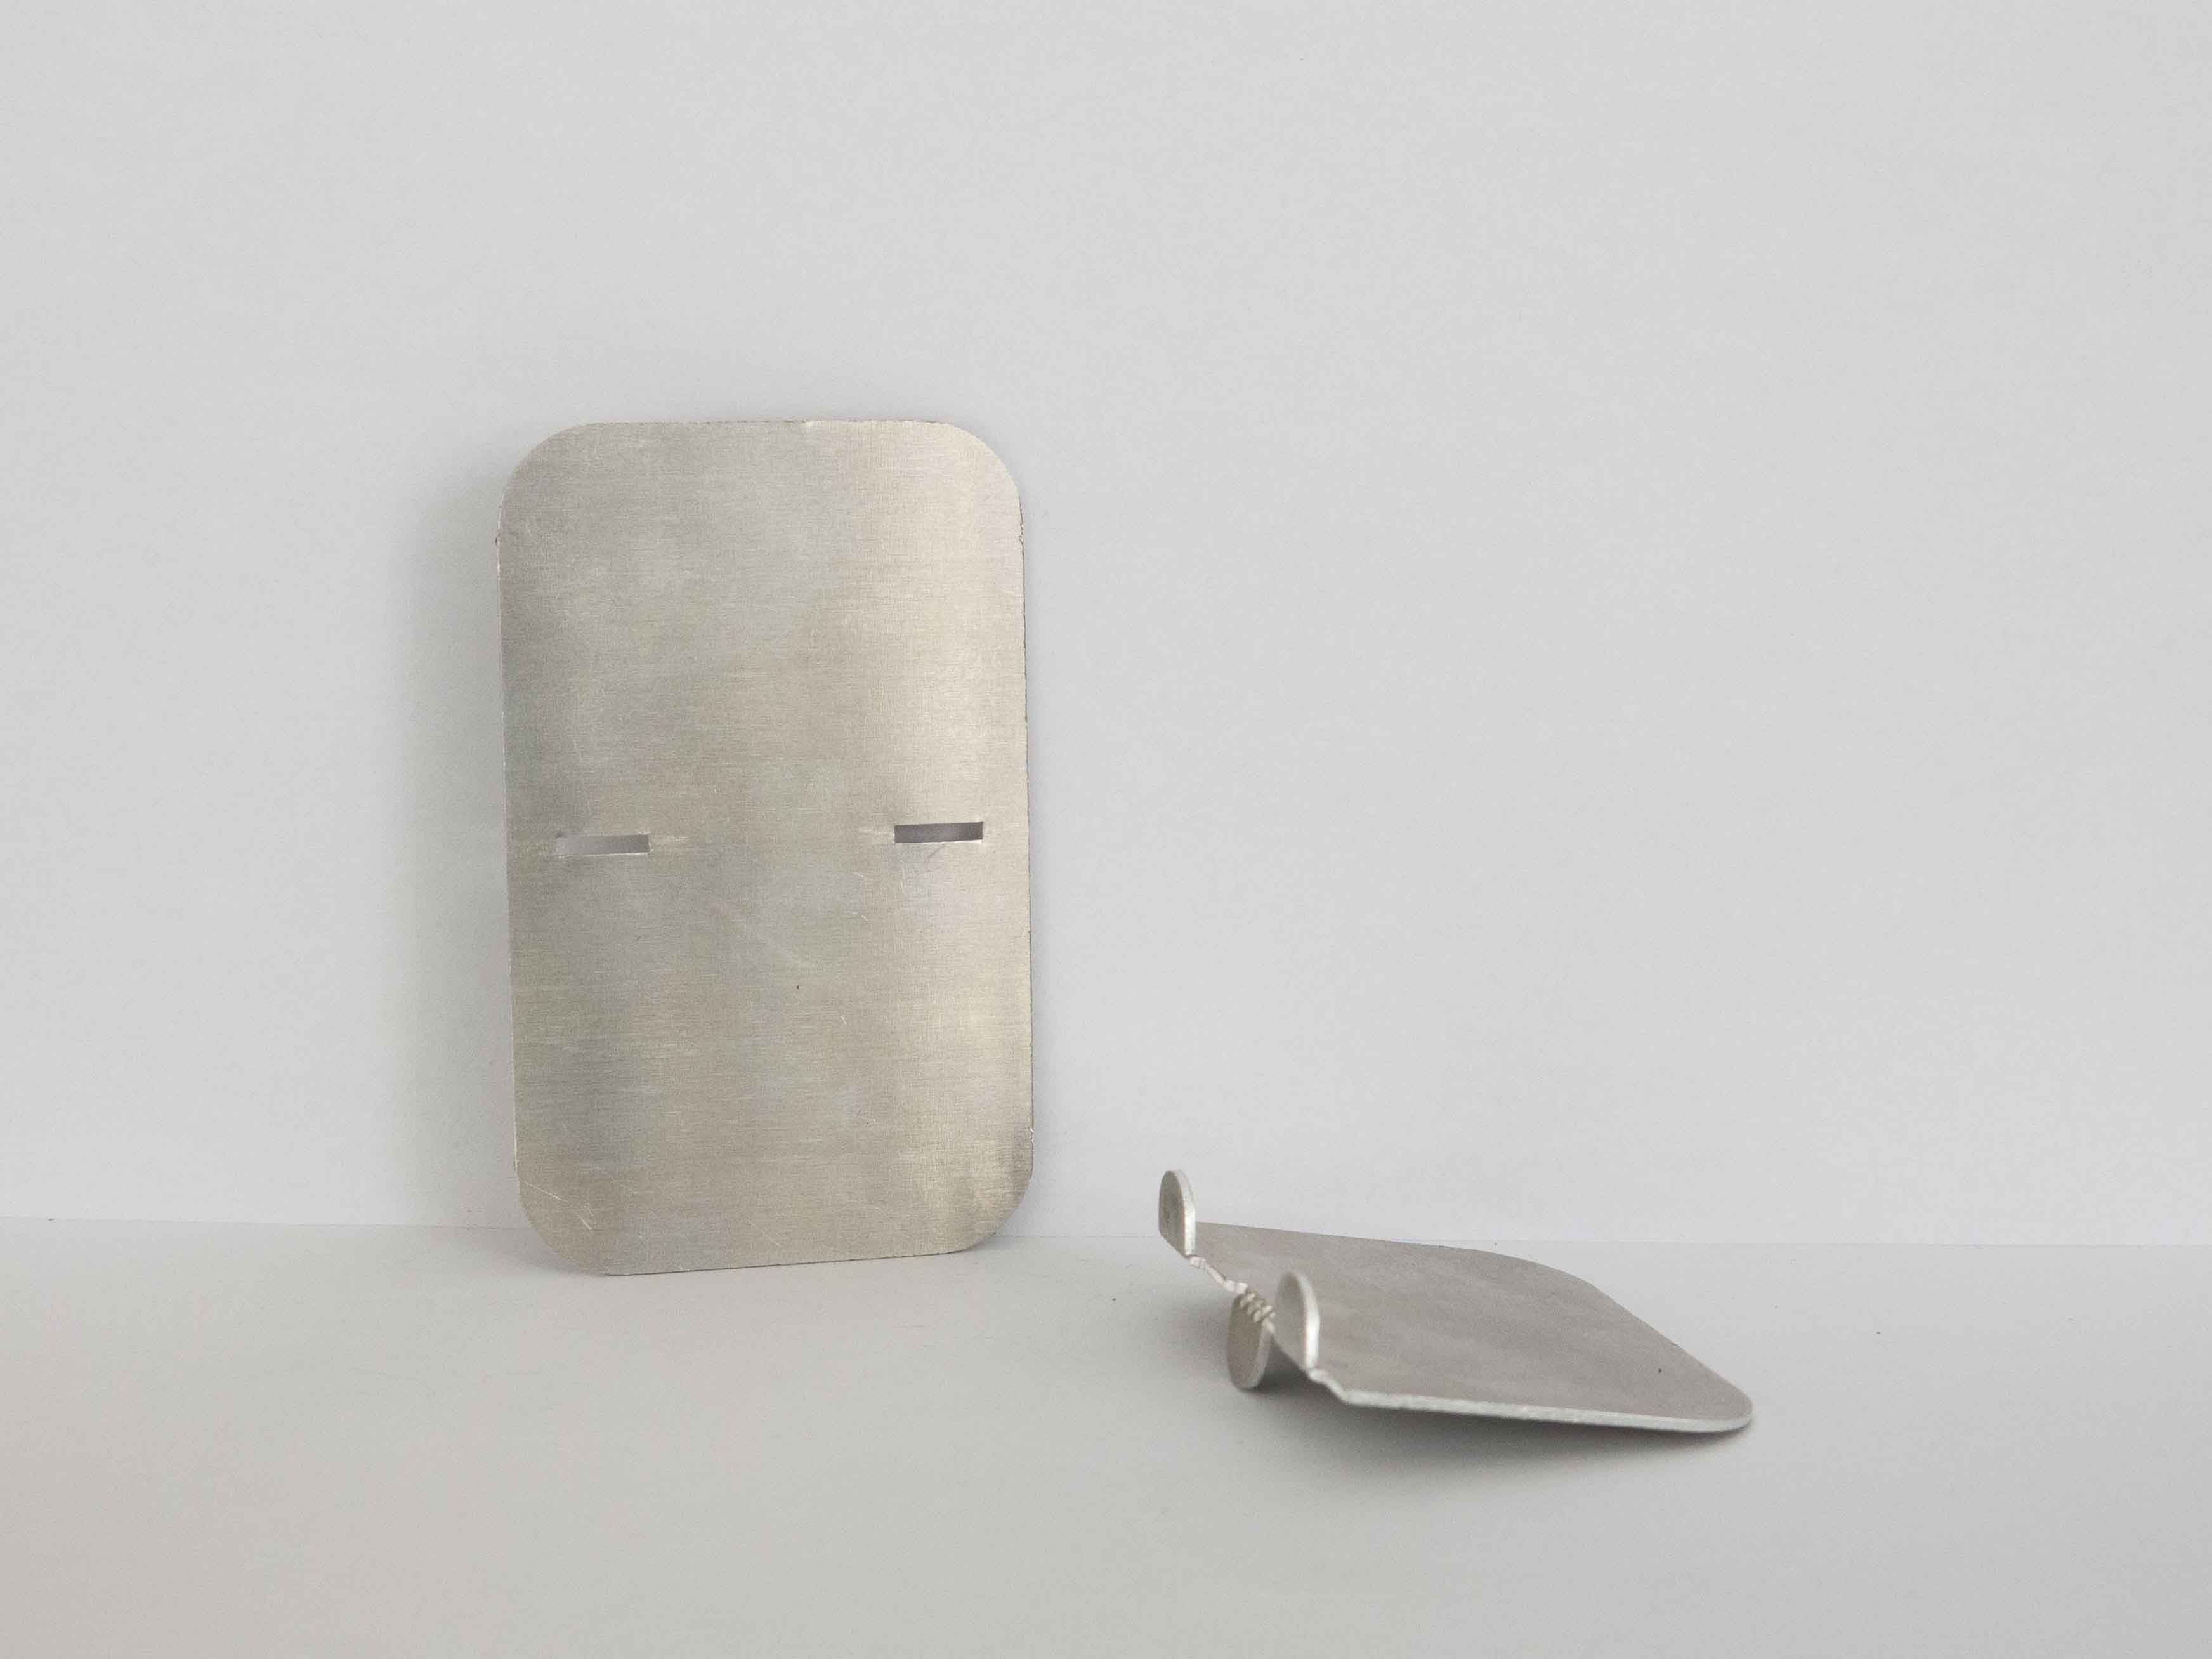
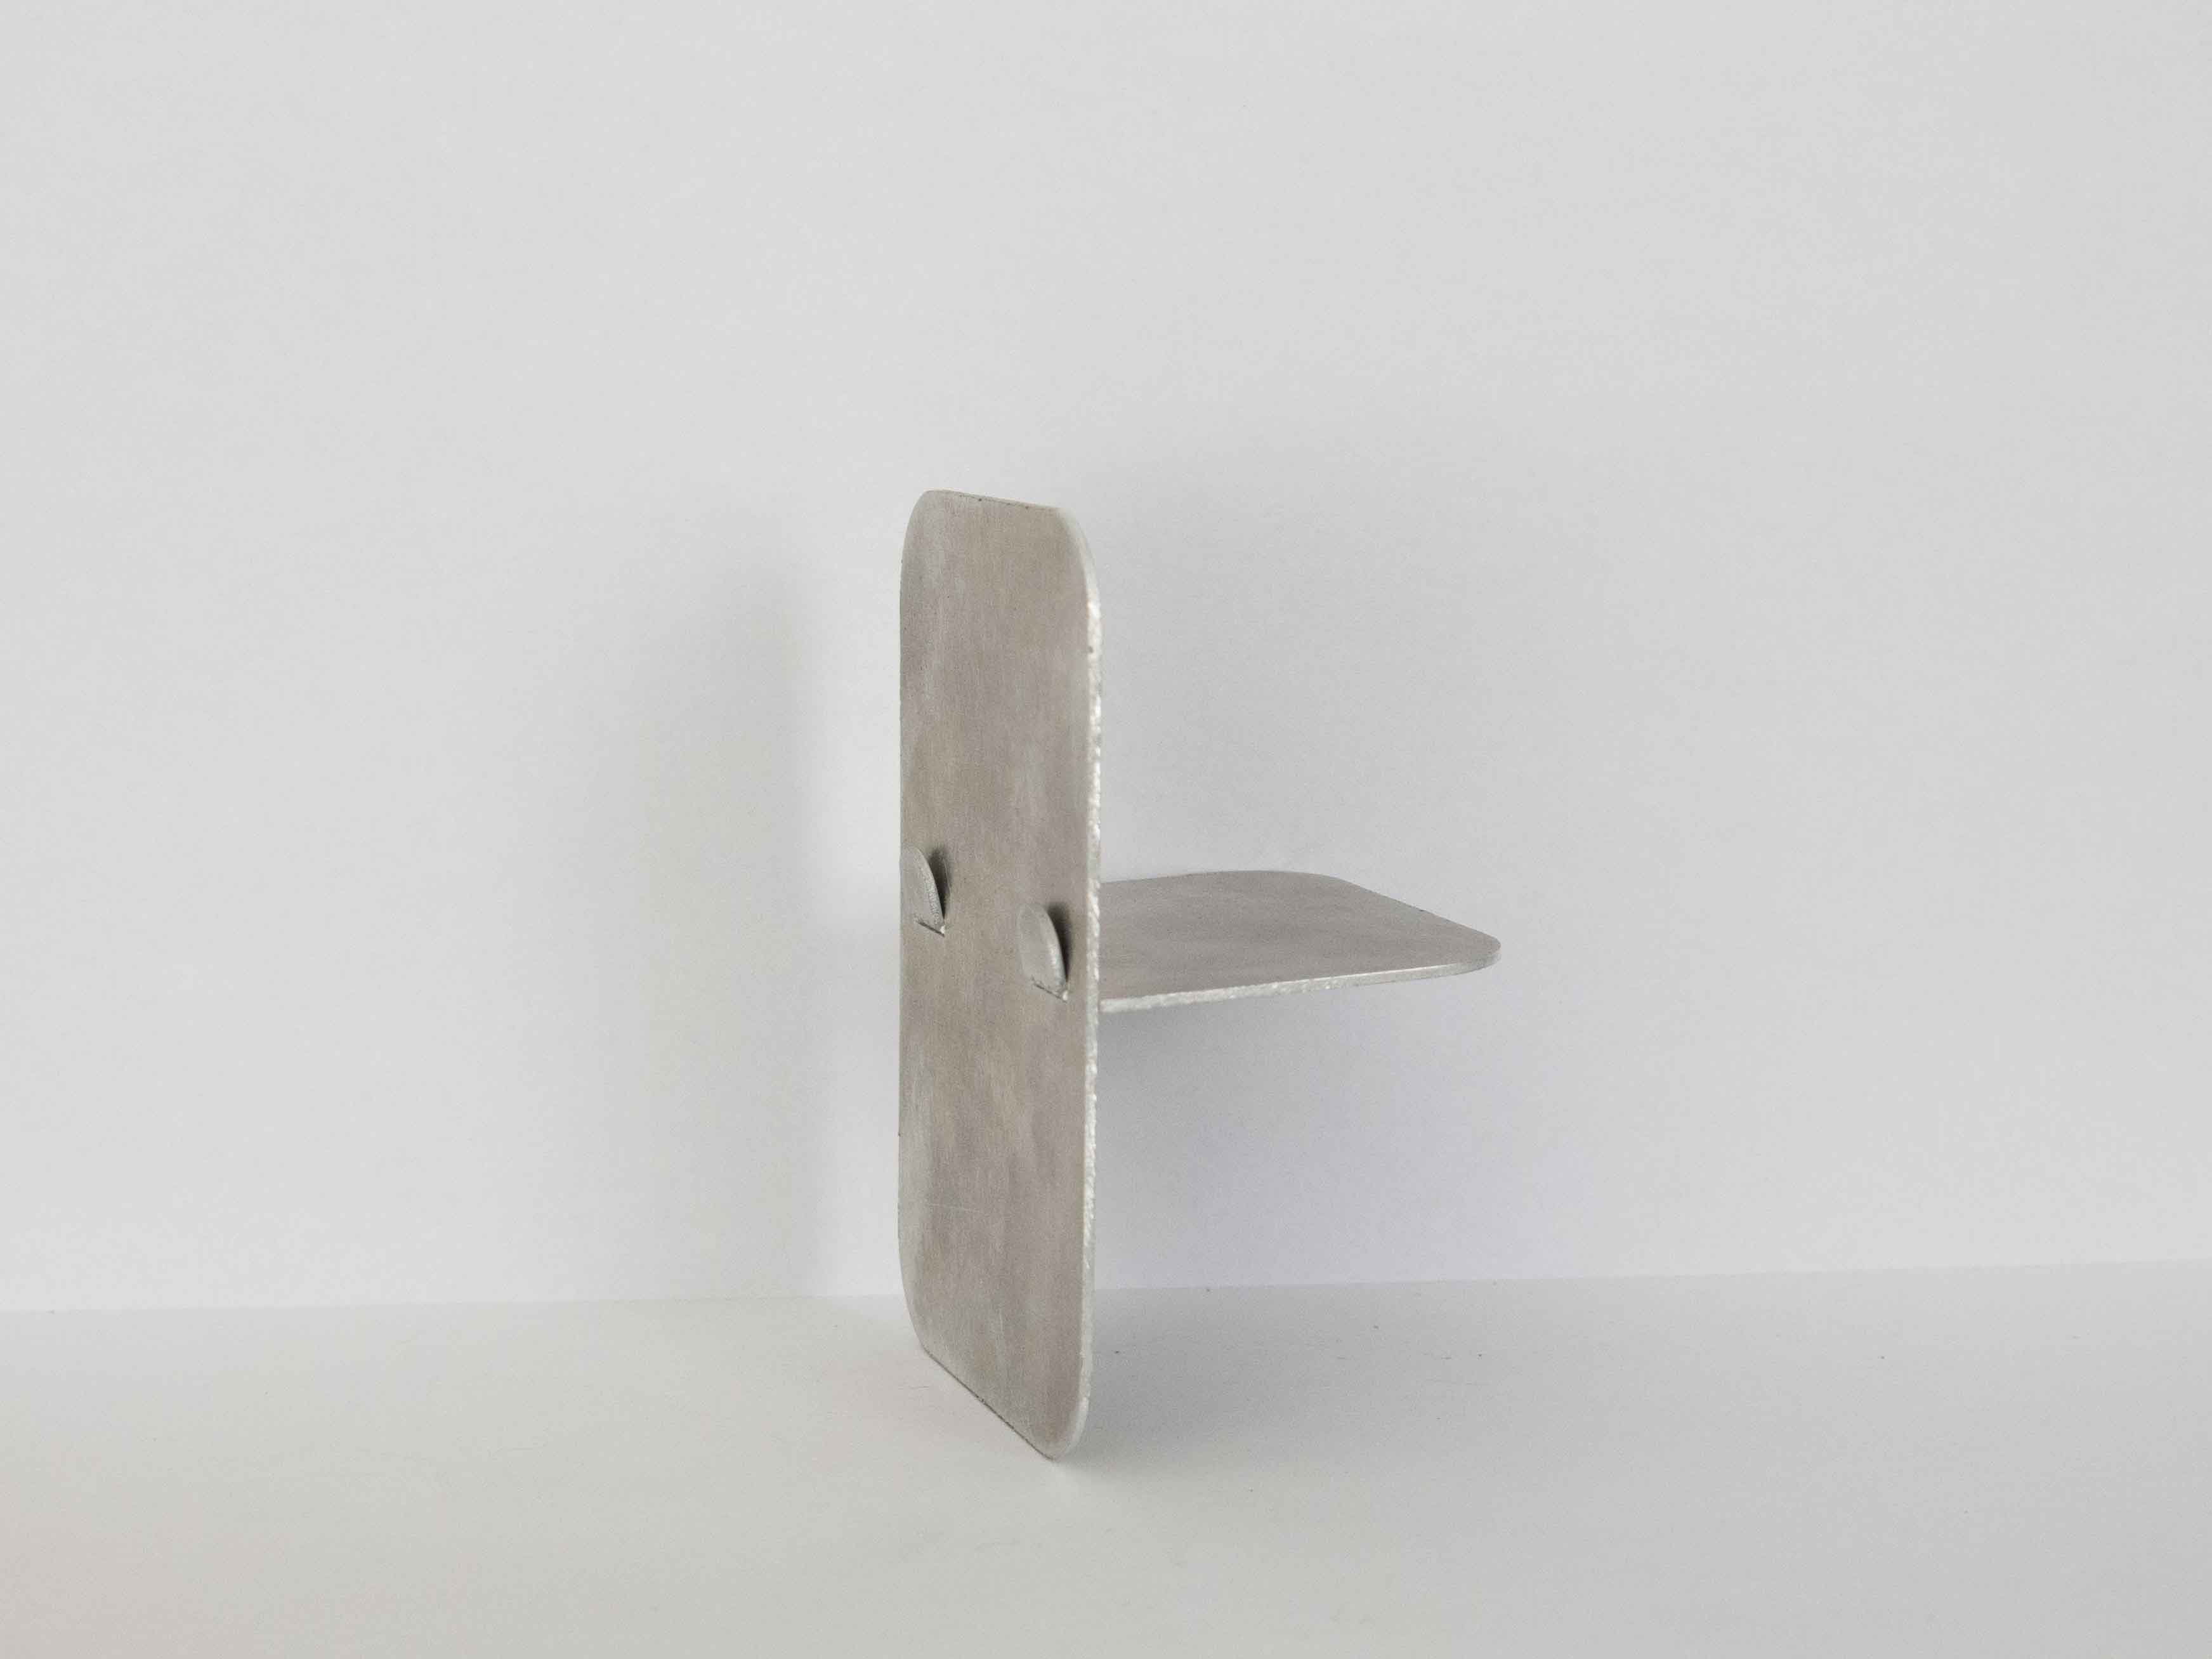
4. Metal hooks to fasten two sheets of metal perpendicularly
This is about the same as the previous two techniques, except you create hooks that don’t fold, instead of straps. The thing to keep in mind here is the hook’s distance to the sheet: it should be equivalent to the thickness of the material, so that it clips very tightly.


5. How to use these techniques to create laser cut metal volumes
You can use all of these techniques to create volumes with your laser cut objects – this way, laser cutting becomes a true alternative to 3D printing when it comes to creating 3D objects. There is some required assembly, but with all these techniques, you won’t need many tools (at most, pliers).
The example we created is a box, assembled from the template below. We folded the template, and then secured it tightly thanks to the foldable straps technique (see image below).
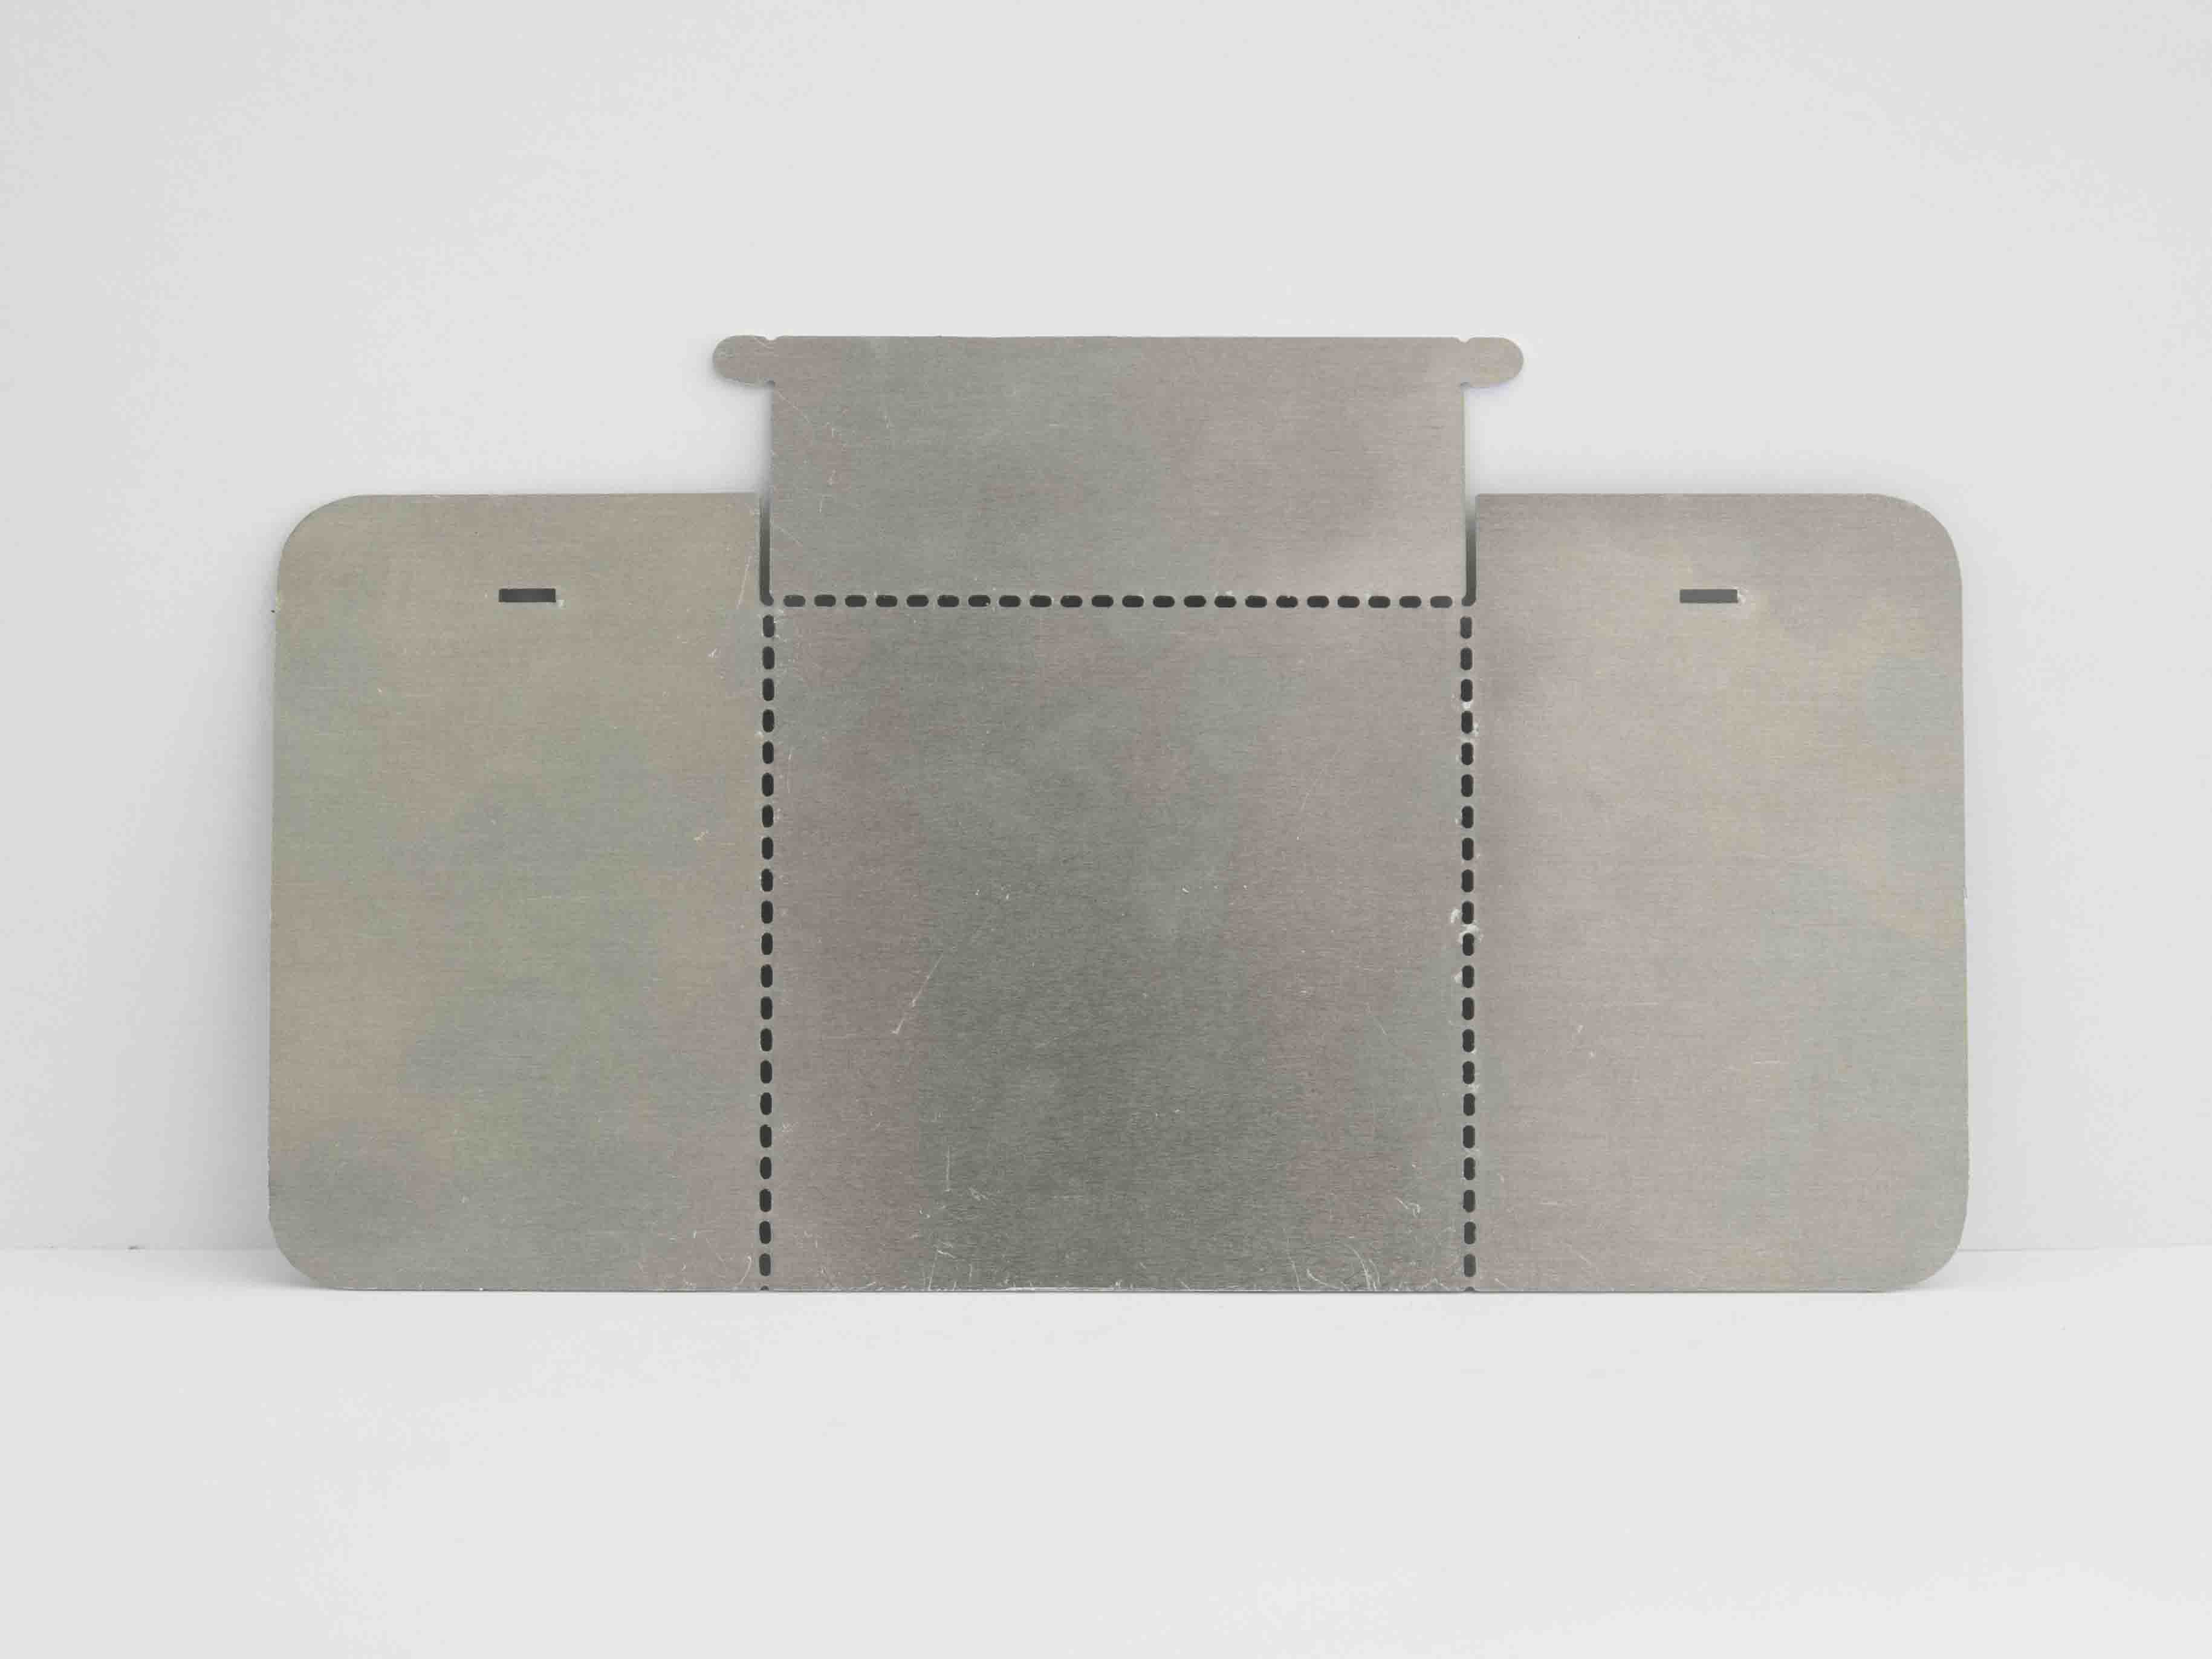
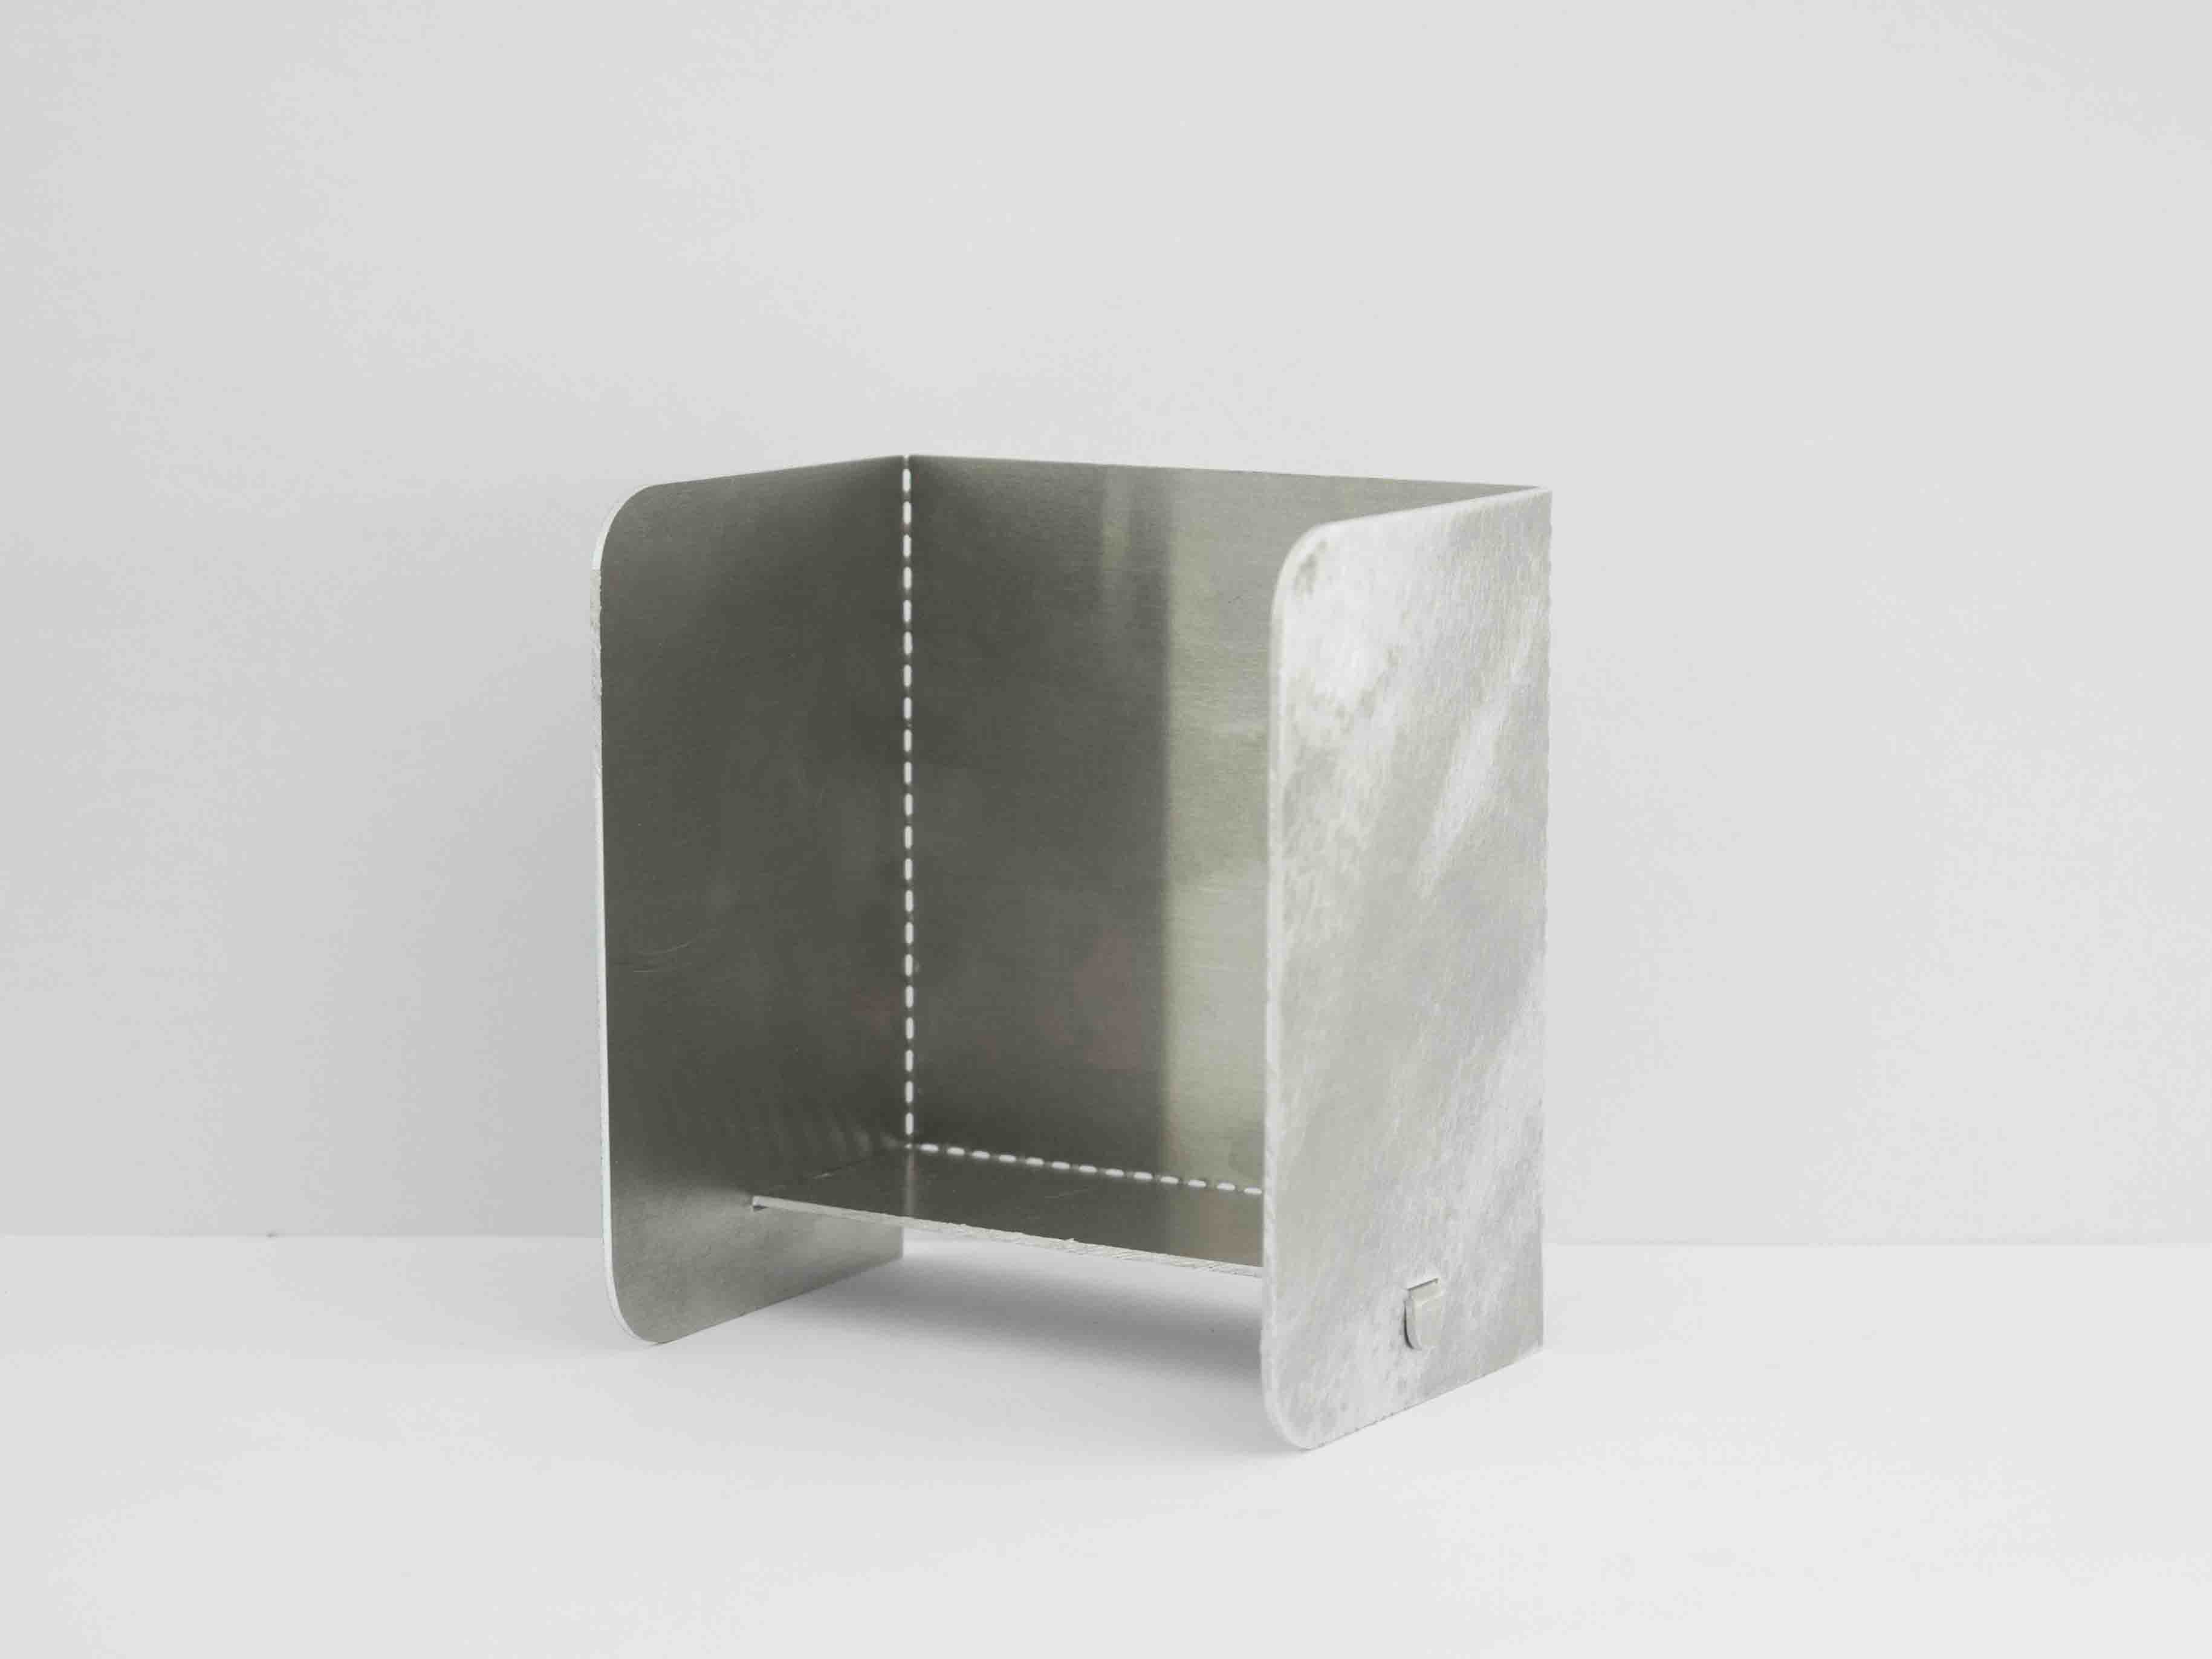
Here you can see the foldable strap on the bottom right, which ensures the box remains tightly in place.
The pattern is easily foldable thanks to the metal folding techniques we described in our previous article.
If you want to learn everything about our laser cutting materials, visit our material catalog.
You can also upload your 2D file right away, to test our laser cutting services, and start creating your own objects – 2D or 3D.
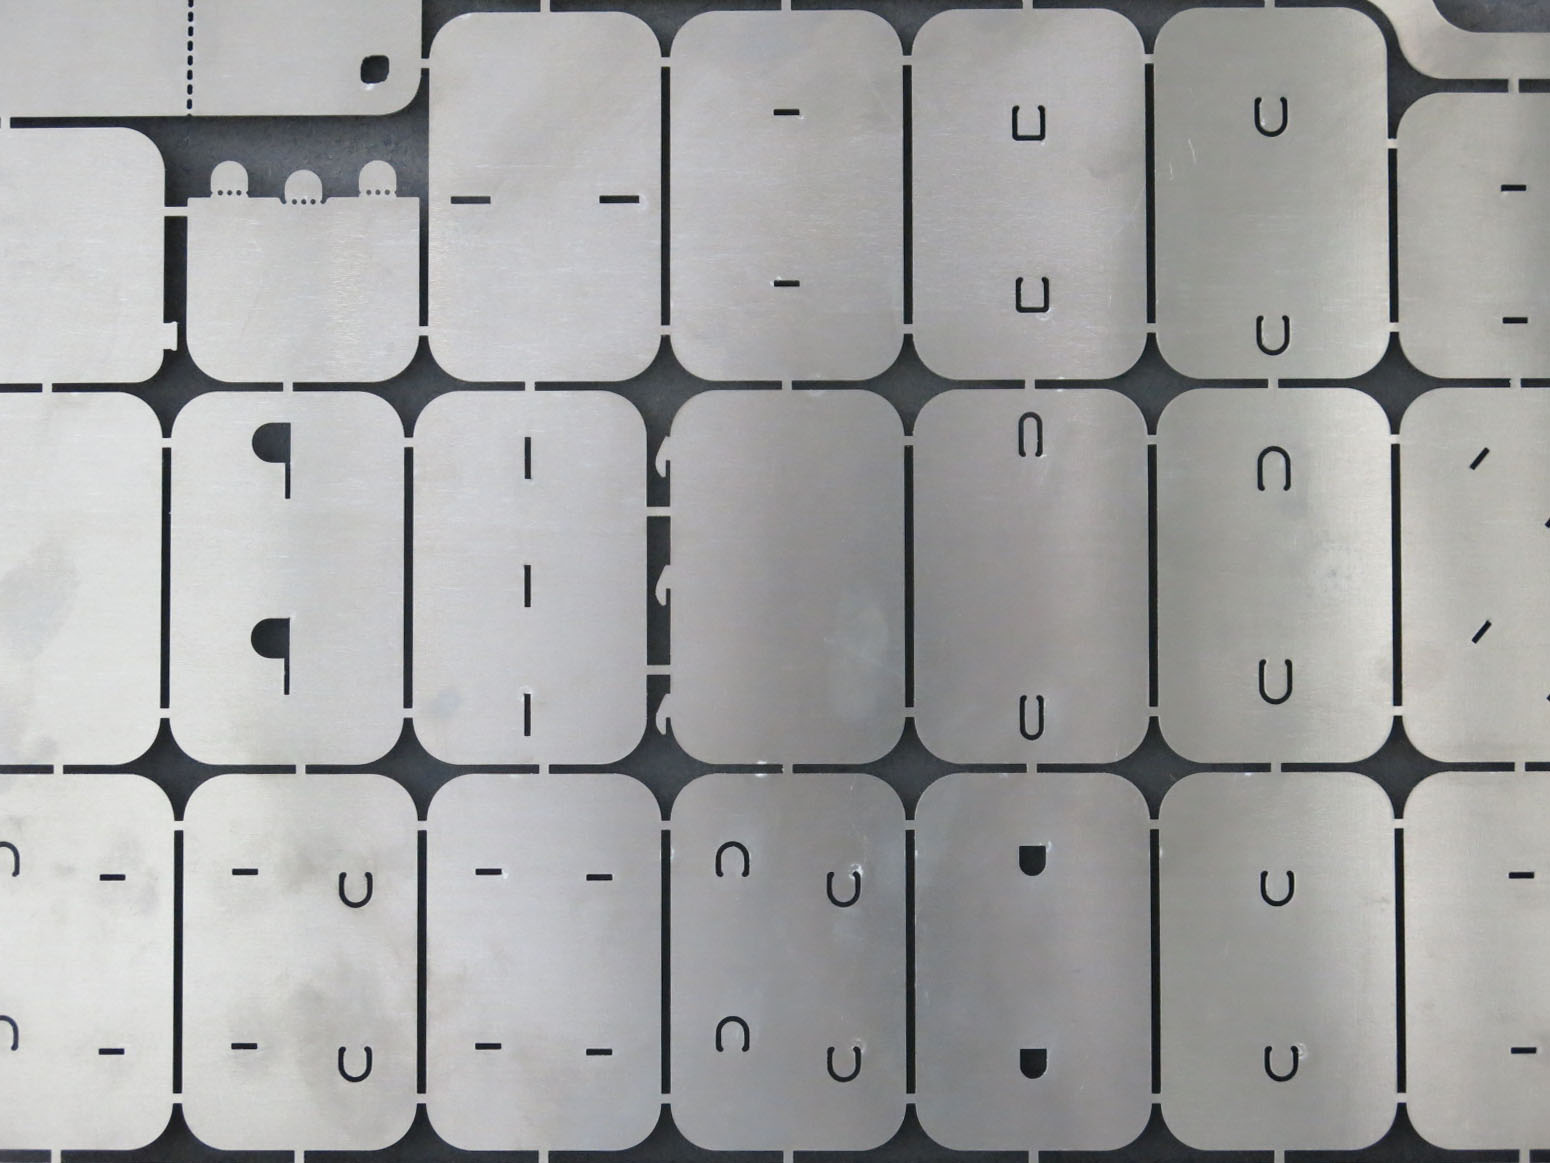
And in case you want to make your own tests, get inspiration from our test tablet: this is how our laser cut metal samples looked like when they came out of the laser cutter: