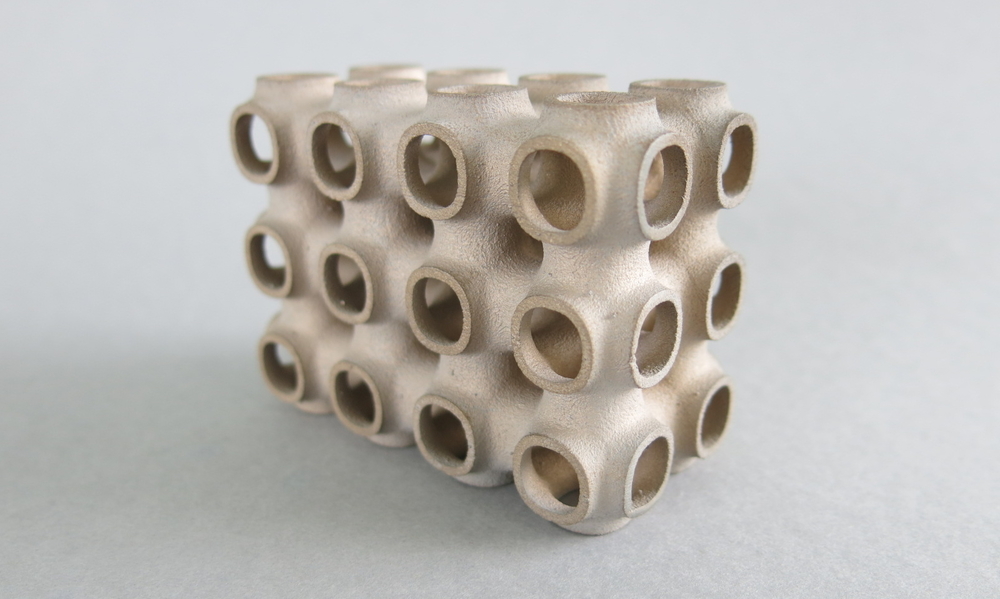
6 tips on 3D printing metal with ExOne’s Binder Jetting
Posted By Amandine Richardot on Sep 12, 2017 | 0 comments
ExOne is a 3D printers manufacturer. They’ve created machines that 3D print metal using the binder jetting technology. With our online 3D printing service, you can 3D print metal parts in two materials: Stainless steel 420 BR which is an alloy composed of 60% steel and 40% bronze; and Stainless steel 316.
Binder jetting and the ExOne technology might be new to you, but we’ve got you: this article is here to give you 6 insights to keep in mind when 3D printing metal with ExOne.
Insight 1: Avoiding shrinkage in your 3D printed part
When 3D printing metal with ExOne, the thermal process causes about 2 to 3% shrinkage. It’s important to keep that in mind when designing your 3D model: accommodate for this shrinkage by scaling your design 102 or 103%. If you’re using a downloaded design that you don’t want to or don’t know how to edit, simply expect this 2 to 3% shrinkage, and plan your part’s use accordingly.
Design guidelines such as this one are essential to keep in mind when creating or choosing your CAD model, no matter which 3D printing material you choose. Don’t forget to check the design guidelines in our 3D printing materials catalog.
Insight 2: Why are there print lines on the surface of your 3D printed part?
The binder jetting process works as follows: a binding agent is deposited on metal powder, layer by layer, and each layer is heated one by one. Those layers are 0.004 inch (0.1 mm) thick, which is enough for the printing layers to show in some finished parts. For example, in curved surfaces, especially slow-moving curved surface, the layers are more visible. If it’s important for you to avoid the layered aspect, avoid such shapes.
Read more about the binder jetting 3D printing technique here.
Insight 3: What is the consequence of the ExOne infiltration process?
Parts 3D printed with ExOne Stainless Steel 420 BR need to be infiltrated. This 3D printing metal is an alloy composed of 60% steel and 40% bronze. To achieve this mix, there need to be two points of entry for infiltration. Those are attached to a stilt, that is removed after infiltration. Because of this, the surface remains slightly less smooth, and two blemishes can be visible.
Insight 4: Why is there trapped media in your 3D printed part?
Some people find media trapped in their 3D printed part. Those are corn cobs impregnated with rouge, used to polish the part and make it shine. They might get stuck in the details of your part and are quite difficult to remove on a process level. They are however quite easy for you to remove once you’ve received the part: use an Exacto knife, a needle or a small tool to remove the media.
Insight 5: How is the 3D printed part polished?
The polishing process uses a tumbler (mass contact polisher). This is a mechanical process, that affects the outside surface of the part. Because of this, if you have intricate details in your part, the inside surfaces might not be as polished as the outside.
Read more about the finishing options for 3D printed parts here.
Insight 6: Why is the ExOne material sensitive to corrosion?
If you’ve chosen the stainless steel 420 BR for your 3D printing project, you need to take into account the fact that this material is sensitive to corrosion. The reason for that is that the material is mixed: composed of 60% stainless steel and 40% bronze, it doesn’t have the anti-corrosion properties of pure stainless steel. Moreover, it has a density between 90 and 95% dense, which also allows corrosion.
If corrosion resistance is important for your application, you might want to look into our other ExOne material: stainless steel 316. You can also look into other metal 3D printing techniques, like SLM and DMLS, and 3D print our industrial grade stainless steel or titanium.
I hope these insights on 3D printing metal with the ExOne technology have satisfied your curiosity and helped you make your 3D printing project clearer. Of course, don’t hesitate to check out our whole 3D printing materials list in order to find the best one for your application. And when you’re ready, start your 3D printing project by uploading a 3D file.


 Connect with Google
 Connect with Facebook